Einleitung
Wegen des kleinen Formfaktors des NUC ist er anfällig fürs Überhitzen aufgrund von Staubansammlung im Lüftungsschlitz des CPU-Kühlers.
-
-
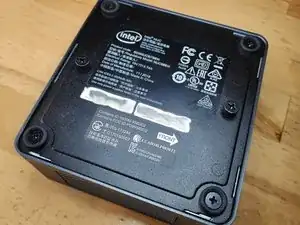
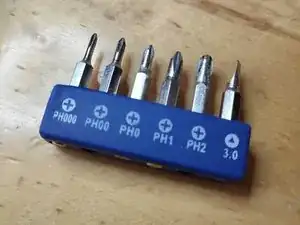
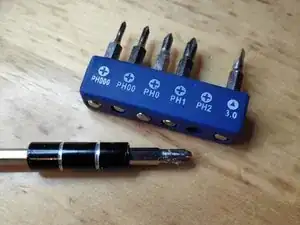
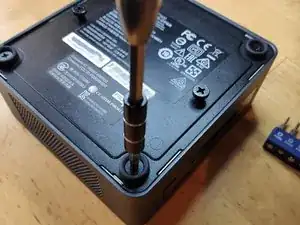
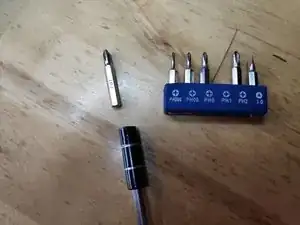
Stelle den NUC auf den Kopf, um die Schrauben zu sehen, und suche einen PH2 Kreuzschlitzschraubendreher/-bit heraus.
-
-
-
Lockere die unteren Schrauben an der unteren Gehäuseklappe mit einem Kreuzschlitzschraubendreher/-bit #2.
-
Die Schrauben können nicht komplett herausgenommen werden und werden daher auch nicht herausfallen, wenn du den Deckel aufklappst.
-
-
-
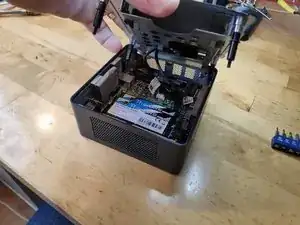
Hebe die Abdeckung leicht an und behalte die Kabel vom Motherboard im Auge. Diese Kabel sind für die Stromzufuhr und Dateiübertragung des 2,5" HDD Slots.
-
Trenne die Kabel vorsichtig vom Motherboard ab und lege die HDD-Halterung beiseite.
-
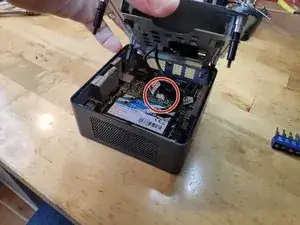
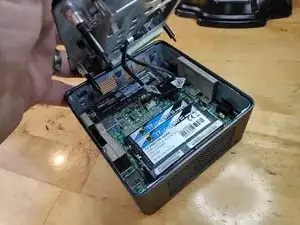
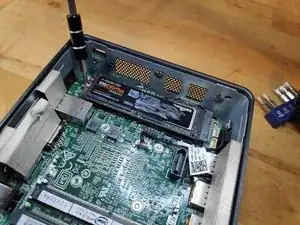
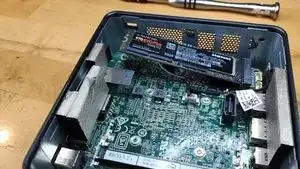
Auf dem letzten Bild ist der Steckplatz für eine SSD mit einem roten Pfeil markiert. Hier würdest du eine Blade-SSD einbauen und sie mit einer Schraube befestigen.
-
-
-
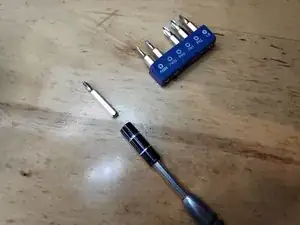
Wechsel zu dem PH1 Bit.
-
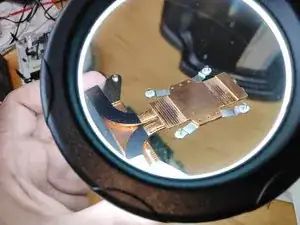
Schraube die V-NAND SSD ab und schiebe sie vorsichtig aus ihrem Anschluss.
-
-
-
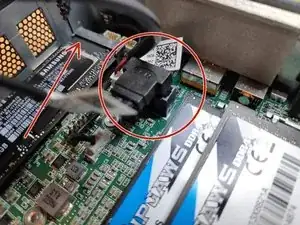
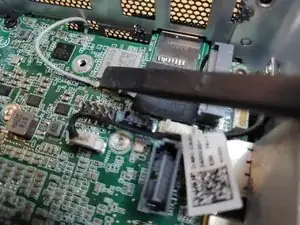
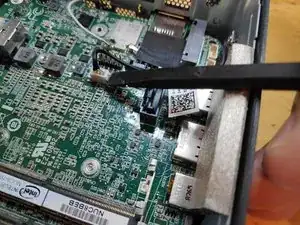
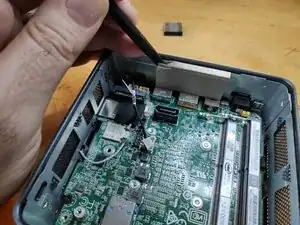
Entferne die WiFi- und Bluetooth-Antennenkabel. Sei dabei äußerst vorsichtig, da sonst der Anschluss vom Motherboard beschädigt werden kann.
-
Trenne das Stereo-Mikrofonkabel vom Motherboard.
-
Achte auf das WiFi-Kabel, das unter einem schwarzen Stück Klebeband versteckt ist.
-
-
-
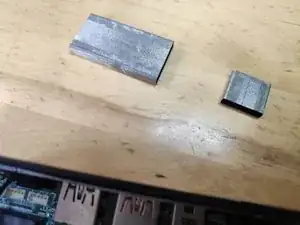
Nicht alle Polster sind zwingend notwendig, nur die beiden Polster auf dem letzten Bild sind wichtig.
-
-
-
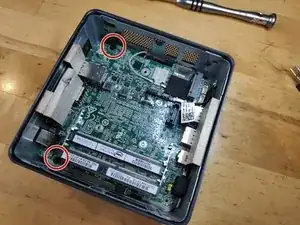
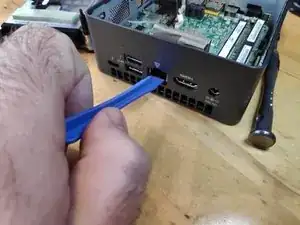
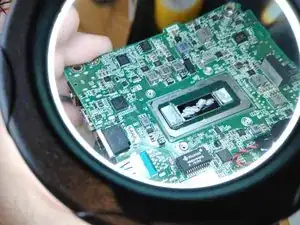
Heble das Motherboard mit einem geeigneten Tool (Plastik) aus dem Gehäuse.
-
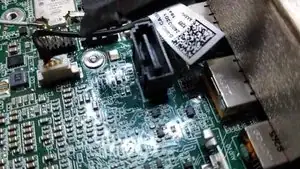
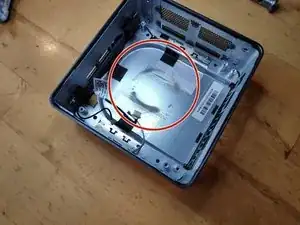
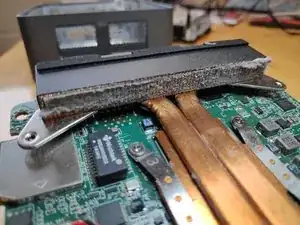
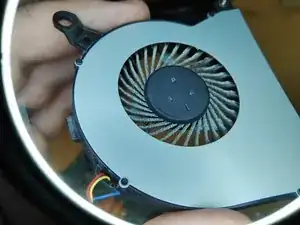
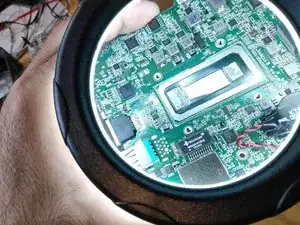
Rot eingekreist sind die Anzeichen von Staub, die sofort zu sehen sind.
-
-
-
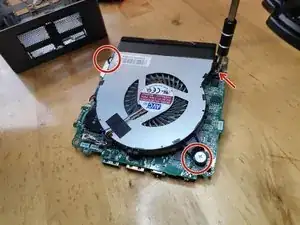
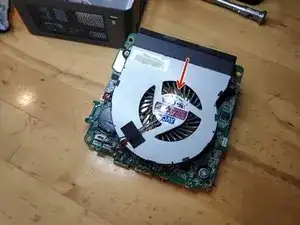
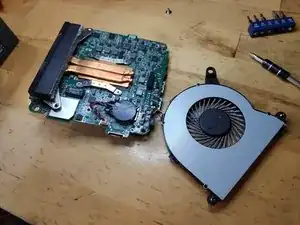
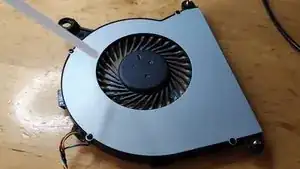
Entferne die drei Schrauben, mit denen der CPU-Lüfter befestigt ist.
-
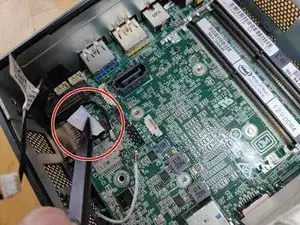
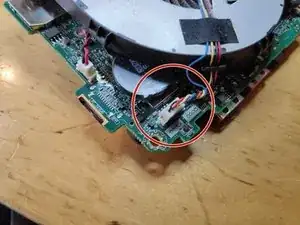
Zieh den Stromstecker des Lüfters vom Motherboard.
-
-
-
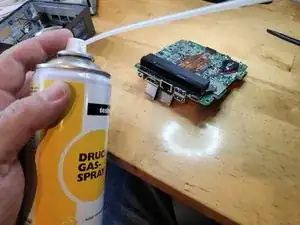
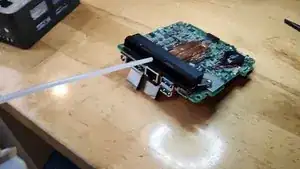
Um den Staub zu entfernen, benötigst du Druckluft, einen kleinen Staubsauger oder etwas Ähnliches.
-
-
-
Wahrscheinlich ist dieser Schritt nicht unbedingt notwendig, aber der Vollständigkeit halber:
-
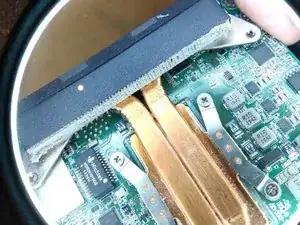
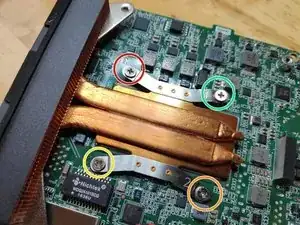
Entferne die Schrauben, mit denen der CPU-Kühler befestigt ist, in der Reihenfolge der darauf geprägten Nummern.
-
-
-
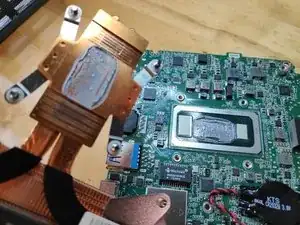
Nimm Isopropylalkohol für den nächsten Schritt und achte darauf, damit nicht an die Wärmefallen (Thermal Pads) der umliegenden Elemente auf der Platine zu kommen.
-


Um dein Gerät wieder zusammenzubauen, folge der Anleitung in umgekehrter Reihenfolge.
26 Kommentare
Very helpful, thank you!
Ray Wang -
Great tutorial, thanks, now my fan is very clean and quiet. Thanks for spending time to create this guide!
I did see this guide after finding out the same steps myself and having seen this guide before doing so would be very helpful.