Einleitung
When a headlight bulb burns out, driving at night is more difficult and dangerous. Fortunately, replacing a headlight bulb is easy.
Ersatzteile
-
-
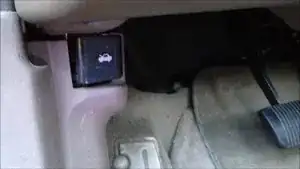
To lift the hood of the car, pull the latch with the “hood up” icon up towards you. This latch can be found below the steering wheel and sits directly above where your left foot rests.
-
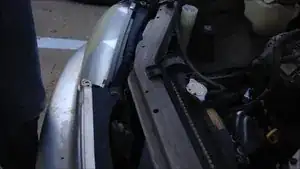
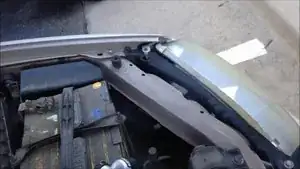
After lifting the hood of the car, click the latch (located just above the Toyota logo visible on the front bumper) holding the hood down upward. Lift the hood upward.
-
-
-
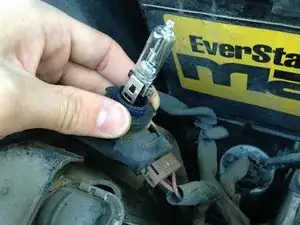
Locate the headlight bulb plug (right side headlight plug shown). This can be found underneath the hood and is positioned directly behind the headlight.
-
-
-
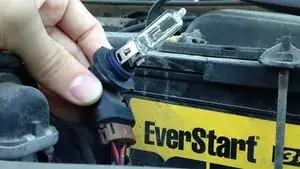
Once you’ve found the headlight bulb plug (left side shown), twist the plug out of its locked position by rotating it counter clockwise (as seen in the video).
-
Pull the plug toward you to completely remove it.
-
-
-
On the backside of the bulb socket, click the release lever down (as seen in the video). This will allow you to remove and replace the bulb
-
Pull the old bulb end (which rests just above the previously mentioned release level) up to remove it
-
Push new bulb end down until it clicks into position
-
To reassemble your device, follow these instructions in reverse order.