Einleitung
On my way home from work the battery light on my instrument panel come on. Once I reached my driveway, the radio turned off and the dash went completely dead. No more power. I figured I had a failed alternator. This F-150 has a 4.2L V6 engine. I called our local auto parts store and they did have one in stock. Price was `$140 USD with a $35 USD core charge. Time to go to work….
Werkzeuge
Ersatzteile
-
-
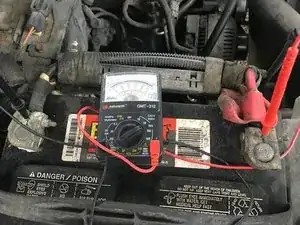
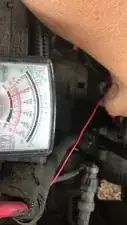
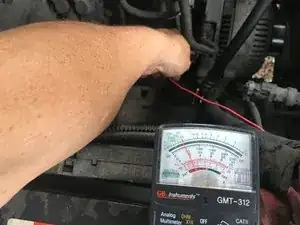
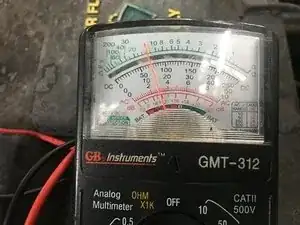
Testing of the alternator output with the positive probe on B+ of the alternator. Even with RPM's up to 2000 there is no change in output. It even appears as if the voltage decrease to around 8 V
-
This alternator needs to be replaced.
-
-
-
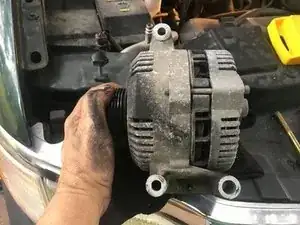
Here is the alternator that is apparently not charging. First thing is to test it to make sure it is the problem.
-
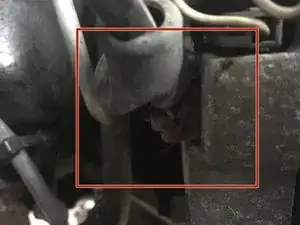
B+ is the post where one can test the output voltage of the alternator with a simple multimeter.
-
Set the multimeter to 50 DC Volt scale. Black probe to ground and red probe to B+ on the alternator. With the engine running the voltmeter should show around 14 Volts. On this alternator the voltage does not increase and sits somewhere around 10 Volts. Good indication that it needs to be changed.
-
-
-
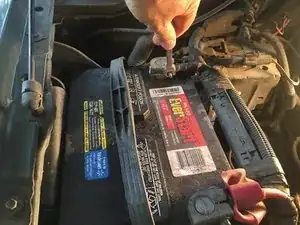
First thing is to disconnect the battery. I habitually only disconnect the negative cable.
-
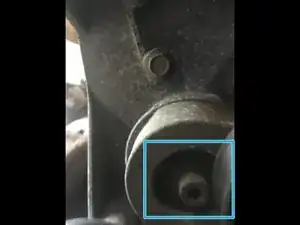
This is the only part that may be difficult. The removal of the serpentine belt requires that the spring loaded belt tensioner gets pulled to the point that it no longer applies tightening pressure onto the belt. It requires a Torx T-50 which I did not have.
-
The proper way would be to insert the T-50 into the tensioner and then move that into counterclockwise direction to loosen
-
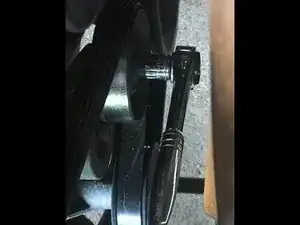
Where there is a will there is a way. Use a 15mm socket on the bolt that holds the idler wheel. Use the ratchet and move that into a counterclockwise direction. This will loosen the tensioner and the belt can now be removed.
-
-
-
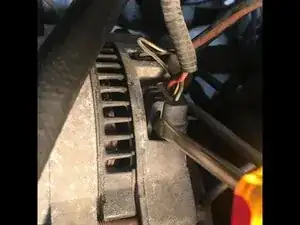
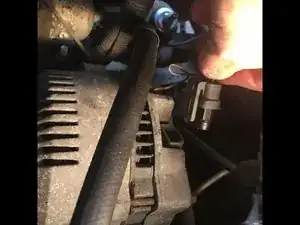
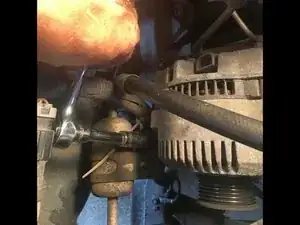
Remove the regulator connector. Use a screwdriver or similar tool to move the clip so that the connector can be simply pulled up.
-
Remove the single wire connector the same way.
-
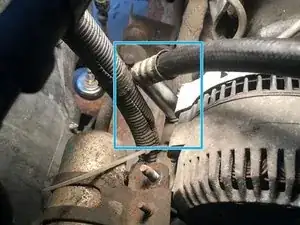
Remove the 10mm nut that holds the cable to the solenoid onto the alternator
-
-
-
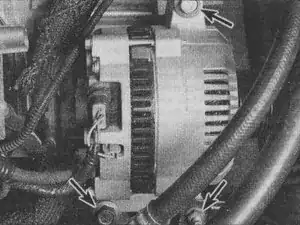
The alternator is held in place by three mounting bolts.
-
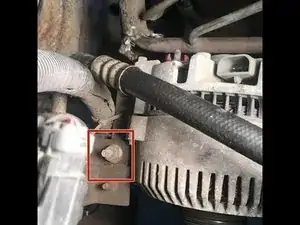
The first mounting boltis actullay a stud that also holds an air condition line. One the 15mm nut is removed, lift the line out of the way to reveal the second 15mm hex head to remove the stud.
-
Remove the 15mm stud
-
-
-
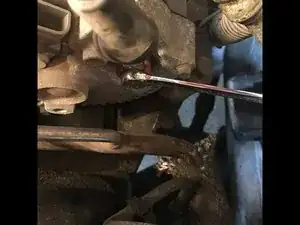
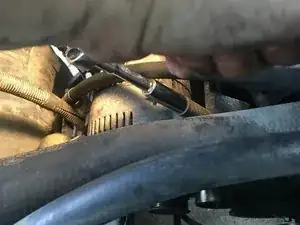
15mm deep socket on the 2nd mounting bolt
-
Removal of third mounting bolt with 15mm deep socket
-
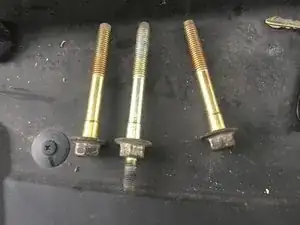
Here are the three bolts that hold the alternator in place. The center bolt is different since it also provides a mounting spot for the AC part.
-
-
-
With the removal of the bolts the alternator can now be simply pulled out from the engine compartment
-
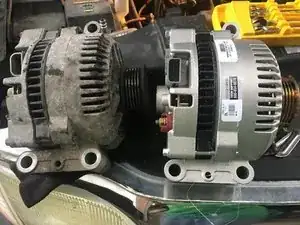
Here is the comparison with the replacement from a national parts store
-
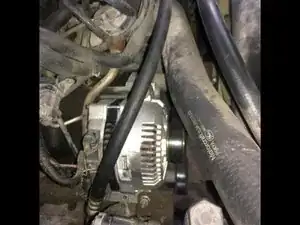
New alternator in place.
-
-
-
Checked the voltage on the battery terminal with engine running. Shows properly between 14V - 15V
-
To reassemble your device, follow these instructions in reverse order.


Can you suggest me a good driveway sealer? I am creating a new driveway and sealing is necessary. Although, I have found some name https://bestdrivewaysealers.org/ but willing to get advice from you.
bicckot -