Einleitung
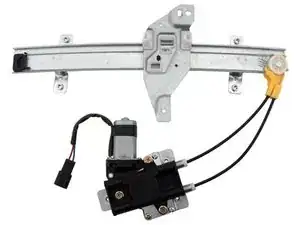
We seek to develop a trouble-free step-by-step repair guide for a 1999 Buick Century that meets the criteria set by IFIXIT. Not only is our purpose to repair a failed window regulator and motor for personal and security reasons, but also to demonstrate and breakdown to the inexperienced how to make said repair at a more economically inclined price.
Werkzeuge
Ersatzteile
-
-
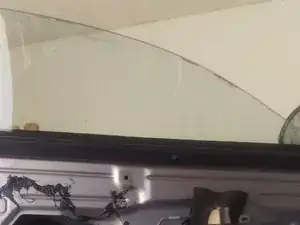
Lower window to about ¾ of the way down or until the frame that the window sits on is visible in the lower opening.
-
-
-
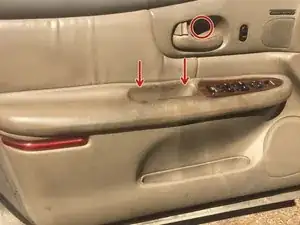
Locate the 3 screws in the door.
-
1 screw is in the door latch (phillips head)
-
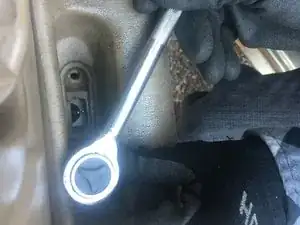
The other 2 are in the door tray (10mm socket)
-
-
-
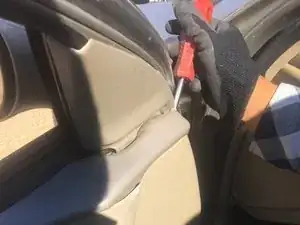
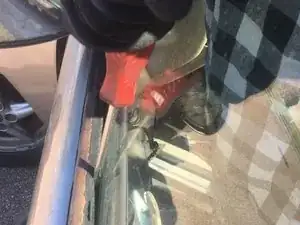
Pry away the door (a flat head can be used as seen in the image, but any wedge like object would work.)
-
-
-
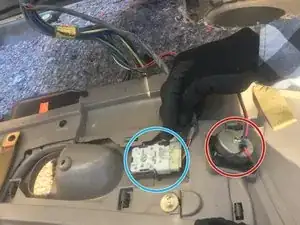
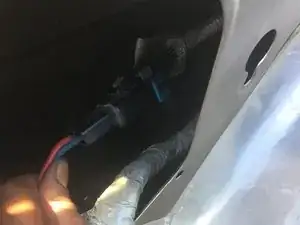
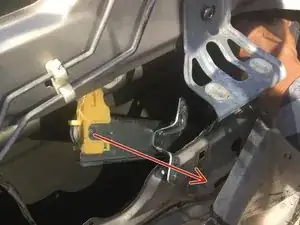
Tweeter Connection (circled in red)
-
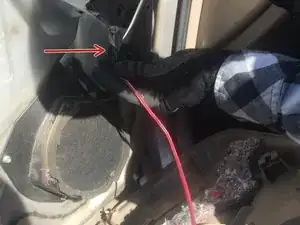
Disconnect the tweeter connection where the red arrow is pointing.
-
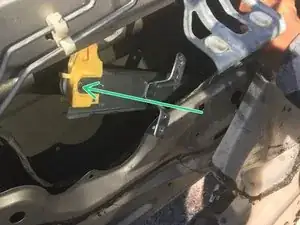
Automatic Lock Connection (circled in green)
-
Disconnect the automatic lock connection from its location in the green circle.
-
-
-
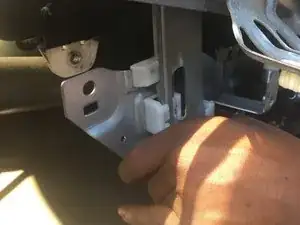
If the internal door panel is covered with protective plastic, remove it before proceeding.
-
-
-
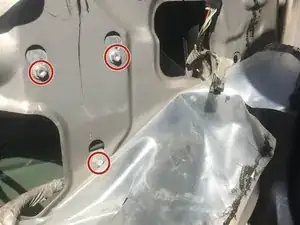
Locate and remove the 3 screws holding the window motor in place (Wrench and 10mm socket needed).
-
Disconnect the window motor connection wiring.
-
Wedge in-between the outer shell of the door and the window to hold the window in place (be careful not to damage the window. May have to stick it in at an angle).
-
-
-
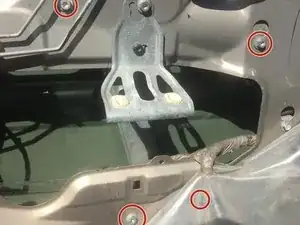
Locate and Remove the four 10mm screws below the interior door latch.
-
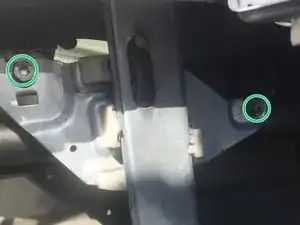
Locate and remove the two 10mm screws on the window frame.
-
Remove the motor and the regulator through the hole.
-
-
-
Follow steps in reverse order to connect the new window motor and regulator and to reassemble the door panel.
-
To reassemble your device, follow these instructions in reverse order.
