Einleitung
Werkzeuge
Ersatzteile
-
-
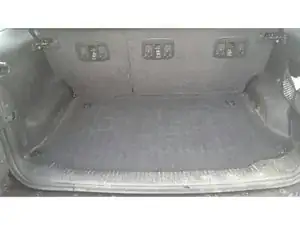
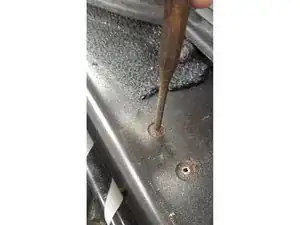
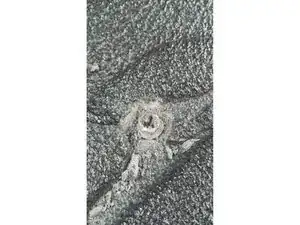
there are 2 rivets in each corner that need to be drilled out.
-
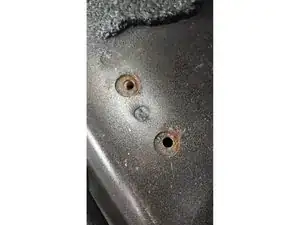
Once the head of the rivet is drilled off, you will likely end up with the rest of the rivet sticking out the floor. Just take a punch and knock them out,
-
You only need to remove the rear most 2 to be able to pull the carpet back far enough to gain access, although I did end up removing 3 corners.
-
-
-
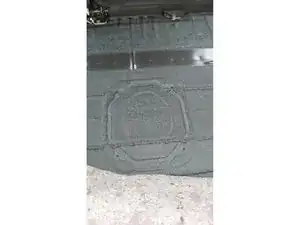
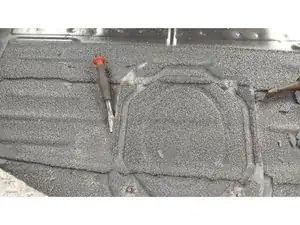
The is a 10mm head nut in each corner of the panel under all that sealant. So the first job is to chip it away by whatever means possible. I used a hammer and chisel.
-
Once the nuts are removed, you then need to chip away all the sealant around the panel itself. It takes a while!
-
-
-
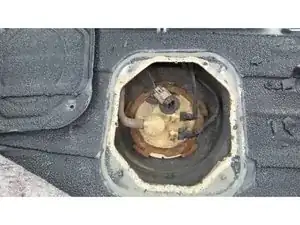
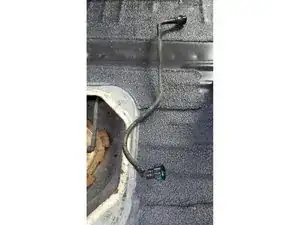
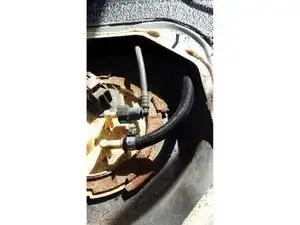
with the access panel now removed, you're ready to start removing and replacing the pipes. I started with the outlet which is the bigger of the 2 and the one closest to the rear of the vehicle. Just press both sides of the quick connect coupling in simultaneously and pull it off. Then go underneath and remove it from there.
-
-
-
Grab your new hose and slide it onto the connector on the tank first. Be careful when pushing it on as the elbows on the tank are plastic. If you break them off, you're gonna have a bad day! The size of hose you need for the outlet is 8mm id (inside diameter) before sliding it onto the tank, be sure to put your new clamp on first!
-
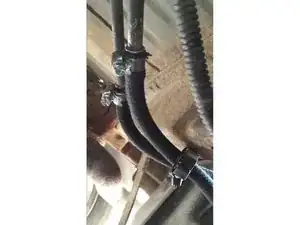
tighten the clamp up but be careful. You want it to be tight, but bear in mind the elbow is plastic and could easily break. Once that's done, head underneath, cut your hose to size, put another clamp on and tighten up. This end is going onto a metal pipe, so tighten it up good.
-
Once you've done that, it's just a case of repeating the process for the return pipe. Whilst not strictly necessary to replace both, for all the time it will take, I did it anyway. The only difference for the return pipe, is that you will need 7mm id pipe.
-
to reassemble, just re use the 4 10mm nuts to secure access panel above tank into place, then use new rivets to secure the carpet into place.
4 Kommentare
ThAnks for all the little details in the pictures it was most helpful
John r -
7/17/2019. For what it’s worth I own a 2005 Liberty CRD 2.8 Diesel that suffers these problems. My attempts to follow at home here proved ….pointless. The indentation for the access panel is there, however any removable panel does not exist. I scraped for 2 hours (whole back panel) in case it was in another location. It simply is not there. Heads up, dropping tank will save you a load of time. Getting the carpets back into place is very time consuming. Loads of luck. Dan.
Part 2. Noticed as well at new splices made away from the tank are crimped factory fittings, how are these best taken apart, cut somehow, tube cutter?. On the back in the driveway, access is quite limited?.
Da.
