Einleitung
This guide shows the process of replacing a hatch strut on a 2002-2006 Acura Integra (DC5 or RSX). A hatch strut, also referred to as a hatch lift support, is a vital component to keeping the hatch of a vehicle open. As they age and become worn out they’ll no longer function properly. In cold temperatures a worn hatch strut may even fail to keep the hatch open.
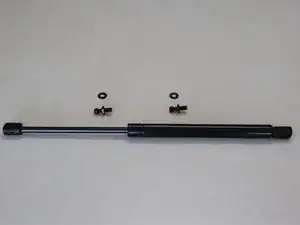
All that is needed are a replacement hatch strut, a 12mm wrench, and a crescent wrench. There is a wide variety of aftermarket hatch struts for this vehicle and there is no electrical work required for this fast fix. This guide utilizes a Monroe Max-Lift Lift Support. (Part Number: 900077) but any compatible replacement will suffice. It is recommended to have a helper stand by to hold the weight of the hatch or to safely prop it open during the replacement process. A simple fix like this can save you the time and money of going to a repair shop and helps build basic auto maintenance skills.
Werkzeuge
-
-
Acquire a compatible hatch strut (lift support). This guide uses a Monroe Max-Lift Lift Support. (Part Number: 900077)
-
-
-
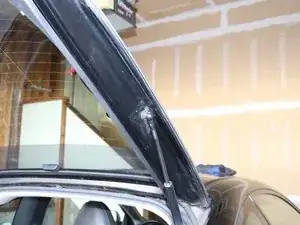
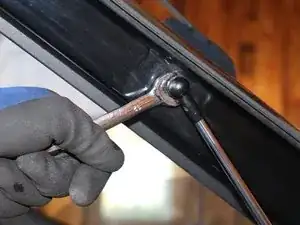
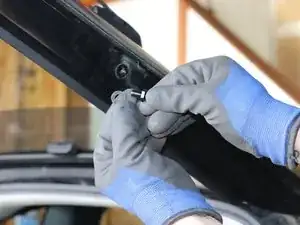
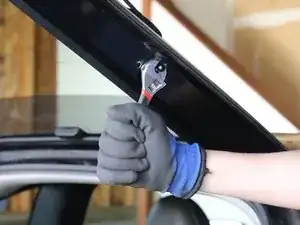
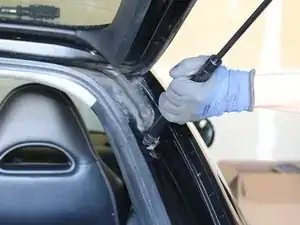
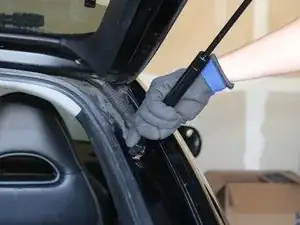
Remove the upper ball mount.
-
Turn the upper ball mount counterclockwise with a 12mm wrench.
-
-
-
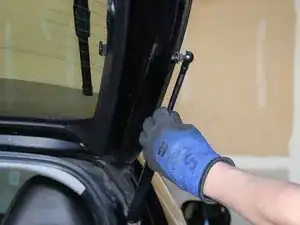
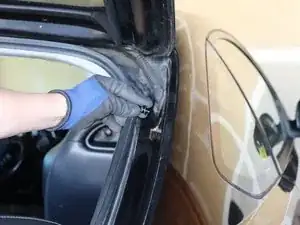
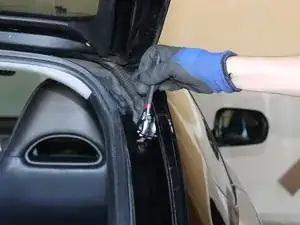
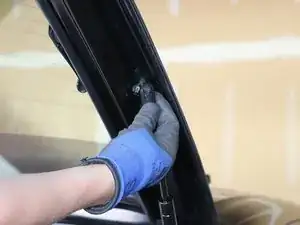
Remove the lower ball mount.
-
Turn the lower ball mount counterclockwise with a 12mm wrench.
-
-
-
Place a washer on the new upper ball mount.
-
Turn it clockwise to hand tighten the new upper ball mount.
-
Turn it clockwise with the crescent wrench to finish tightening.
-
-
-
Place a washer on the new lower ball mount.
-
Turn it clockwise to hand tighten the new lower ball mount.
-
Turn it clockwise with a crescent wrench to finish tightening the new lower ball mount.
-
-
-
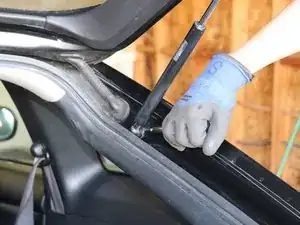
Place a lower hatch strut socket over the new lower ball mount.
-
Push it firmly onto the new lower ball mount. It will pop on easily.
-
-
-
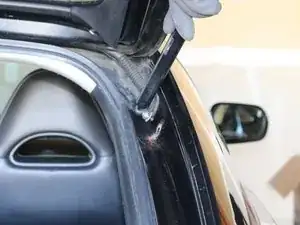
Place the upper hatch strut socket over the new upper ball mount.
-
Press it firmly onto the new upper ball mount. It will pop on easily.
-


To reassemble your device, follow these instructions in reverse order.