Einleitung
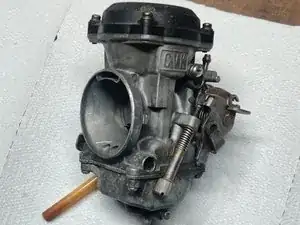
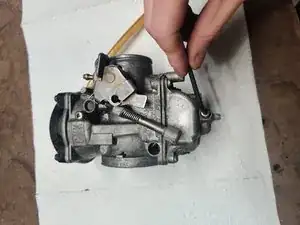
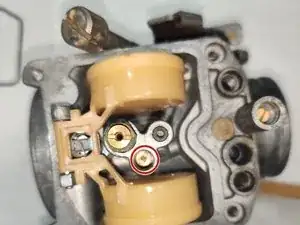
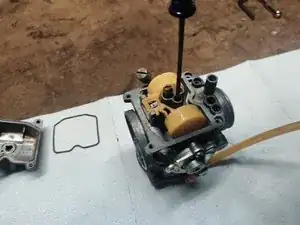
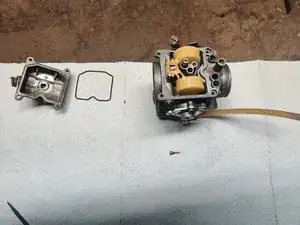
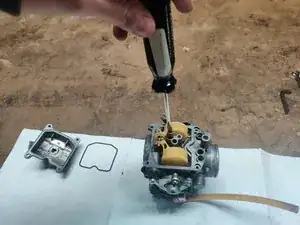
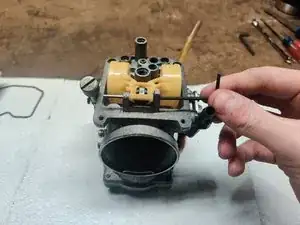
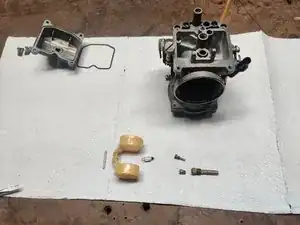
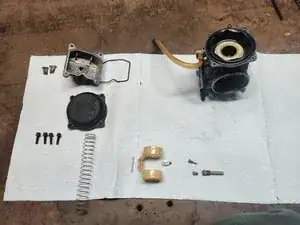
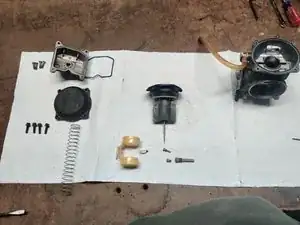
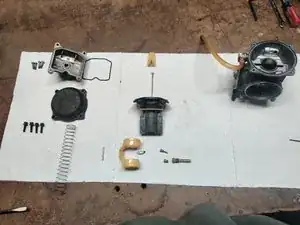
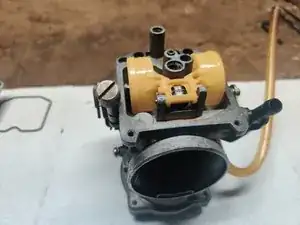
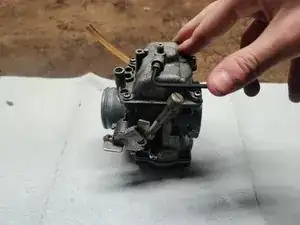
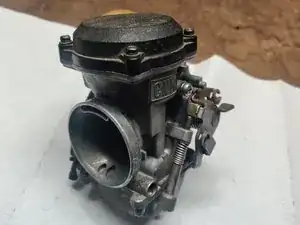
Today we will be learning how to replace all of the parts that will come in your 2002 Kawasaki KLR650 rebuild kit. These items are as follows, a bowl gasket, main jet, pilot jet, float seat and needle. It is recommended to have plenty of clean space to spread out all of the various components within the carburetor.
Werkzeuge
Ersatzteile
-
-
Use a 3mm Allen wrench to loosen the drain screw on the lower part of the bowl.
-
Dispose of the fuel left inside of the bowl properly.
-
-
-
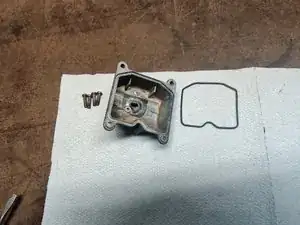
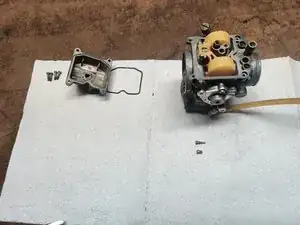
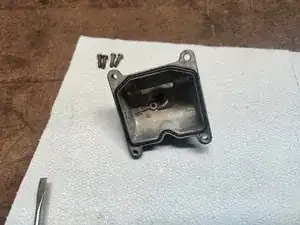
Using a Phillips #1 screwdriver to remove the four screws on the outside of the bowl.
-
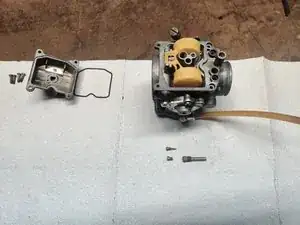
Remove the bowl from the carburetor and take out the gasket from the bowl.
-
-
-
Push out the retaining pin holding in the float and float seat.
-
Remove this assembly from the carburetor.
-
-
-
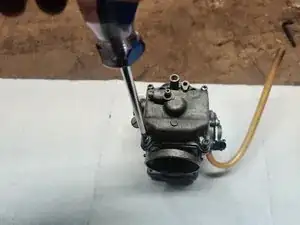
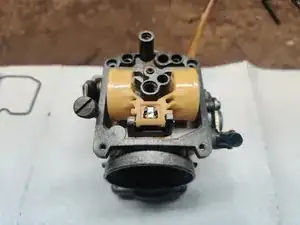
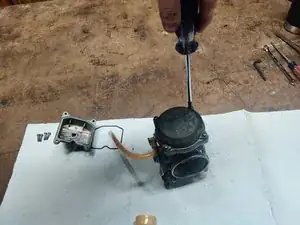
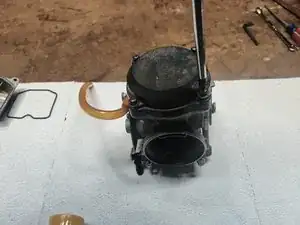
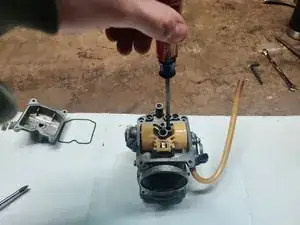
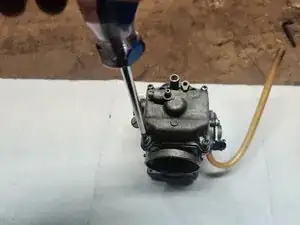
Flip the carburetor around and remove the four screws holding on the top housing using the Phillips #1 screwdriver.
-
-
-
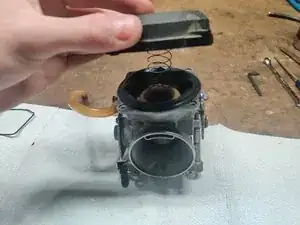
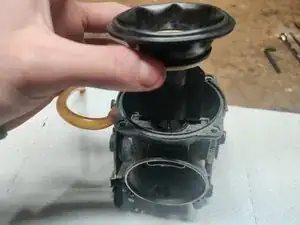
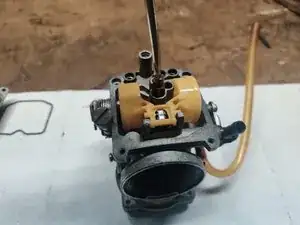
Pull up on the diaphragm carefully to remove the diaphragm and slide.
-
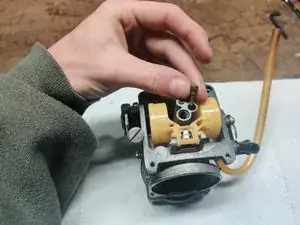
Take out the needle and plastic needle retainer.
-
-
-
Replace the needle and reassemble the slide assembly.
-
Insert the slide assembly back into the carburetor. Make sure the needle is lined up with the hole in the carburetor. Make sure that the diaphragm makes a good seal in the carburetor gasket groove.
-
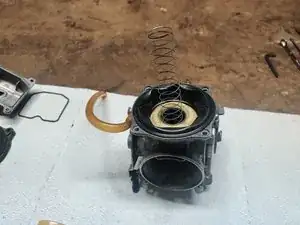
Insert the spring into the slide assembly and put the plastic housing back on. Maintain pressure while screwing four Phillips screws in the housing since it is spring loaded. Tighten in a diagonal pattern to ensure that the plastic housing is sealed properly.
-
-
-
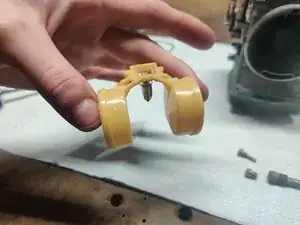
Replace the old float seat with the new one onto the float.
-
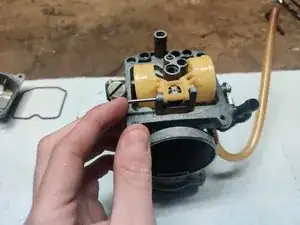
Place the float assembly into the carburetor and slide the retaining pin back into its hole to secure the assembly.
-
-
-
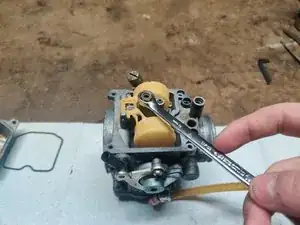
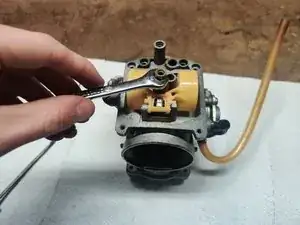
Reinsert the main sleeve and tighten with an 8 mm combination wrench.
-
Insert the new main jet into the main jet sleeve. Tighten using a flathead screwdriver.
-
-
-
Insert the new gasket into the bowl gasket groove.
-
Screw the bowl back onto the carburetor with the four Phillips screws by using a Phillips #1 screwdriver. Tighten in a diagonal pattern to ensure that the bowl is sealed properly.
-
To reassemble your device, follow these instructions in reverse order.
