Einleitung
This is a relatively easy job, the fastening bolts are all located on top of the engine. The coilpack connectors are easy to disconnect without damaging anything, and the spark plugs themselves are not difficult to replace.
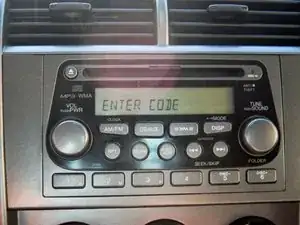
Note: This service requires that the battery is disconnected, meaning that the factory radio will require its code to be reentered. Do not perform this service without the code, a dealer would have to re-enable the stereo's functions
Werkzeuge
Ersatzteile
-
-
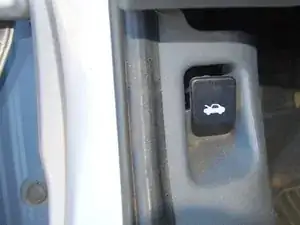
Pull hood latch release, located on the base of the A-Pillar.
-
Pull up on the release lever between the hood and grille, it is located on the left.
-
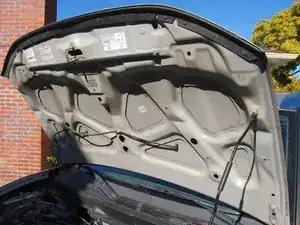
Lift hood and engage the hood prop rod inside the provided notch hole on the edge of the hood.
-
-
-
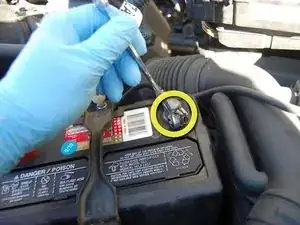
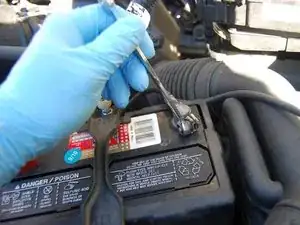
Disconnect negative (-) battery terminal from the battery.
-
Place the now free negative (-) battery cable behind the battery itself so it cannot easily re-connect itself.
-
-
-
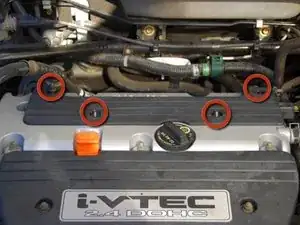
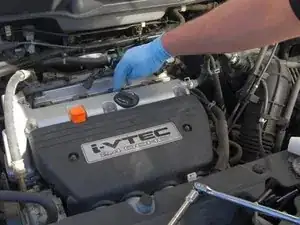
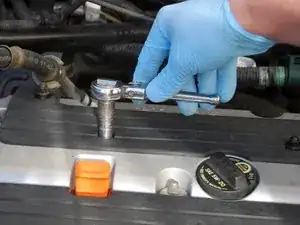
Remove the 4 10mm acorn nuts from the plastic engine cover plate. Set nuts aside for reassembly.
-
Remove the plastic coverplate and set aside.
-
-
-
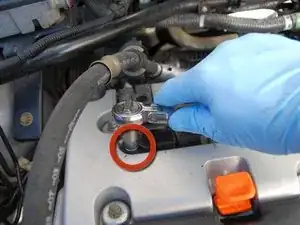
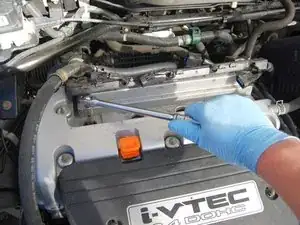
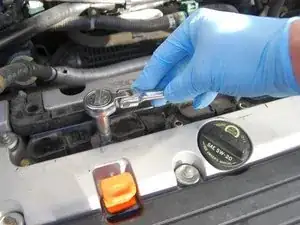
Using the 10mm socket and ratchet, remove the 4 bolts holding down the coilpacks. You may need the 10mm wrench if your socket is not deep enough to contact the hex section of the stud.
-
-
-
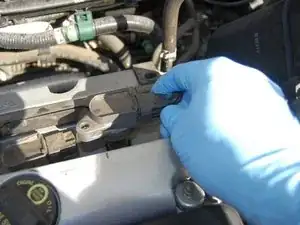
Pull up on coilpack lightly, it should release easily from the spark plug below.
-
Using your thumb and forefinger, grasp the connector, pushing down the latch with your thumb.
-
Wiggle and pull the connector off of the coilpack, it will have some resistance.
-
If the connector does not release, try pushing connector in, then pushing the latch and pulling on the connector.
-
Note: Do not pull by the wires.
-
-
-
Remove all the coilpacks and set aside.
-
Using the 3/8" Ratchet with Socket Wrench Extension, 3/8" Drive and 5/8" Spark Plug socket, remove the 4 spark plugs from the spark plug wells. They should require some force but unscrew easily after the initial turns.
-
-
-
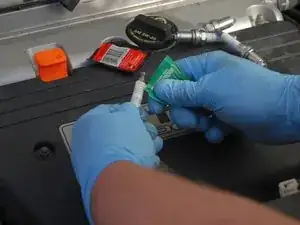
Remove new spark plugs from box. Apply anti-seize to the spark plug threads ONLY, carefully wipe off any excess that touches the ceramic insulator or the tip contact.
-
Now apply dielectric grease to the contact tip and the first 1/2" of the ceramic insulator.
-
-
-
Using the spark plug socket, put each spark plug into their hole and thread in hand tight.
-
Tighten all 4 plugs 1/2 turn past hand tight.
-
-
-
Reinstall the coilpack 3/4 of the way into the hole, then push on the electrical connector until it clicks.
-
Push the coilpack down the rest of the way into the spark plug well, you should feel a slight click as the coilpack connects to the contact of the spark plug
-
Repeat these same steps for the remaining 3 coilpacks.
-
-
-
Using the 10mm socket and 3/8" ratchet, install bolts on the #1 (from left) and #3 coilpack. They should be 1/4 turn past finger tight.
-
Install the studs on #2 and #4 coilpacks.
-
Reinstall coilpack cover, using the 4 acorn nuts removed previously.
-
-
-
Reinstall the negative (-) battery terminal, tightening with the 10mm wrench or 10mm ratchet.
-
-
-
Remove hood prop rod from the hood, flip down and connect it into its stay.
-
Shut hood lightly, then push down to engage the main latch.
-
-
-
Using the code written in your Service History booklet (the Pre-Delivery Inspection page should have it), key in the radio code using the preset buttons.
-
Don't forget to mark down that you serviced the spark plugs in the Service History booklet!
-
This is a great job to do to save some money, its involved enough to be entertaining but not enough to be scary.
4 Kommentare
I torqued the spark plugs to 13 ft lbs.
You put quite a bit of effort into creating this extremely helpful guide. I hope others appreciate all of your hard work. Thank you so much for doing a terrific job and making the world a better place.
Thank you for this! Much appreciated- saved me so much money and learned how to do it myself :)
Cheers!
