Einleitung
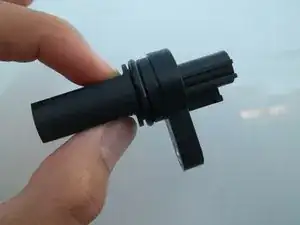
This guide will walk you through the process of replacing a malfunctioning crankshaft position sensor. The reason you would be replacing your crankshaft position sensor is because your car's "check engine" light is on and your car is running poorly. Again you can't conclude you have a malfunctioning crankshaft position sensor until you use a device to read the car's computer system.
Werkzeuge
Ersatzteile
-
-
To begin, park your vehicle on a firm, level surface such as concrete or asphalt.
-
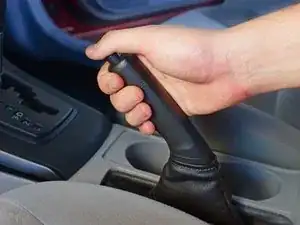
Make sure the transmission is in Park (or first gear if you have a manual gearbox) and that the parking brake is engaged.
-
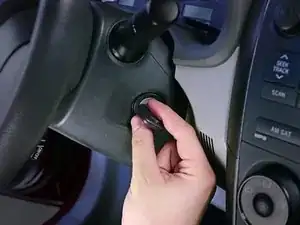
Switch the ignition off and remove the key.
-
-
-
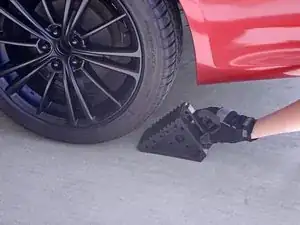
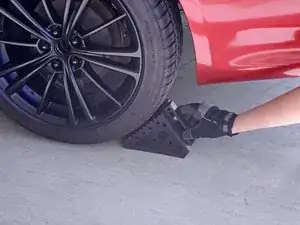
Chock the wheel or wheels opposite from where you will put the jack, to prevent the vehicle from rolling unexpectedly. For example:
-
If you will be jacking up the front right wheel, put the chock behind the rear left wheel.
-
If you will be jacking up the left side of the vehicle, put one chock ahead of the front right wheel and another behind the rear right wheel.
-
-
-
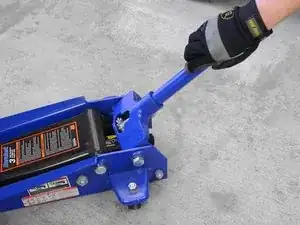
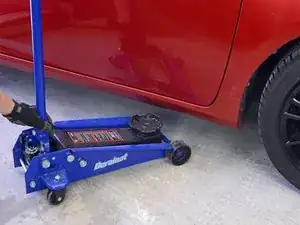
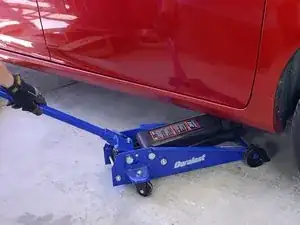
Grab your floor jack and make sure the pressure relief valve is closed. (Usually, you close the valve by twisting the jack lever clockwise.)
-
-
-
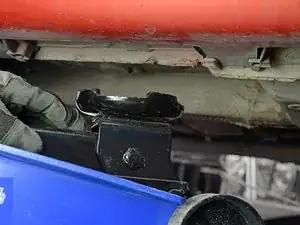
An area designed specifically to make contact with the jack, or
-
An area that you know can safely support the full weight of the vehicle, without slipping off the jack.
-
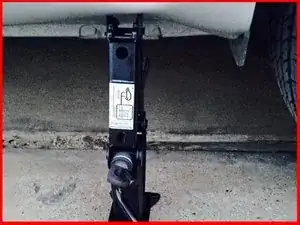
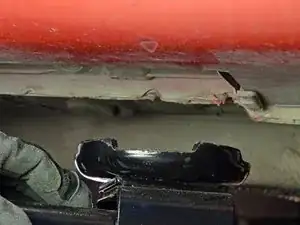
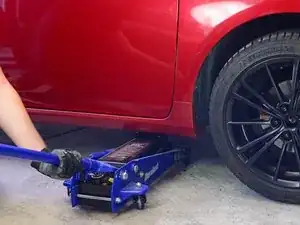
Do not put the jack under a body panel, as shown in this photo. Apart from the obvious damage to the vehicle, this incorrect procedure can injure or kill you. The jack should make contact with a sturdy, unpainted area of the vehicle's frame.
-
-
-
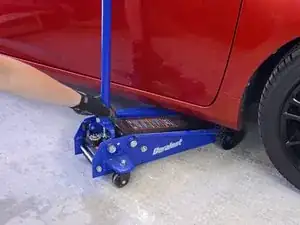
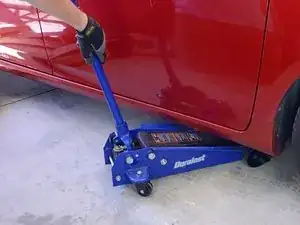
Slide the jack under your vehicle in the area of the jack point that you have chosen.
-
To raise one of the front wheels, position the jack just behind the wheel.
-
To raise one of the rear wheels, position the jack just in front of the wheel.
-
-
-
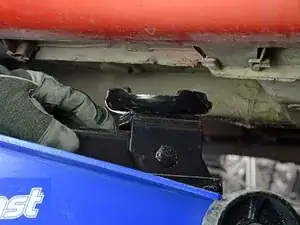
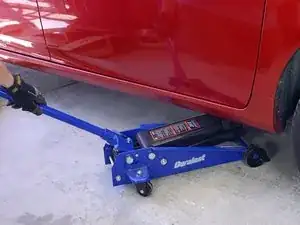
Looking under the vehicle, adjust the position of the jack so that it will make secure contact with the jack point when raised.
-
-
-
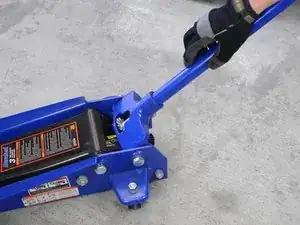
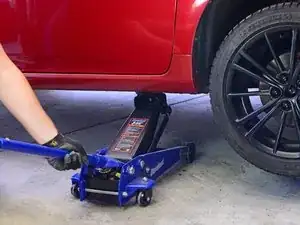
Pump the jack handle down and back up repeatedly to begin raising your vehicle.
-
If this isn't practical, pause after raising the vehicle an inch or two and take a quick look to verify that the jack has made good contact with the jack point.
-
If necessary, lower the jack back down by slightly opening the release valve. Then close the release valve, and reposition the jack so that it makes better contact with the jack point.
-
Continue raising your vehicle until it reaches the desired height—high enough to allow you to put your jack stand(s) in place.
-
-
-
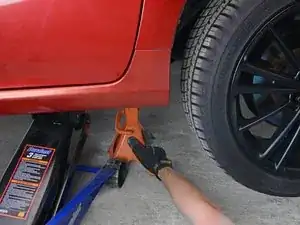
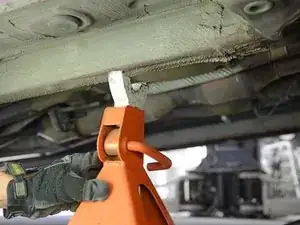
Slide your jack stand(s) into place near the jack, beneath a secure area of the vehicle's frame.
-
If you are raising both front or both rear wheels, place your jack stands to either side of the jack, near the wheels.
-
-
-
Slowly open the jack's release valve, lowering the vehicle until it comes to rest on the jack stand.
-
-
-
When you've finished servicing your vehicle, use the jack to raise it back up an inch or so, and remove the jack stand(s).
-
-
-
Slowly open the jack's release valve to lower the vehicle safely back to the ground.
-
Remove the jack.
-
-
-
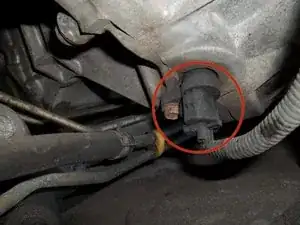
Lay under the car and locate the crank shaft position sensor. The sensor is located between the engine and the transmission near the front driver's side wheel. It is directly behind the rack and pinion.
-
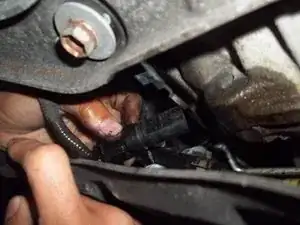
Use the 10mm wrench or socket wrench to loosen the 10mm Hex Head bolt attaching the crankshaft position sensor to the car. If the bolt is rusted use a penetrating lubricant to remove the rust.
-
-
-
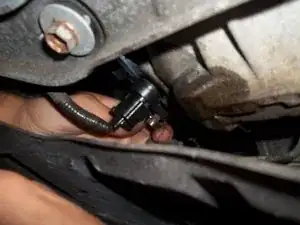
After you have removed the 10mm Hex Head bolt on the sensor, pull the sensor out of place with some force. (The sensor should pop right out)
-
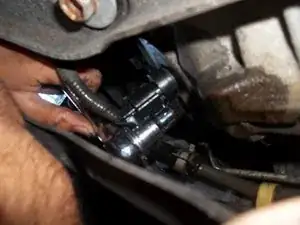
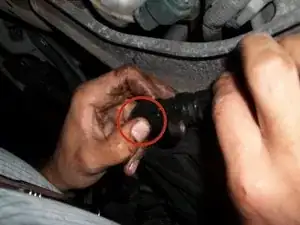
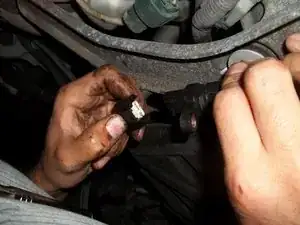
Unplug the sensor from the wiring harness by squeezing the release clip and pulling firmly on the sensor.
-
To reassemble your device, follow these instructions in reverse order.

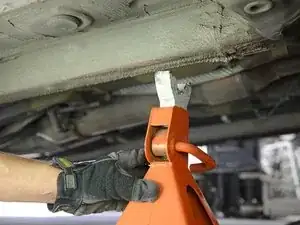
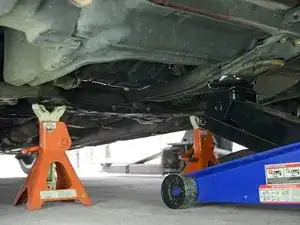

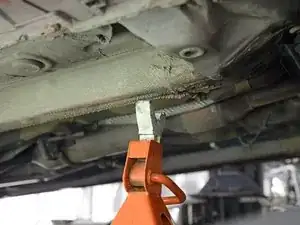
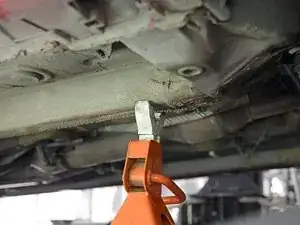

Asphalt is not a safe place… if on asphalt, make sure you put a board underneath the jackstands because they can sink into asphalt and tip over.
Josh van Eyk -