Einleitung
Here is a recent repair on an F-150 drive shaft. It started by making some loud clanking noise on acceleration and when slowing down. As with any repair under a vehicle, make sure that proper safety steps are followed. Use proper jack stands and wheel chock's for the front wheels. The drive shaft is not very heavy, but it's a bit cumbersome to hold. An assistant can be of great help to remove the driveshaft from under the vehicle. For the replacement of the U-joint itself, I chose to not use any special tools. I felt that it might be beneficial to show how this repair can be done with some basic tools in a drive way somewhere. Yes, the right tools might make it easier, even so I did not have any issues using what I did.
I did the replacement of the U-joint with the simplest tools I could use. The only thing to watch out for in the re-assembly, is to make sure that the needle bearings are straight in the bearing cup. Do not force the cross all the way into the cup.
Werkzeuge
Ersatzteile
-
-
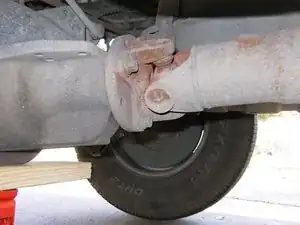
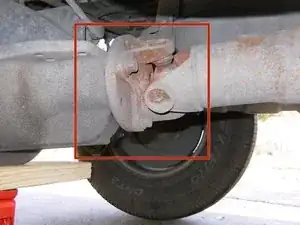
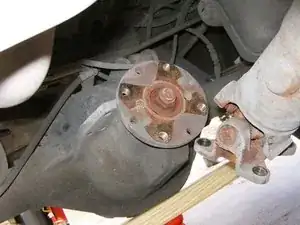
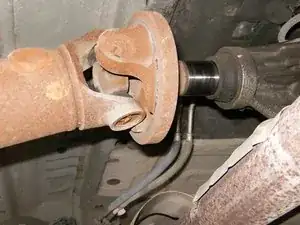
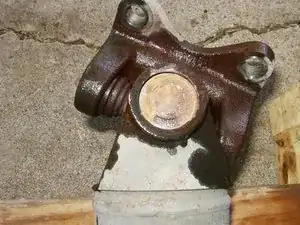
Here is a view of the rear U-joint assembly. It is connected to the driveshaft via the flange yoke. It is bolted to the rear axle at the drive pinion flange
-
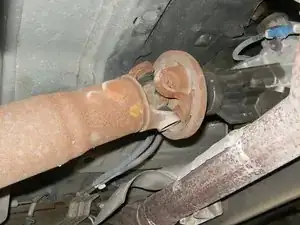
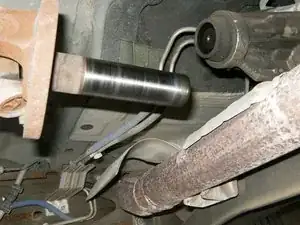
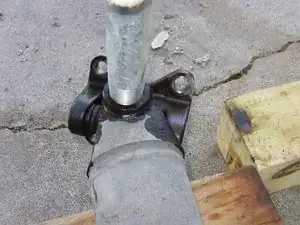
The front U-joint assembly connects the drive shaft and the slip yoke. The slip yoke just slides into the transmission and meshes onto the gear with it internal splines.
-
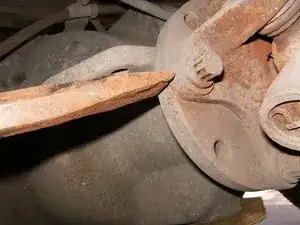
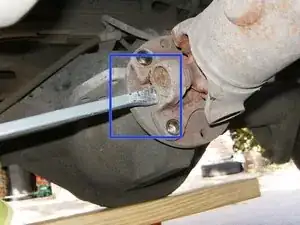
Use a chisel, or similar instrument, to index the flange yoke and the pinion flange. All that does, it makes a mark across those two pieces. This will assure that the drive shaft will be mounted in the same way once the repair is done.
-
-
-
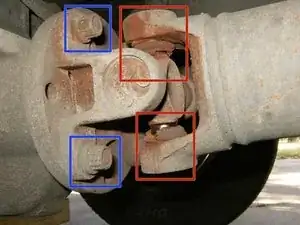
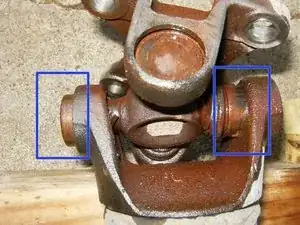
The damaged U-joint is clearly visible.
-
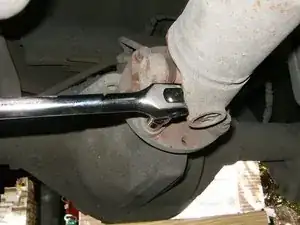
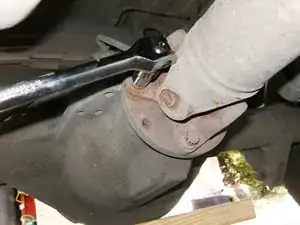
There are four bolts that connect the flange to the yoke. The bolt heads require a 12mm 12point socket. A 6 point socket will not fit, and a box end wrench will not generate enough torque.
-
Use a 12mm 12 point socket and a 16 inch breaker bar will generate enough torque to remove the bolt. Here a 1/2" drive socket set is used. 3/8" socket set may work as well, but the larger drive set will tolerate a bit more torquing.
-
Loosen all four bolts in a criss-cross pattern.
-
-
-
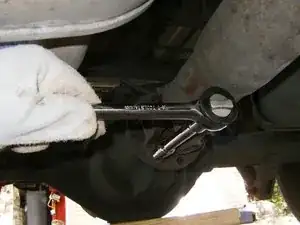
Use a socket and small extension to remove the bolts.
-
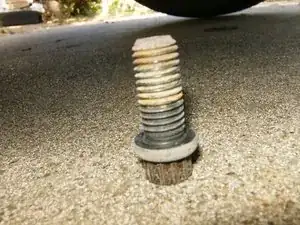
Here is a view of the actual size of the bolt.
-
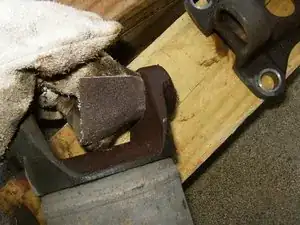
The driveshaft flange yoke fits tightly on the rear axle pinion flange pilot. Do not hammer on the driveshaft or any of its components to disconnect the yoke from the flange. Pry only in the area shown, to disconnect the yoke from the flange.
-
-
-
Driveshaft removed from the pinion flange.
-
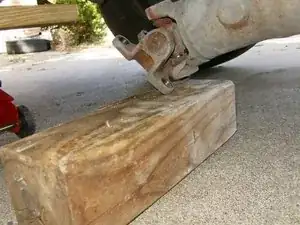
It is not very heavy, but do not let it hit the ground. Use a wooden block to set it down
-
The front slip yoke still in place.
-
-
-
Lift the driveshaft of the wooden block and gently slide it to the back of the vehicle.
-
The driveshaft slip yoke will simply slide out.
-
Remove the driveshaft from under the vehicle and place it on a suitable place (large workbench or even the ground)
-
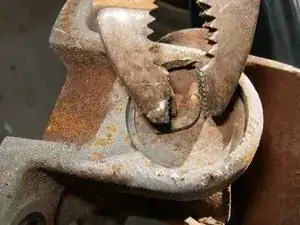
Remove the snap ring that secure the bearings. Use a pair of pliers and squeeze the angled ends of the snap ring together. this will compress the ring.
-
-
-
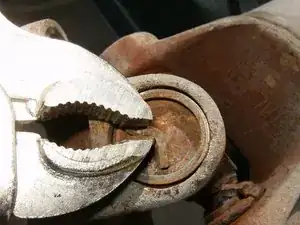
When the ends are properly compressed the ring will clear the inside of the groove and can be removed.
-
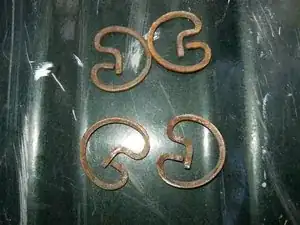
Here are the four old snap rings. Discard those, do not reuse.
-
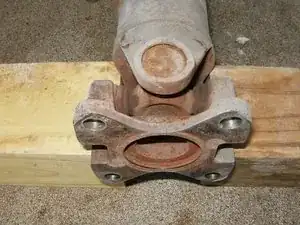
All snap rings removed. Place the driveshaft over a block of wood so that the flange yoke will clear it.
-
-
-
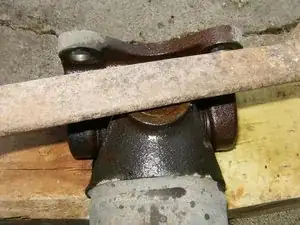
Application of some lubricant may assist in loosening some of the rust and debris that may have collect between the bearing cup and the bearing hole itself. Place a piece of flat metal stock across the bearing cup.
-
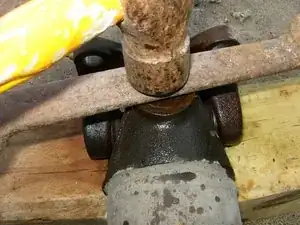
Use a hammer and strike the flat stock
-
This will slide the yoke and subsequently the bearing up through the bearing opening in the driveshaft.
-
-
-
Turn the driveshaft 180degrees and use a tool that will fit inside the bearing hole of the drive shaft
-
Strike the tool with a hammer. This will move the U-joint and yoke further out of the drive shaft
-
It should only take 2-3 hammer strikes to move the yoke and U-joint out of the driveshaft bearing holes. The bearing cup most likely will may simply fall out.
-
-
-
Remove the yoke form the driveshaft by angling it so it will clear the bearing surface.
-
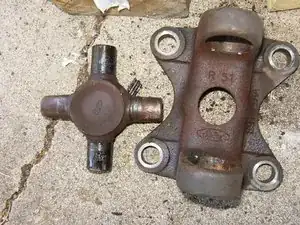
Here is the flange yoke with the U-joint still attached.
-
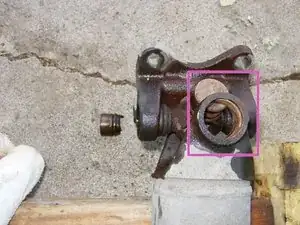
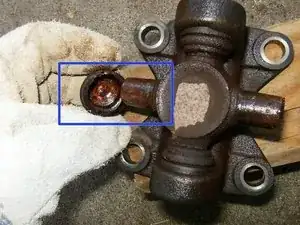
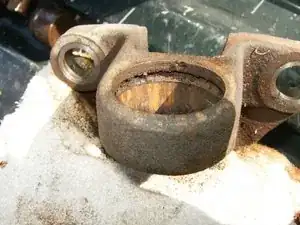
Here is the damage. Missing needles out of the bearing cup, worn trunions on the joint cross.
-
Place the flange yoke between two blocks of wood. Leave enough space between the blocks to clear the bearing cup.
-
-
-
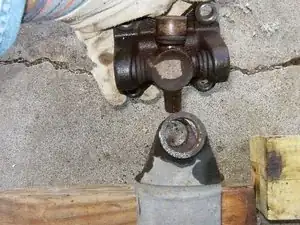
Use a tool that fits inside the bearing hole in the flange yoke. Strike that tool with a hammer to drive the U-joint down the opening.
-
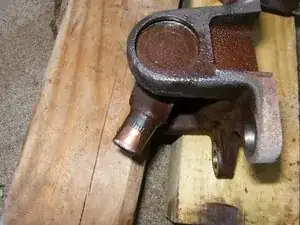
Shown here is the opposite end of the yoke. The U-joint is now flush with the yoke bearing hole.
-
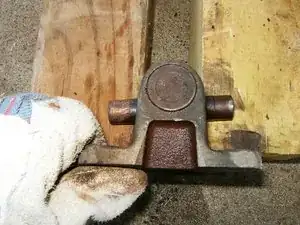
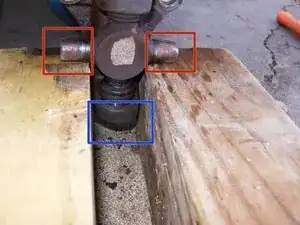
Position the yoke between two wooden blocks, let it rest on the trunions
-
provide clearance to the bottom
-
-
-
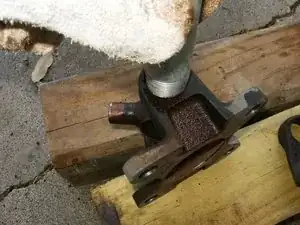
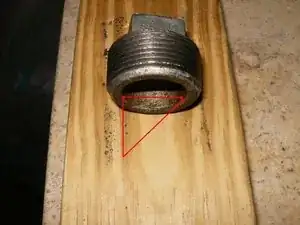
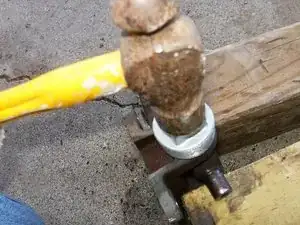
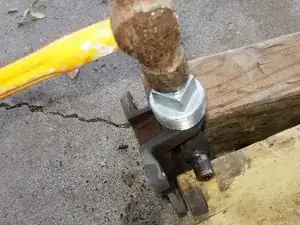
Here is the next tool I am using. It is a 1 1/4 galvanized plumbing plug. It has enough clearance to fit over the bearing cap.
-
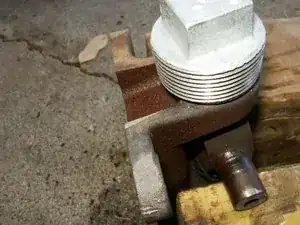
Place the tool over the bearing cup and rest it on the flange yoke.
-
Strike that tool with a hammer
-
-
-
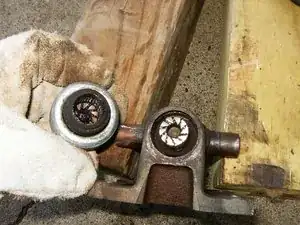
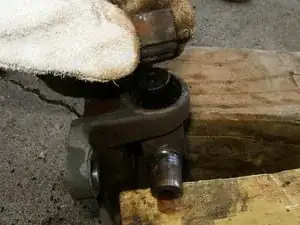
The yoke will move down, clearing the bearing cup. The cup may now rest inside the tool. It will be easily removed.
-
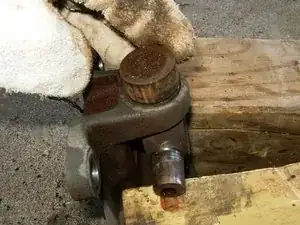
Turn the yoke 180 degrees and position it between the two blocks of wood.Let the trunions rest on the wood. Place the tool over the bearing cup opening and strike it with a hammer
-
The yoke will move down, clearing the last bearing cup.
-
-
-
Remove the bearing cup.
-
Remove the U-joint cross from the flange yoke.
-
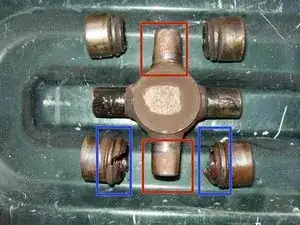
Show here is the damage to the trunions
-
as well as the bearing cups
-
-
-
Clean the bearing openings with either a piece of emery cloth or a file. Deburr all the edges
-
Clean the groove for the snap rings of any debris. It is imperative that these are clean to properly seat the snap rings
-
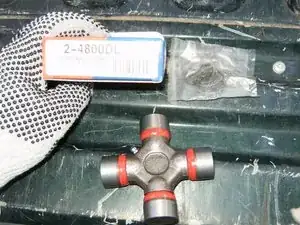
Here is the new U-joint assembly for this truck. Purchased at Autozone for around $9. This has a grease fitting that the original did not have.
-
-
-
Here is a quick video to show how the damage affect the connection between the flange yoke and the driveshaft. If not replaced in time the trunion or bearing cup can shear of. This can cause major damage to the driveshaft, the pinion flange or the slip yoke. It will become a very expensive repair.
-
To reassemble your device, follow these instructions in reverse order. Ensure the needle bearings are seated straight in the bearing cup. Do not force the trunion all the way into the bearing. If it does not butt flush against it, disassemble and check for dislodged needles.
9 Kommentare
Thanks, this guide was more helpful than the Haynes guide.
I did this without jacking the truck, and basic tools.
This was by far the best write up I have seen! I was able to complete the project in under two hours and have never done them before. One thing I did learn was, on the new U-Joints you need to pay attention and ensure that you put the same cap on that you took off. Otherwise you will run into problems. Thank you again for the write up on this. Awesome Job!! And a HUGE Thank you!
Pretty good share, I'm new on this site but will probably be sharing quite a bit as I have extensive knowledge in auto repair & accessories installs as well as general construction & I've always been into tinkering with whatever interests at the time. But it a great simple repair & Casey's add about the caps is good to know before starting this project.
