Einleitung
Driving in the dark or in adverse weather with burnt out headlights is illegal and dangerous. Although headlight bulbs are relatively affordable, auto shops often charge additional installation fees. This guide will explain how to replace a headlight bulb on your 2003 Ford Taurus, so you can drive safely and avoid unnecessary costs.
Werkzeuge
Ersatzteile
-
-
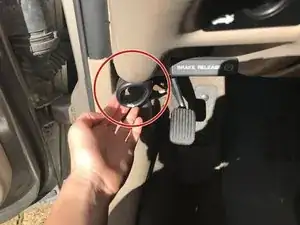
Open the hood of the car by pulling the hood release lever located inside the car. The lever can be found on the driver’s side, down and to the left of the emergency brake release. It should contain a symbol of a car with a raised hood.
-
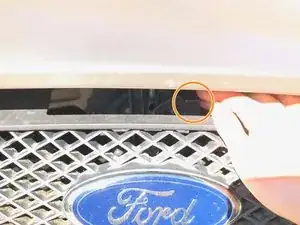
After pulling the lever, the hood should pop up slightly. To raise it fully, first release the safety latch, located centrally on the front of the hood, by pushing it all the way to the left.
-
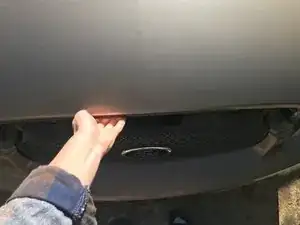
Pull the hood all the way up.
-
-
-
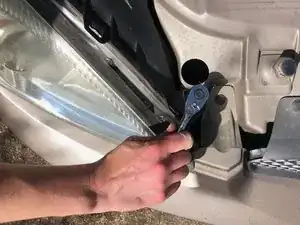
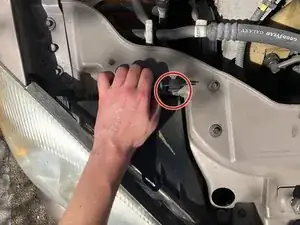
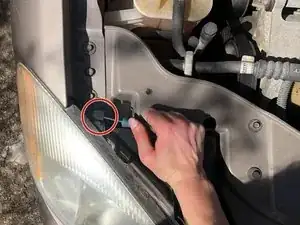
Using an 8mm socket and socket wrench, loosen the 8mm bolt located on the side of the headlight closest to the car’s center.
-
Find the two black clips located laterally from the 8mm bolt and remove them by prying them up with a screwdriver.
-
-
-
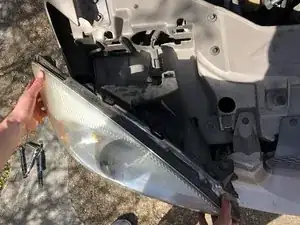
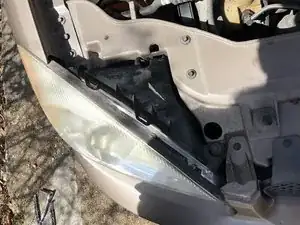
Pull the headlight assembly out from the car.
-
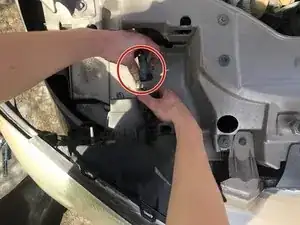
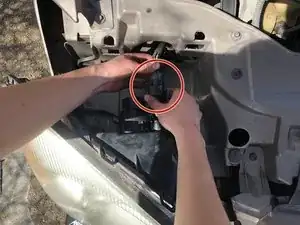
Detach the assembly from the car by pressing on the thumb tab of the connecting cord, while pulling the assembly outwards, away from the car.
-
-
-
Flip the headlight assembly around to expose the back, making various caps and cords visible.
-
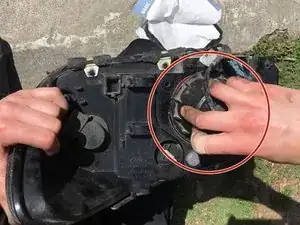
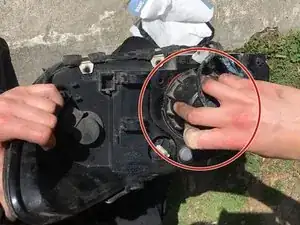
Open the headlight bulb cap (the largest cap) by turning it counterclockwise, until it becomes loose enough to remove.
-
-
-
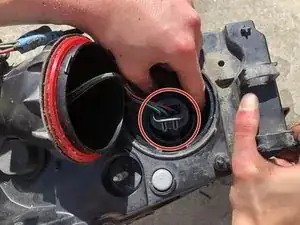
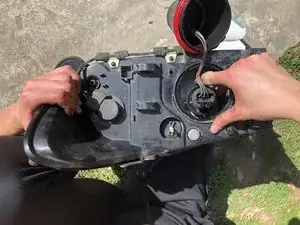
After loosening the bulb cap, wires connecting to a bulb holder should be visible. The bulb holder will be held in place by a circular retainer ring. Loosen the retainer ring by turning it counterclockwise.
-
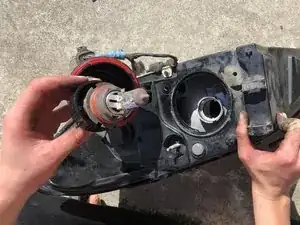
Pull the bulb and bulb holder out of the socket.
-
-
-
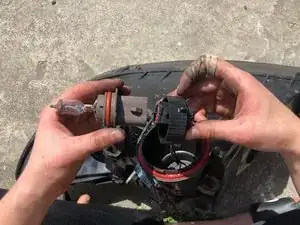
Firmly grip the bulb with one hand and the bulb holder with the other hand. Pull the two components apart to remove the old bulb, keeping the retainer ring on the side of the bulb holder.
-
Insert the new bulb by aligning it with the connections on the holder and press the two pieces firmly together until they “click.”
-
-
-
Align the new bulb and holder with the open socket. Twist the retainer ring clockwise to tighten the bulb into place.
-
Cover the bulb/holder with the headlight bulb cap and turn it clockwise until it holds firmly in place.
-
-
-
Reattach the headlight assembly to the car by first aligning the thumb tab on the car side of the connecting cord with the tab holder on the assembly side. Push the two sides together until they hold.
-
Line the headlight assembly up with the car and push it back into place.
-
Ein Kommentar
Excellent photos! I was looking for a picture of the headlight dust cover seal and you have a very clear image of it.
Jssamp -
