Einleitung
An oil change including installing a new filter is a service that should be completed around every 5000 miles to ensure that the engine is properly lubricated and can run smoothly.
Werkzeuge
-
-
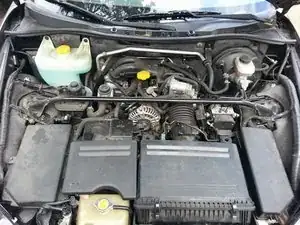
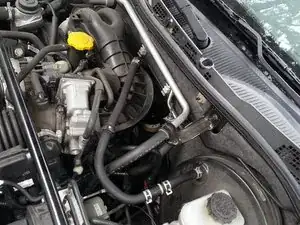
Open the hood by pulling the hood latch.
-
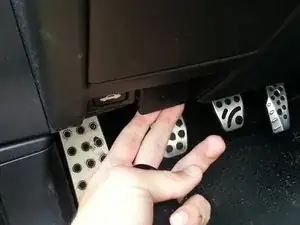
The hood latch is located down and to the left of the steering wheel by the trunk button.
-
-
-
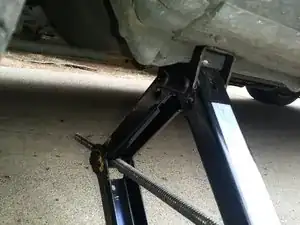
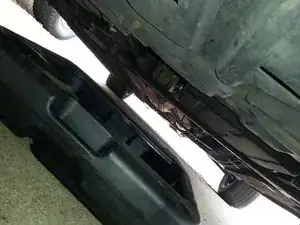
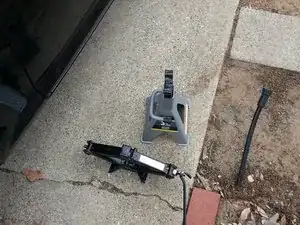
Jack up the car using the car jack.
-
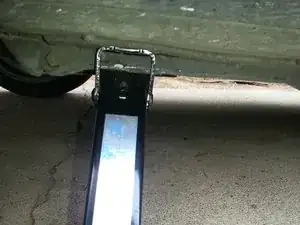
Be sure to place the car jack under the proper reinforced areas.
-
The reinforced area is located just behind the front wheels, between two bumps in the undercarrage frame.
-
Reference the car's manual if you require more information on how to safely jack up your car without damaging the frame.
-
-
-
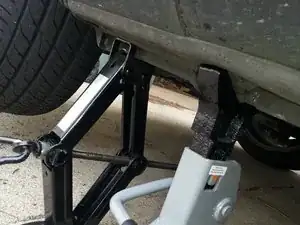
Place a jack stand under the car near the jack.
-
Lower the jack until the weight of the car is on the jack stand.
-
Standing beside the car, lightly shake the car to ensure that it is securely on the jack stand before getting under the car.
-
-
-
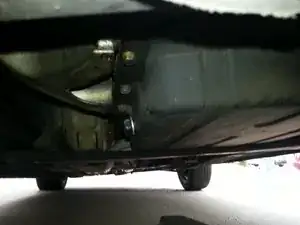
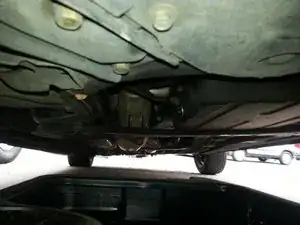
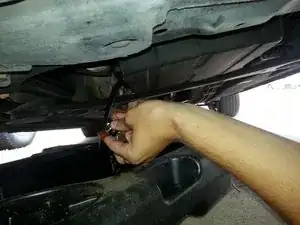
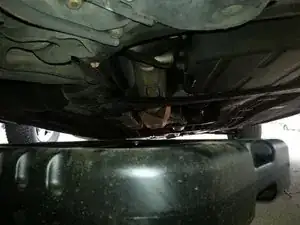
Place the oil pan under the drain plug of the oil pan.
-
The oil pan is located under the car between the front wheels.
-
The drain plug will be on the left side of the oil pan when facing the front of the car.
-
-
-
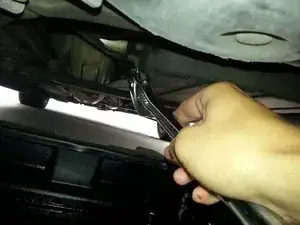
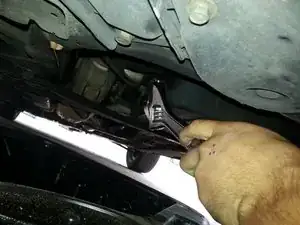
Loosen the drain plug with the crescent wrench.
-
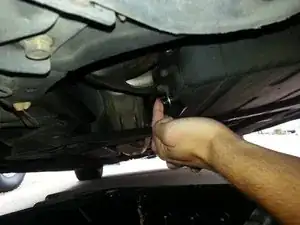
Once the plug is loose, unscrew it by hand letting the oil flow out.
-
Caution: If the engine has not cooled down before the oil is drained, the oil will be hot. Use proper precautions to avoid burns.
-
-
-
Leave the car for about 20 minuites to allow all the oil to drain.
-
Once the oil stops dripping, screw the drain plug back in by hand.
-
Tighten the drain plug with the crescent wrench until it is secure. Do not over tighten as the plug will have to be removed for the next oil change.
-
-
-
Jack the car up unitil the weight of the car is on the jack, and then remove the jack stand.
-
After the jack stand is removed, lower the car using the jack, and then remove the jack from under the car.
-
-
-
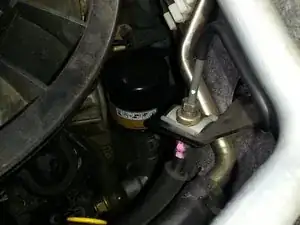
Locate the old oil filter.
-
It should be located in the back of the engine bay, behind the engine.
-
-
-
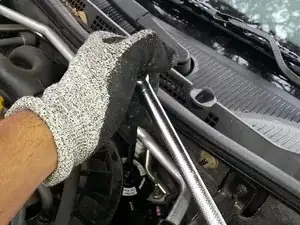
Using the socket wrench, extender, and oil filter wrench, loosen and remove the old oil filter.
-
The oil filter may be stuck on very tight. Some may find it easier to use a gloved hand to begin to loosen the filter initially.
-
-
-
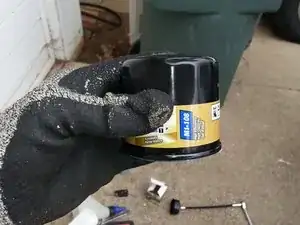
Take the new filter out of the box.
-
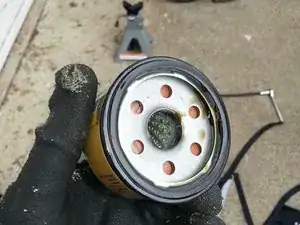
Place a small amount of oil on the o-ring and threads of the new filter make it easier to remove in the future.
-
-
-
Screw new oil filter into the spot where the old one was using your hand.
-
Tighten the filter using the filter wrench.
-
Be sure not to over tighten the filter.
-
-
-
Wait a couple minutes for the oil to settle at the bottom of the oil pan.
-
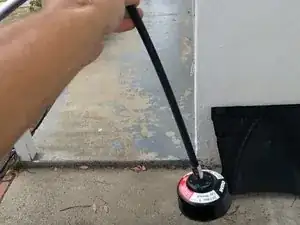
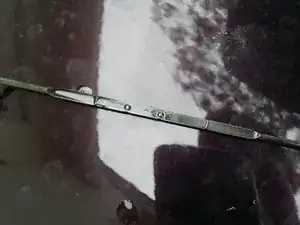
Using the dip stick, ensure the oil level is within the recommended range.
-
-
-
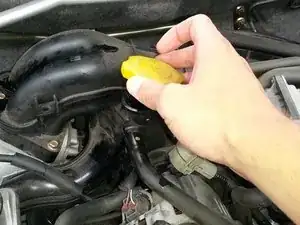
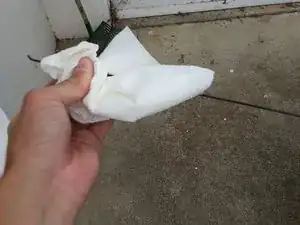
Wipe off the dipstick before to remove any excess oil on it.
-
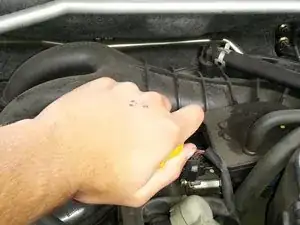
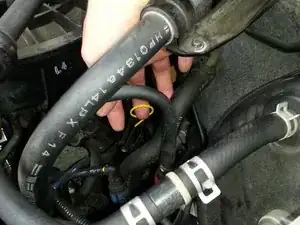
Put the dipstick back in the dipstick hole in the engine bay and push it all the way down.
-
Pull the dipstick back up and look at where the oil line is with respect to the markings on the dipstick.
-
The low oil line is the lower raised line on the dipstick, and the high oil line is the higher raised line. You want the oil level to be in between the two.
-
If the oil level is too low, add more clean oil into the oil fill spout. If the oil level is too high it may be necessary to drain the oil and repeat the guide over again to avoid engine damage from excess engine oil.
-
Ein Kommentar
Great! Thanks, I'm on it!
