Einleitung
This guide will give you step by step instructions to replace the rear cup holder on the 2005-2010 Jeep Grand Cherokee.
Ersatzteile
-
-
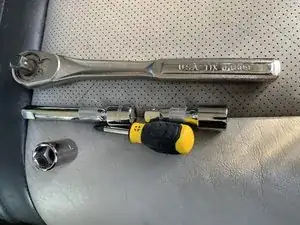
1/2" 18 mm socket
-
1/2" Ratchet
-
1/2" Short Extension
-
#2 Phillips screwdriver
-
NOTE: You can use something other than 1/2" tools; this is just what I had available.
-
-
-
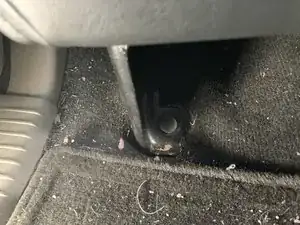
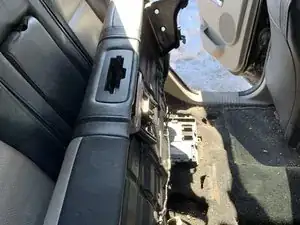
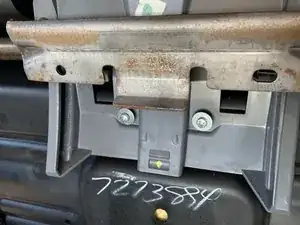
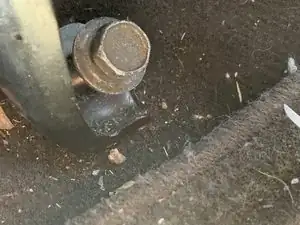
To gain access to remove and replace the rear seat cup holder, there are two 18 mm bolts, located on the floor board on each side of the seat by each door.
-
Remove these two bolts.
-
-
-
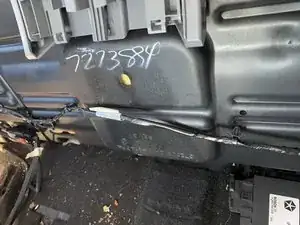
Once the two bolts are removed, gently, but forcibly slide the seat forward to loosen it, then gently lift up on the front to expose the bottom middle where the cup holder is located.
-
-
-
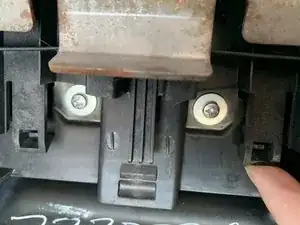
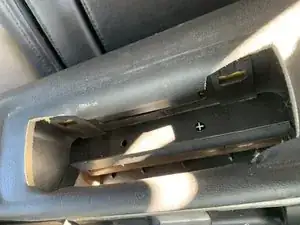
Locate and remove these two Phillips screws to prepare for removal of the cup holder.
-
If you cannot see the screws, you will need to slide the remaining portion of the cup holder out to expose them.
-
-
-
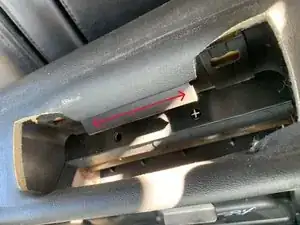
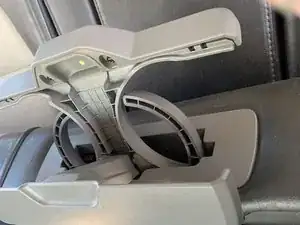
Use your finger and fingernail to gently pry each of these plastic tension clips, while gently pulling out on the cup holder assembly.
-
Alternately use a flathead screwdriver, spudger, or other small pry tool.
-
-
-
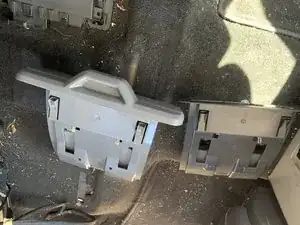
Slide to install the replacement rear cup holder assembly into the seat bottom recess. Note: New and old cup holder assembly for comparison.
-
-
-
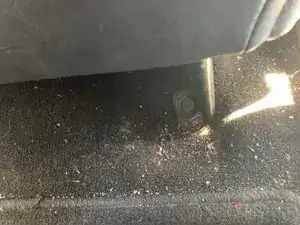
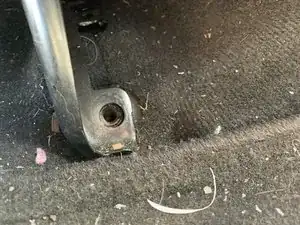
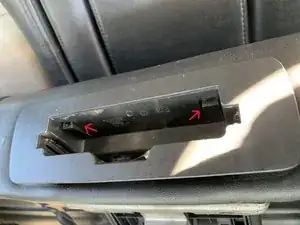
Reinstall the seat, being careful to watch for:
-
1. Any cabling that needs routed.
-
2. Seatbelts are back in their respective channels.
-
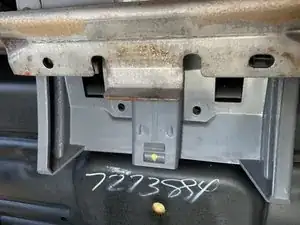
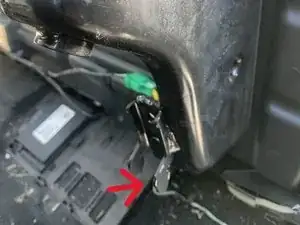
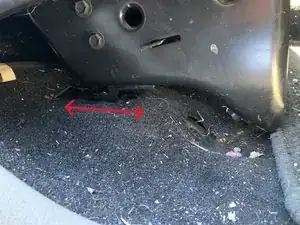
3. Seat mounting brackets on each side of the bottom of the seat mounting bracket, by the mounting bolt holes are in their floor slots. (Red Arrow in picture 2 shows driver side and picture 3 passenger side)
-
-
-
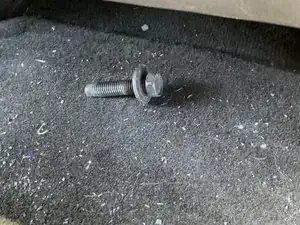
Replace Two 18 mm Seat Mounting Bolts. Unknown Torque spec, but you will know when they get pretty tight. If you can still turn them, keep tightening.
-
To reassemble your device, follow these instructions in reverse order.