Einleitung
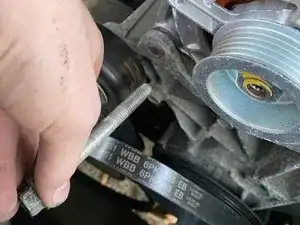
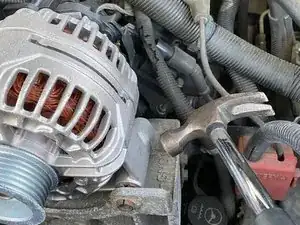
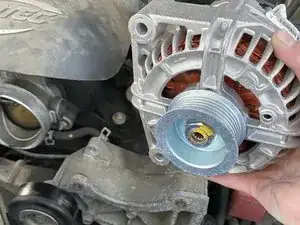
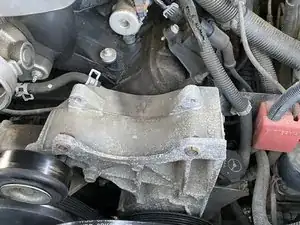
I hope this guide will help you in changing your 2005 Chevrolet Tahoe’s alternator. All of the tools and required parts are listed in this guide as well as pictures to help demonstrate what is happening in each step.
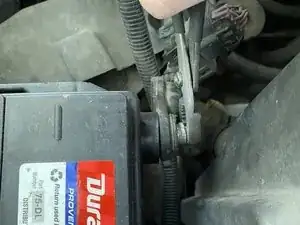
The alternator in a vehicle charges the battery while the car is running. If your alternator goes out, your battery will die, leading to your car not turning on. It is important to replace the alternator for proper function of your car. Be cautious and make sure to follow the steps in order to prevent injury. When working on something in a vehicle, it is always important to disconnect the negative terminal of the battery. Always let your vehicle cool down before trying to work on it. Wait at least two hours from the previous time it was driven before attempting to work. This guide will have your vehicle back in business within an hour if all goes well.
Thank you for viewing this guide; I hope it helps!
Werkzeuge
-
-
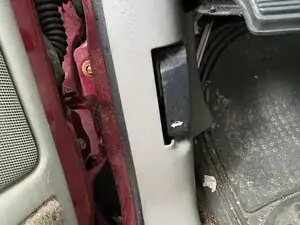
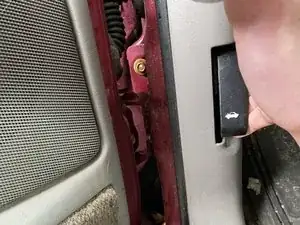
Pop your hood by pulling out on the lever that is to the left of the emergency brake pedal.
-
Once the lever is pulled, go to the front of the vehicle and lift up on the lever that is under the center of your hood.
-
-
-
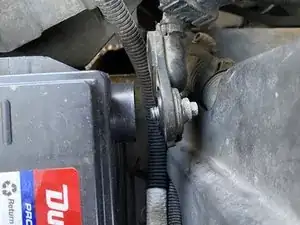
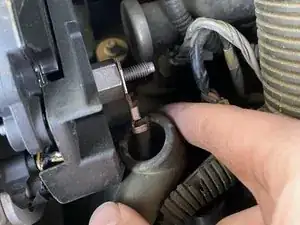
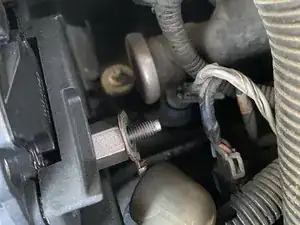
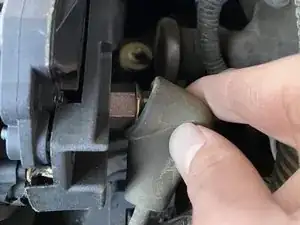
Remove the rubber covering on the nut and bolt assembly on the back of the alternator.
-
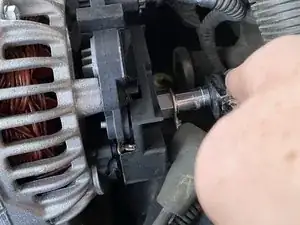
Remove the nut with a 10 mm socket.
-
-
-
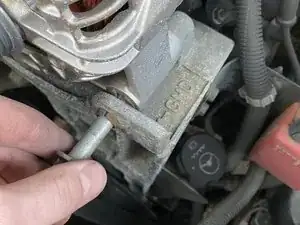
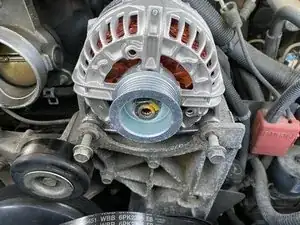
Once the two bolts in the front are removed, the alternator is ready to come out.
-
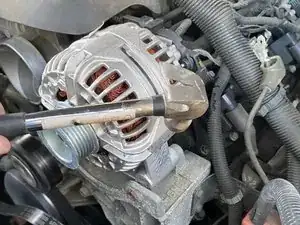
The alternator might need a little persuasion to come off the bracket, so use a hammer or a pry bar to aid you in this step.
-
-
-
To accomplish this you will need a hammer to tap your alternator into place.
-
The objective here is to line up the bolt holes on the bracket with those on your new alternator.
-
-
-
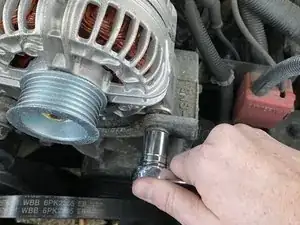
Once your new alternator is in place, feed the two bolts back through their corresponding holes on the front of the bracket.
-
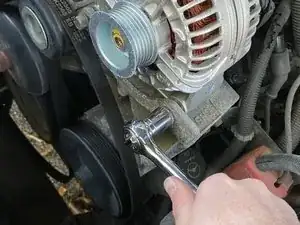
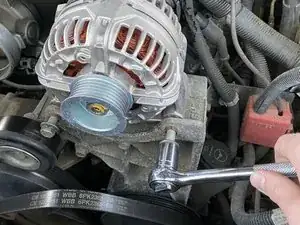
Tighten the bolts down with a 15 mm socket.
-
-
-
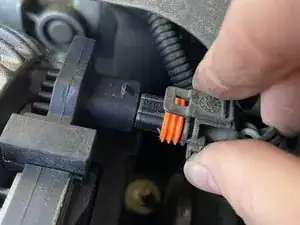
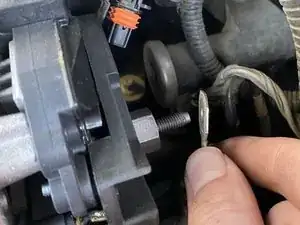
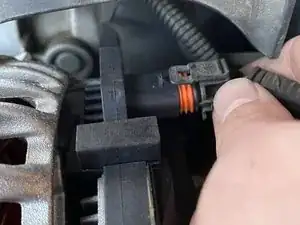
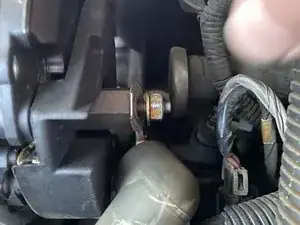
Place the wiring connector back onto the bolt on the backside of the alternator.
-
Put the nut on and tighten it down using a 10 mm socket.
-
-
-
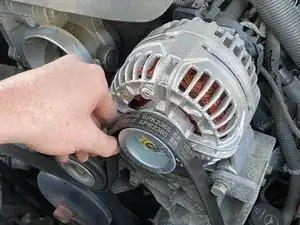
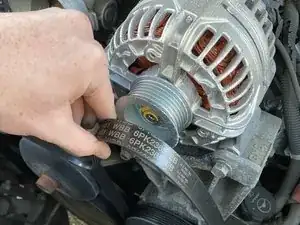
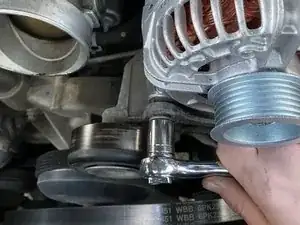
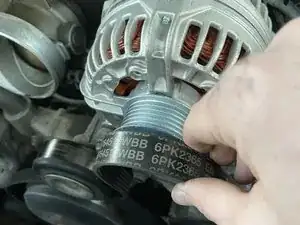
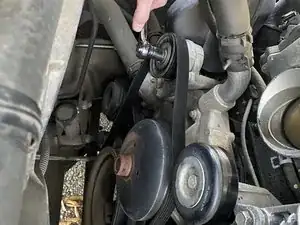
Realign the belt into its proper position.
-
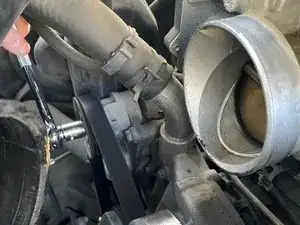
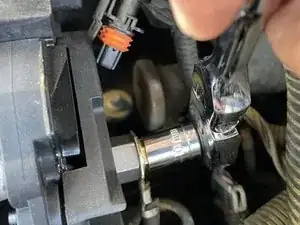
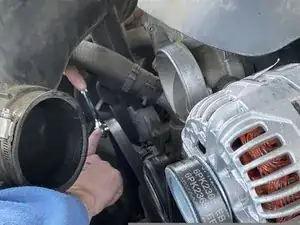
Place the belt in between your 15 mm socket and the tensioner.
-
Turn the tensioner to the right to relieve the tension and place the belt back on.
-
Once you have done this, release the pressure you are applying to the tensioner and make sure that the belt is properly aligned.
-
-
-
Reconnect your negative terminal back to the battery.
-
After this you should be good to go!
-
