Einleitung
Within the guide, you will learn how to replace a broken shifter bushing. This bushing is found underneath the shifter itself. This bushing connects the shifter to the rest of the shifting mechanism that then connects the transmission of the vehicle. This guide is specific to a 2007-2012 Jeep Patriot. Use this guide if you find that your shifter is not in the correct position when shifting to the specified gear. But beware this issue could also be an issue with the vehicle’s transmission. Getting to the bushing might be a bit of a tight squeeze due to you having to get on the floorboard of your vehicle. Make sure your vehicle is completely turned off as you will be around wires while following the steps of this guide. Some of the screws you will come across may require some force in order to unscrew them.
Werkzeuge
Ersatzteile
-
-
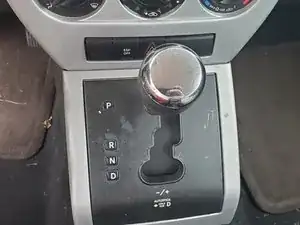
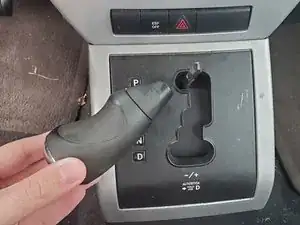
Remove the gear shifter handle, where it says PRDL (Park, Reverse, Neutral and Drive) next to it, by pulling it straight out in an upwards direction. It will take some force.
-
-
-
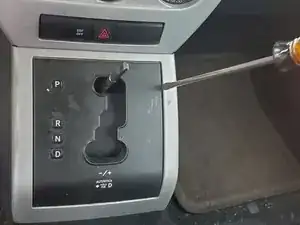
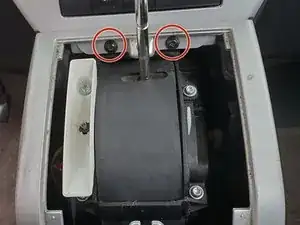
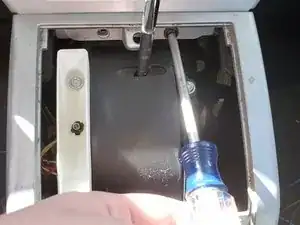
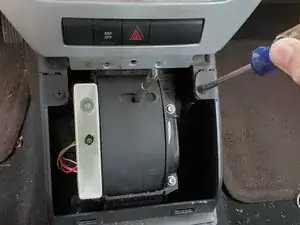
Remove the 19mm screws underneath the bezel using the Phillips #1 screwdriver.
-
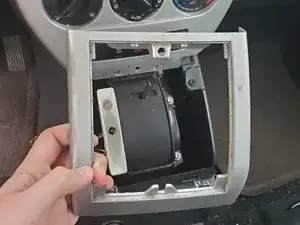
Remove the bezel assembly.
-
-
-
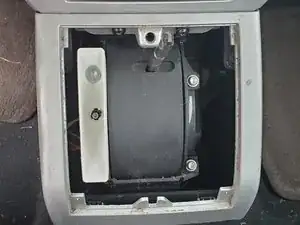
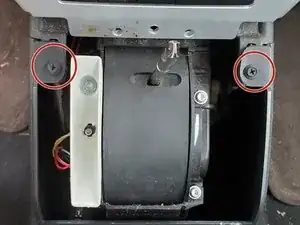
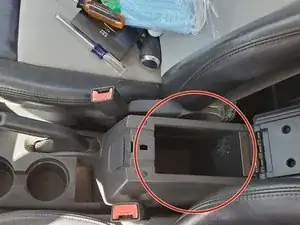
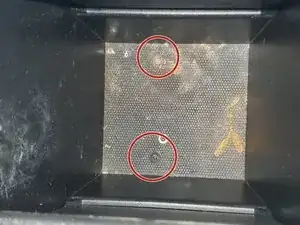
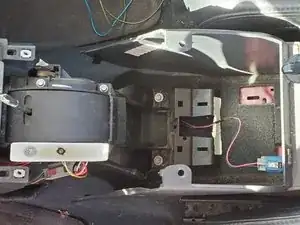
Unscrew the two 19mm screws within the storage compartment using the Phillips #1 screwdriver.
-
-
-
Pull up on your emergency brake as high as you can get it.
-
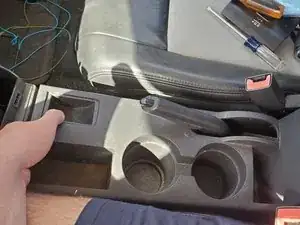
Remove the middle and rear section of the console to remove the front section.
-
Grab the sides of the console and start to wiggle it until you hear the sections unsnap from each other.
-
-
-
Pull the middle and back section back and away from the rest of the console. Completely removing it. You may or may not have some electrical wires you will have to disconnect. It depends on your car's model.
-
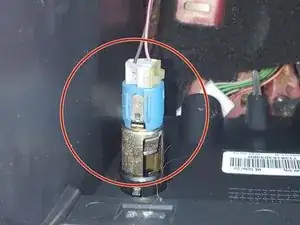
You do not have to disconnect this connector from the cigarette lighter.
-
-
-
Now you need to be under the shifter bezel on the floorboard. If you follow the rod coming from the transmission, you will see it is not attached to anything.
-
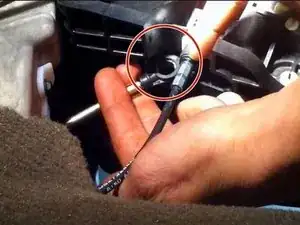
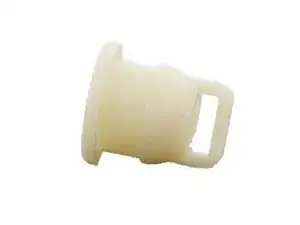
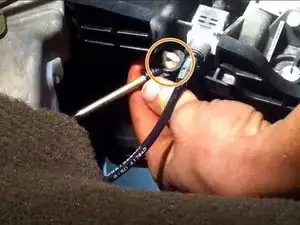
You will see a hole within the rod. That is where your bushing should be. You will push the bushing from the back side of the rod towards the driver side. The bushing should then be facing the driver side. You may need to put a little grease on it as it will be a little difficult to push in. Pliers will help you push it in also.
-
Now that you have the bushing installed, you will reach into the mechanism and clip it in towards the passenger side.
-
To reassemble your device, follow these instructions in reverse order.
