Einleitung

This guide will teach how to safely remove and replace the radio head unit of the car.

  1. rQW1GPAUw4dMwuSH
    rQW1GPAUw4dMwuSH
    ekxXE6cZkTVWYKGY
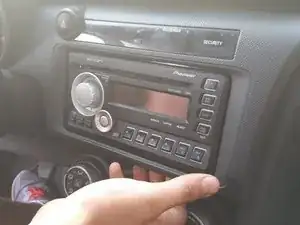
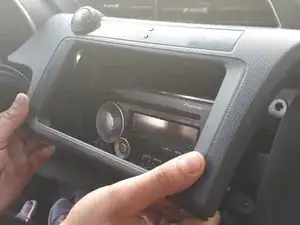
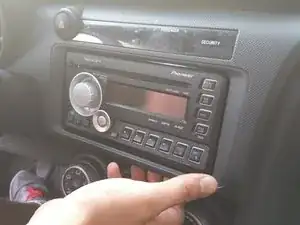
    • Remove the dashboard panel around the radio head by pulling on the bottom of the unit.

  2. RLKkq2wwqFXpWDUE
    RLKkq2wwqFXpWDUE
    XqENFbCvKjbbYS1M
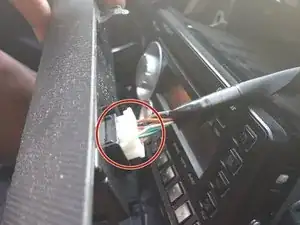
    • Remove the wire header connected to the panel by pressing inward on the tabs.

  3. NhljmUf4mtiPXrgd
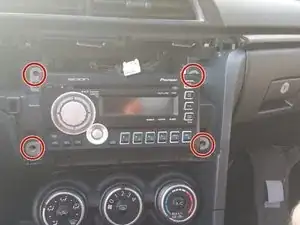
    • Remove the four #2 12mm screws securing the head unit in the housing

  4. Iwd2NZHs1dW6XbFG
    Iwd2NZHs1dW6XbFG
    hkVyLIRlLQZmW2q4
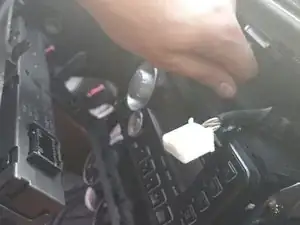
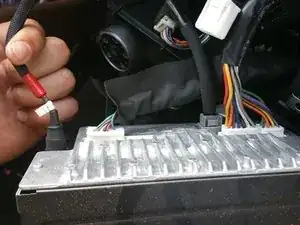
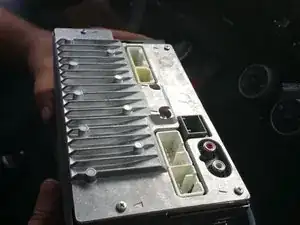
    • Remove each bundle of wires that is connected to the back of the head unit.

  5. PKdBwK1IcmphrSxg
    PKdBwK1IcmphrSxg
    lVvKrnVug1FbKPyL
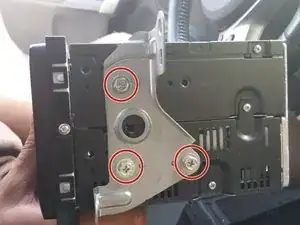
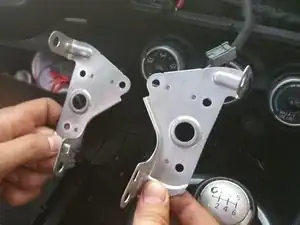
    • Locate the metal brackets on the side of the head unit.

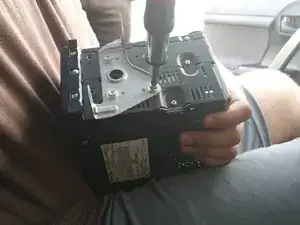
    • Use a Philips head screwdriver, remove the three #2 25mm screws from both support brackets on the side of the head unit

  6. ngram25quGXil4fu
    • Screw the support brackets to the new radio head unit

    • Note that the brackets are unique to the car. They will not come with your new head unit.

Abschluss

To reassemble your device, follow these instructions in reverse order.
Dylan Smith

Mitglied seit: 01/05/15

143 Reputation

0 Kommentare