Einleitung

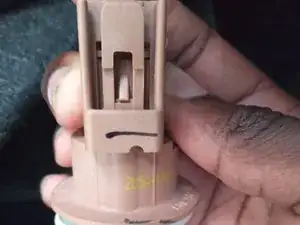
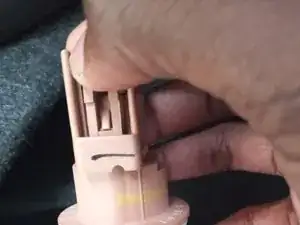
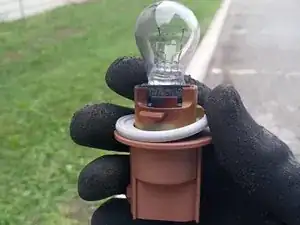
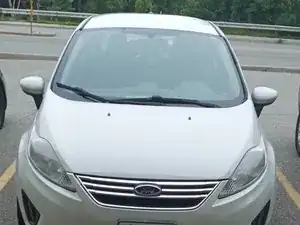
This guide shows readers how to replace the indicator light bulb for a 2011 Ford Fiesta. This bulb signals other drivers while making lane changes on the road. The frequent use of the indicator bulb can cause the fuse to blow, or at times the bulb will burn out. In this guide, I will provide steps needed to replace the bulb. I also want to encourage readers to fix simple car repairs and hopefully use the skills gained in the other parts of their lives. People spend thousands of dollars on car repairs each year. I want to show readers that a mechanical background is sometimes not needed and that people can save a lot of money by using this guide.

  1. QiYVAWOeAuHGcrMu
    • Park the car where you have room to work.

    • Check that the hand brake is on and the engine is off.

    • Wait for the car to cool down before opening the hood. The hot air from the engine may damage the eyes and cause burns.

    • Ensure that the car has rested for at least 30 minutes.

  2. KJIN2BEEEkGevaVR
    KJIN2BEEEkGevaVR
    KYBrXA3U4foQFa2Q
    SCdPYZ5Zcwkyg3ZV
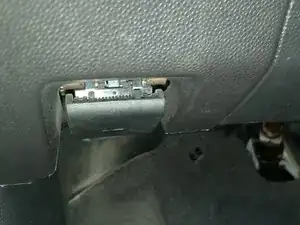
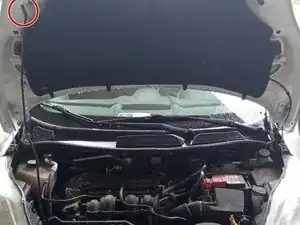
    • Pull the hood release under the driver's dashboard towards you.

  3. VG3a6pbCPchXILrH
    VG3a6pbCPchXILrH
    Crfk3u5VJrkL3JFs
    ZNKh25cQ3COSNE5D
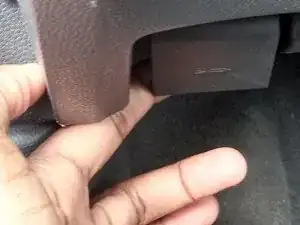
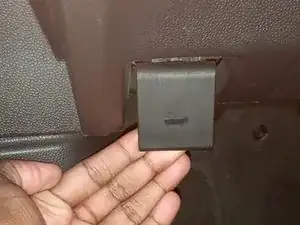
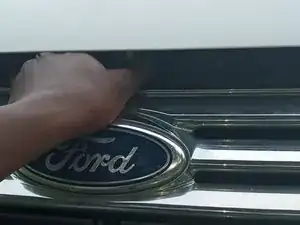
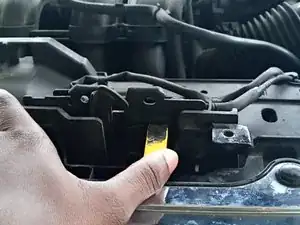
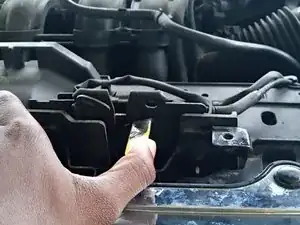
    • Make sure there is space to insert fingers. If not, repeat step 2.

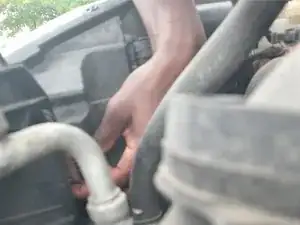
    • Push the yellow hood release to the left to open the hood.

  4. GyXxeXDvNS5U2LPQ
    GyXxeXDvNS5U2LPQ
    Y5Ka3NFjVaJbUKjJ
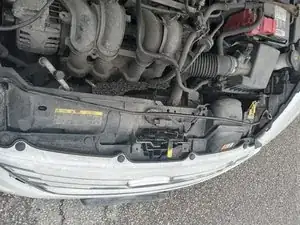
    • Lift the hood with one hand and place the strut upright in the correct position.

    • Place strut in the hole to the left of the hood.

  5. Uc1koGfkrBHjapAd
    Uc1koGfkrBHjapAd
    YBhoKtbFuMVT25ff
    clfwQDoCXhhme3PQ
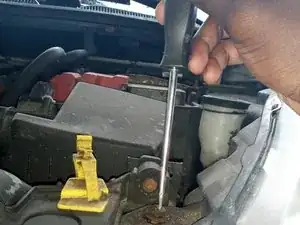
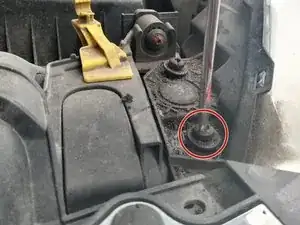
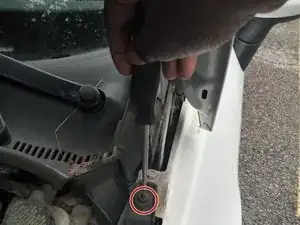
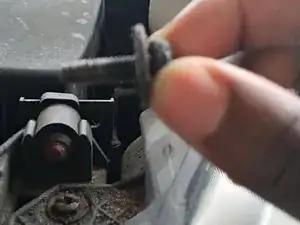
    • Use a flathead screwdriver to loosen the lower retained screw.

    • Collect the screws and store them somewhere safe.

  6. D5yZPOELKBViUKQo
    D5yZPOELKBViUKQo
    KYZqLBeFmGDZM1O1
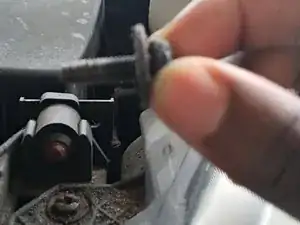
    • Remove the upper retained screw.

    • Store the screw in a safe place.

  7. t1QiKCmBmsMJhRUQ
    t1QiKCmBmsMJhRUQ
    Be1ptmp4eUpLcE2a
    Qlt5qCVOxNVlHcdC
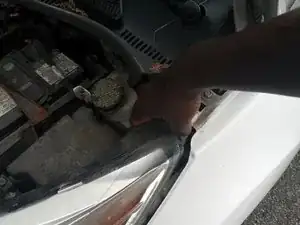
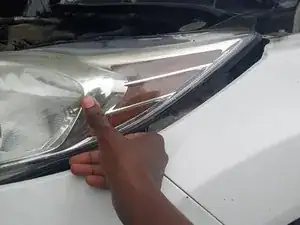
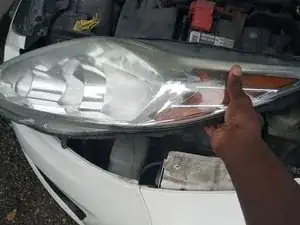
    • Carefully remove the headlight.

    • The headlight is attached to three electrical connectors.

    • Gently pull up and towards your body.

    • Set the headlight to the side.

  8. LJsI6MhHmttLXNBK
    LJsI6MhHmttLXNBK
    riPFM4nmKi5ZTFW4
    KHXsjJrtJITN1Elc
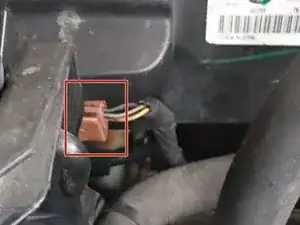
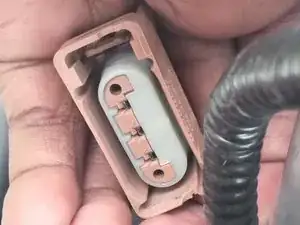
    • Press both ends of the bulb container to remove the electrical connector from the bulb container.

  9. FgcurFE35IcGZRQZ
    FgcurFE35IcGZRQZ
    vIOlZaWXPc1rxTc3
    ooTmMBnOecaQpVXm
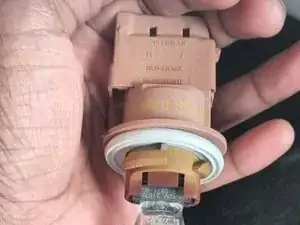
    • Pull out the bulb from the headlight.

    • Press both ends of the electrical connector to separate from the bulb container.

  10. pMEN1itZEWwhDwTN
    • Make sure you do not hold the glass surface with your bare hands. The bulb may malfunction from the sweat in your hands.

    • Hold the black part of the bulb.

    • The bulb might break, so be sure to wear gloves and protective glasses.

Abschluss

To reassemble your device, follow these instructions in reverse order.
Phillip Kataswa

Mitglied seit: 01/07/21

181 Reputation

0 Kommentare