Einleitung

One item that commonly breaks in modern cars is the oxygen, or O2, sensor. When they go bad, it can lead to rough idle, and if ignored, will leave motorists stranded. It is very easily diagnosed by a trouble code or check engine light. Many auto parts store will scan cars for free, and the code provided will indicate if there is a bad O2 sensor, as well as many other possible issues.

This fix will involve finding the sensor, unplugging it, unthreading it, and reinstalling a new sensor in its place.

Reminder: Engine bays are usually very dirty so a pair of work gloves or even non latex style medical gloves can make clean up easier. Thinner gloves are better for dexterity since there is a small plug to manipulate.

Reminder: More lighting is never a bad thing. Headlights, a friend holding a flashlight, or magnetic lights, while not a requirement, will definitely help.

  1. 3IcIZQMnMGE4RPDK
    • Never work on a hot vehicle. Allow your car to cool for at least 4 hours before performing maintenance.

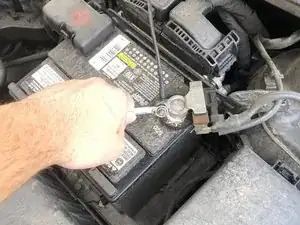
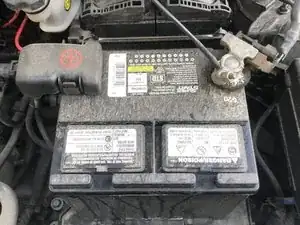
    • Never work on any automotive electronics without first disconnecting the negative (-) terminal.

    • Use a 10 mm wrench to loosen bolt on the battery's negative (-) cable, then slide it off the (-) negative post.

  2. rljODHxGvjVAAeeV
    rljODHxGvjVAAeeV
    hawk3uscIP2Z4oaC
    uwIJZJfkJEHSyem2
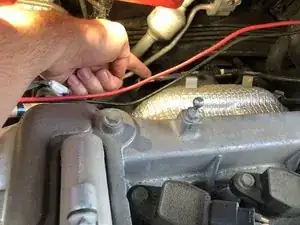
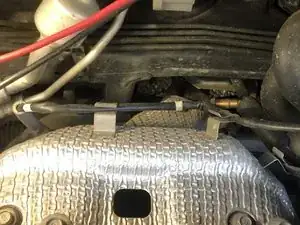
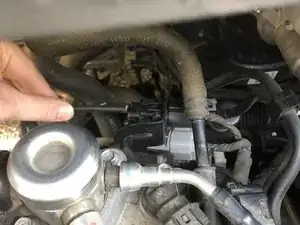
    • Locate the sensor off the exhaust header and follow the wire up to the connector.

    • Some of the pieces on the top-front of the engine are sharp; be careful what you lean on.

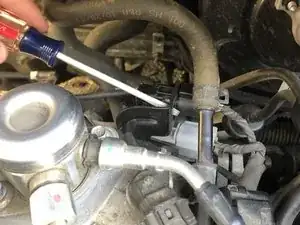
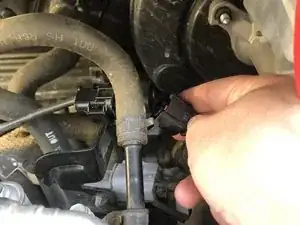
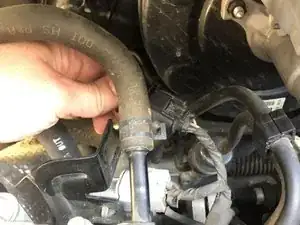
    • Gently work the connector out of the bracket, then disconnect it by pressing the tab inward then pulling out.

    • Plastic gets brittle over time. Be gentle and go slow. If it's not coming out, take a break and come back a little later. Be patient to avoid damage.

  3. sTLnQqAsfRgFaAMS
    sTLnQqAsfRgFaAMS
    lDhb1tCFJMjqtE4M
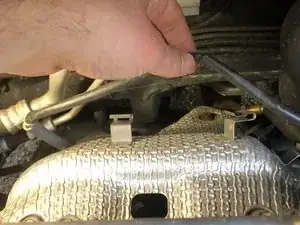
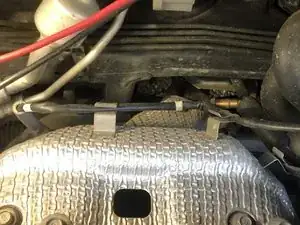
    • Gently pull the wire out of its bracket.

    • It will lift out of the bracket with minimal effort.

  4. OT5klyQYUkFvEaFs
    OT5klyQYUkFvEaFs
    1DgWGJd3vV3QHMJp
    2YT2qXRXPiTKjSYs
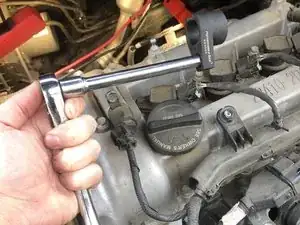
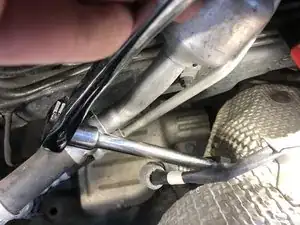
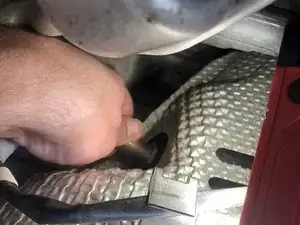
    • Place the 7/8" (22 mm) socket around the O2 sensor. Use a ratchet and 6" extension to loosen and remove the sensor.

    • Place the socket on the sensor without the ratchet in the way. Once the socket is in place, reattach the ratchet and loosen.

    • The sensor is behind the exhaust, up against the firewall. Having a headlamp, or a friend who can hold a flashlight, is a big help. The red lights in these photos are cheap magnetic lights!

  5. EexsK4jqydVBOoLK
    EexsK4jqydVBOoLK
    dygkTsbGWJ1FHrgr
    VQNjx6uO1AFoOwjI
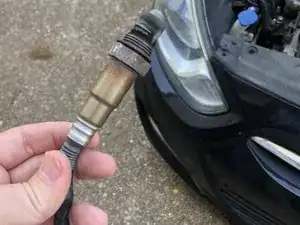
    • The sensor can now be unthreaded by hand.

    • When installing the new O2 sensor, if you feel extreme resistance, STOP. It means it is cross threaded. It should easily thread in by hand.

    • Use the 7/8" (22 mm) socket to tighten the sensor firmly so it doesn't loosen from vibration.

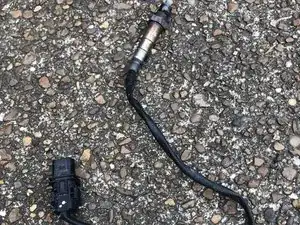
    • The last picture is what the whole sensor looks like out in the open.

  6. Lgc4QECXBnbPeGb5
    Lgc4QECXBnbPeGb5
    lRQryBf2xQITSrB4
    tNR3uu1ChklcNsPj
    • Reconnect the plug by firmly pushing the plugs together.

    • Depending on the age of the plastic, you may or may not hear a click; just follow where the two plugs meet. There should be almost no gap.

    • Push the connector back into its bracket.

    • You may need to slightly wiggle the connector as you seat it into its bracket. It will be a tight fit by design.

    • Push the wires back into the metal brackets.

  7. 5kDapn3DLrspXHTX
    • Reattach the negative (-) battery cable.

    • Be sure to push/seat the terminal as far down as possible before tightening the 10 mm bolt.

Abschluss

Your O2 sensor should be installed and good-to-go!

Jed Porter

Mitglied seit: 06/03/22

145 Reputation

0 Kommentare