Einleitung

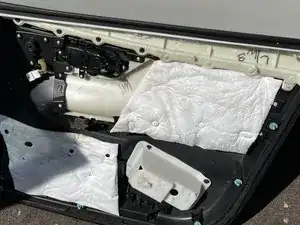
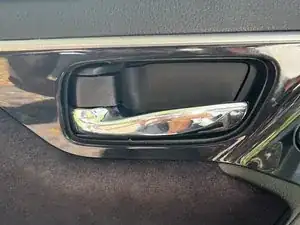
This guide is to help demonstrate how to properly replace a 2013 Altima interior door handle.

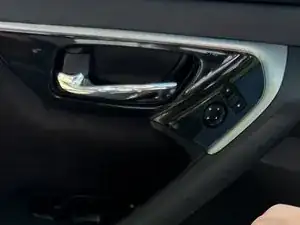
The door handle is important because it allows you easy access to get in and out of your vehicle. With this problem, you will have to find alternatives to get out of your car or worse, overpay a company for a $20 fix. You will only need a flathead screwdriver, a 10 mm socket and wrench, and a new handle.

  1. BukRcRRMilHGFI5n
    BukRcRRMilHGFI5n
    CPqvSeHwbOhnwBR1
    scHGapVASpTIXx2A
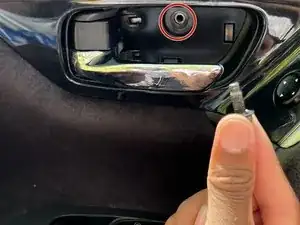
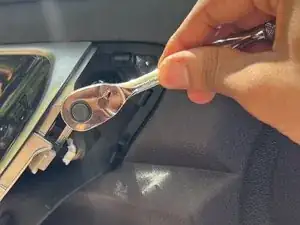
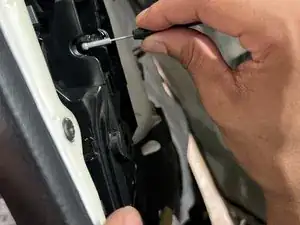
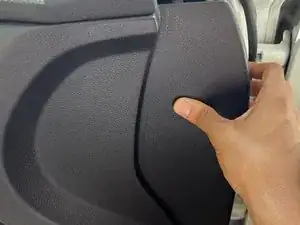
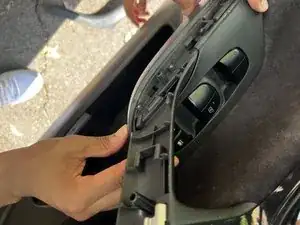
    • Use an opening tool or spudger to gently pry open the cover behind the door handle.

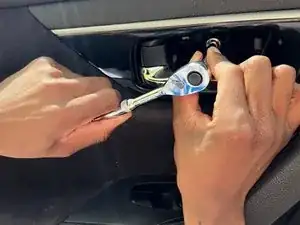
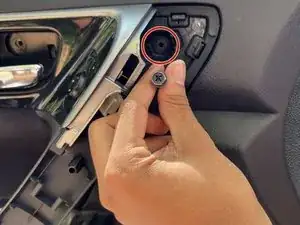
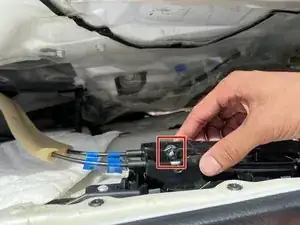
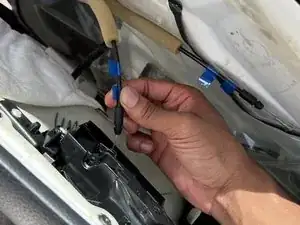
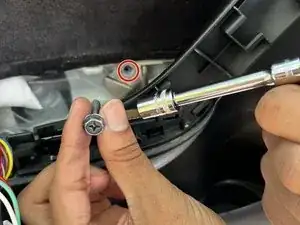
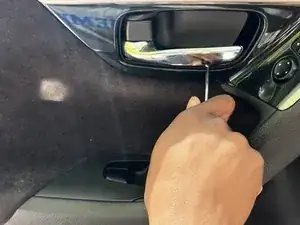
    • Use a 10 mm socket to remove the bolt under the handle cap.

  2. aHs6rxwY3qZFdNlS
    aHs6rxwY3qZFdNlS
    AZLDtOPGqoFSFIs6
    iXmbd22WnsueSxuP
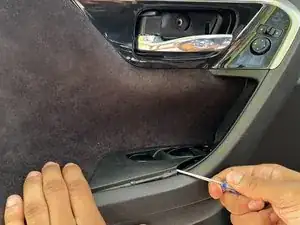
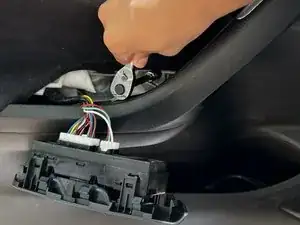
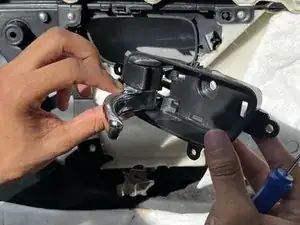
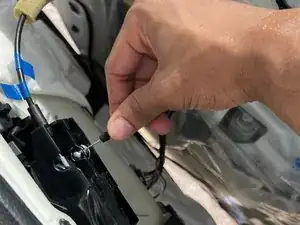
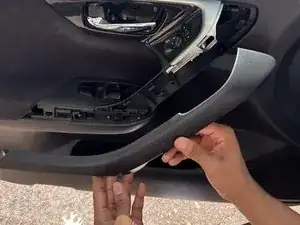
    • Use an opening tool or spudger to pry the window and door lock assembly up and free from the frame.

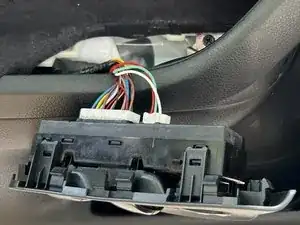
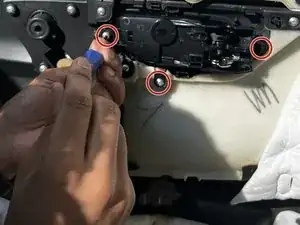
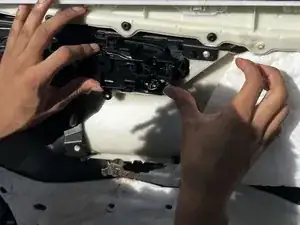
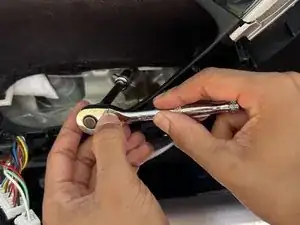
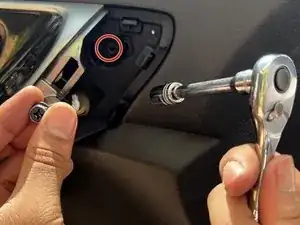
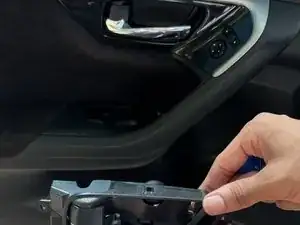
    • Use a 10 mm socket to remove the single bolt underneath the control assembly.

  3. vtYuqyEOpDBnZgrQ
    vtYuqyEOpDBnZgrQ
    U3BrRGevCBniGpbx
    33ZtfYkEH1BgFahg
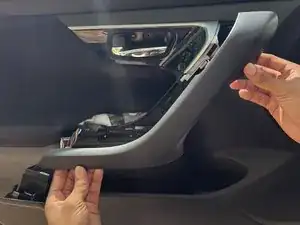
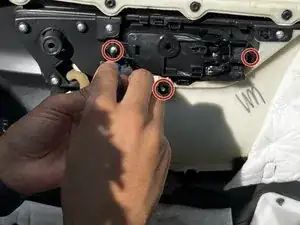
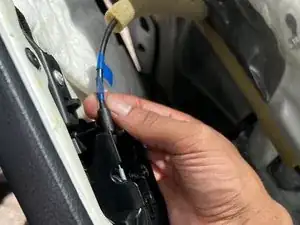
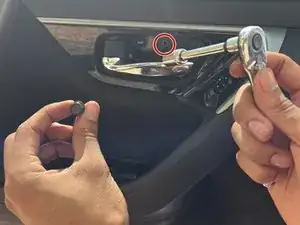
    • There is another screw located underneath the long arm panel (to the left of the door handle), unscrew it.

  4. wGEIovR1OEbMRpDF
    • Unhook the cables from the window control panel to take off the door.

  5. JnsYqHJhHM16wAKB
    • Unscrew the three silver screws directly behind the door handle (Top, left, right).

  6. 5rd6VXji2udZX31s
    5rd6VXji2udZX31s
    bQU1CYaYFUAEgPsu
    EGag12mkdYuY5QS4
    • Unhook the two wires that hook into the unlock/lock mechanisms.

  7. uVASXQnY1aoEhJgt
    uVASXQnY1aoEhJgt
    WgO4omUMy6pBKYqK
    • Remove the old door handle.

  8. 3Li1gOWugntalTLY
    3Li1gOWugntalTLY
    DcFaLeo66c1OHZnS
    • Place and screw the new handle into place.

  9. w1hl2H5gr2SZXGZM
    w1hl2H5gr2SZXGZM
    6YpGkyhDxFcAtOs2
    ShsmlkCKiTVRfuwF
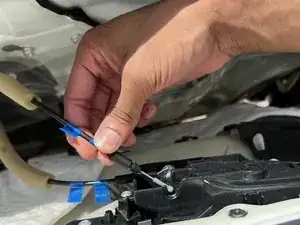
    • Hook the lock/unlock wires back into the door handle. (Handle will not work unless this step is complete.

  10. 2ITZwvJZwxxtbYGp
    2ITZwvJZwxxtbYGp
    AuvO1BtGdLFRFfUj
    • Plug in the window control panel and place the panel back in its respectful place.

    • The door panel clips should goes into the holes and snap in when in place.

  11. A4MYCHgmshkDBTJ6
    A4MYCHgmshkDBTJ6
    lfKW5nannDrEXdRE
    ukFCosJUITvkFXa2
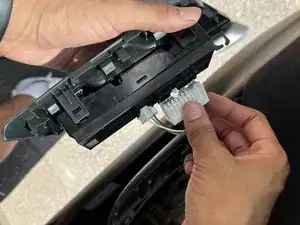
    • Insert the screw beneath the control panel and the screw to the right of the lock/unlock button.

  12. npwN4mibFietfGR1
    npwN4mibFietfGR1
    jUeguqjexqZPMtyW
    rTrlHGKFOLAgbxbV
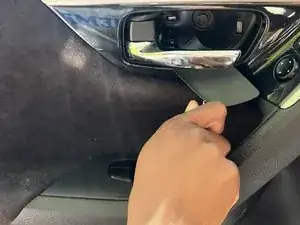
    • Next, place both the door arm and window control panel in their place. The arm should snap in while the control panel sits flush in place.

  13. TWCThiESEpyaODCB
    TWCThiESEpyaODCB
    HliGpUDrEdnqEDDM
    42Dhio5v4c52WEHv
    • Lastly, place the screw back in its respective place and tighten it with the rachet.

  14. j5OUJHpZUNCeeNib
    j5OUJHpZUNCeeNib
    L1PZbaarBnwTPIwU
    • Finishing result: The older interior handle is in my hand, while the new interior handle is in place.

Ezzaddin alkabsh

Mitglied seit: 19/09/22

229 Reputation

0 Kommentare