Einleitung
If one of the rear brake lights on your 2013 Toyota Camry is not working, this step-by-step guide will show you how to properly replace it and save money from taking your car to a mechanic. This is a relatively easy fix for almost anyone. No prior experience working on vehicles is required. This fix can be done in less than an hour with the appropriate tools. The only tools needed for this job are a spudger and a pair of latex gloves. For the parts, I've typed out the specific lightbulb required to follow this step-by-step guide successfully.
This replacement is necessary for any car owner because the rear brake not only signifies when you are breaking while driving but also makes the car more visible at night. Not replacing this light can lead to more significant issues, such as miscommunication on the highway when driving.
When opening the new lightbulb from the package, wear gloves and avoid touching the lightbulb with your bare hands. If done so, the light bulb's life span will not last as long as mentioned on the packaging.
Werkzeuge
Ersatzteile
-
-
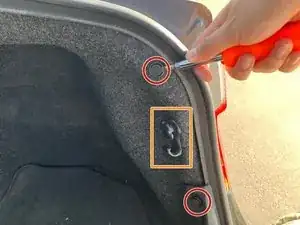
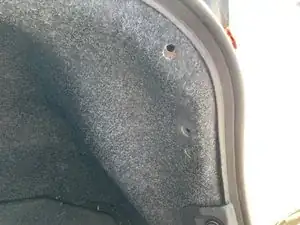
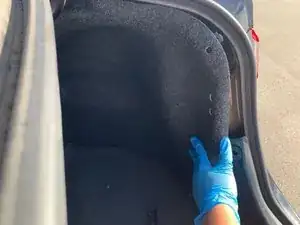
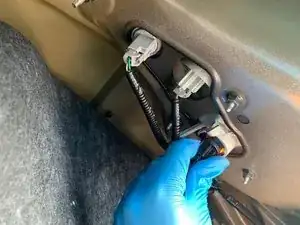
Use a spudger to pry out the two smaller fasteners inside the trunk.
-
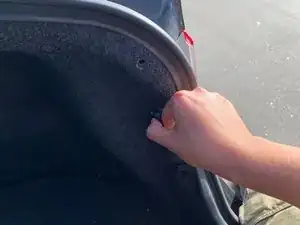
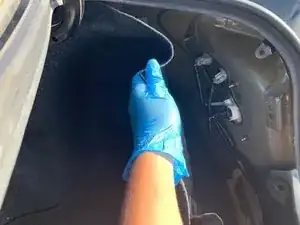
Push on the hook fastener to remove it.
-
-
-
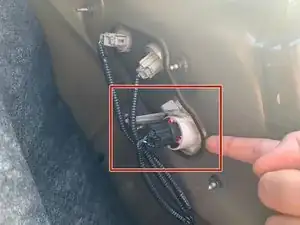
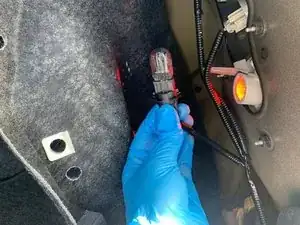
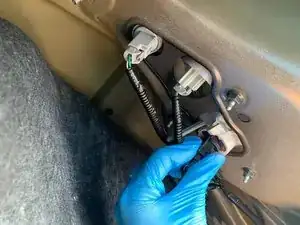
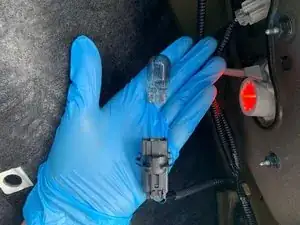
The one we will be replacing is the brake light bulb, the biggest connection of the three.
-
-
-
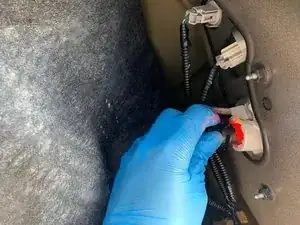
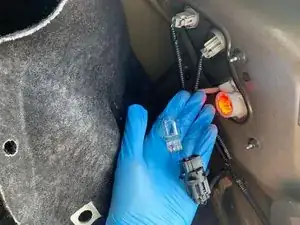
Turn the bulb counterclockwise from the outer connection portion (the black part).
-
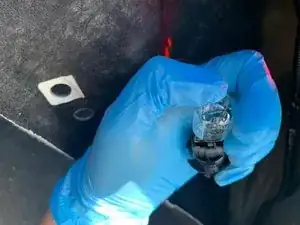
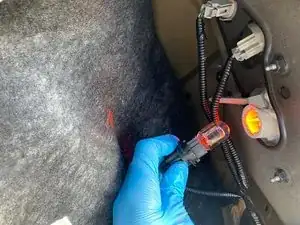
Pull the old light bulb from its connection.
-