Einleitung
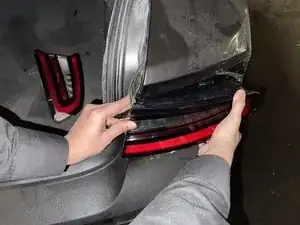
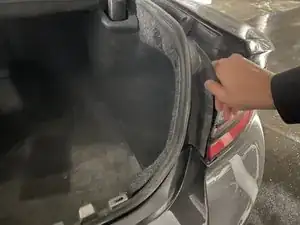
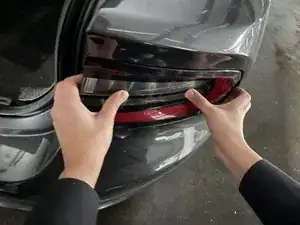
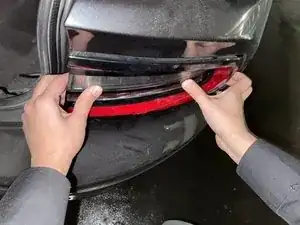
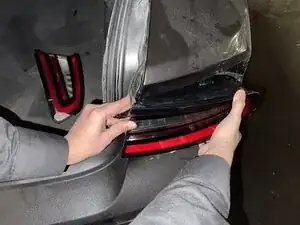
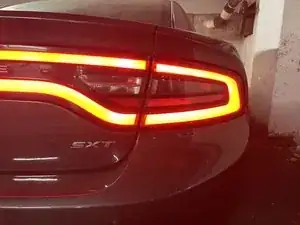
This guide details the process of removing and replacing the tail lights for a 2015-2019 Dodge Charger.
The tail lights are a major safety aspect to vehicles. To ensure everyone’s safety on public roads, it is the driver’s responsibility to replace the tail lights when malfunctioning or worn out.
If your 2015-2019 Dodge Charger tail lights are in need of a replacement due to damage or aesthetic purposes, this guide will provide you with all the necessary steps to replace your taillights with ease.
NOTE: Perform the procedures after the vehicle has been turned off for at least 30 minutes. Make sure to turn off the ignition and engage the parking brake before you begin.
Werkzeuge
Ersatzteile
-
-
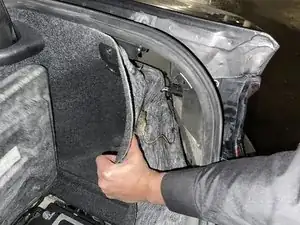
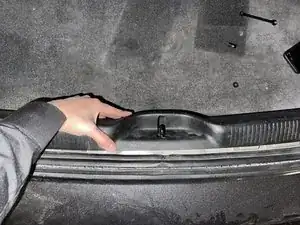
Remove the rear plastic panel cover located inside the trunk by pushing the panel towards the center of the car.
-
-
-
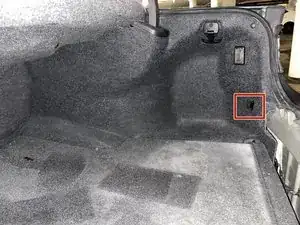
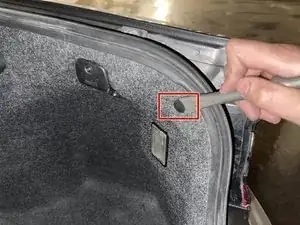
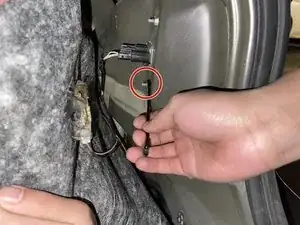
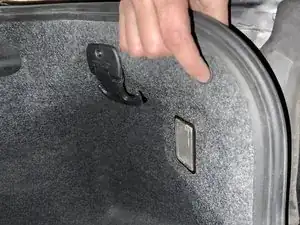
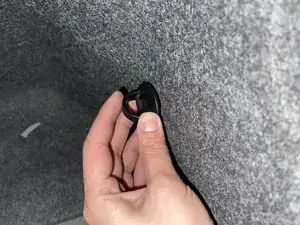
Remove the plastic pin by prying it outwards using a pry bar to free the inner lining.
-
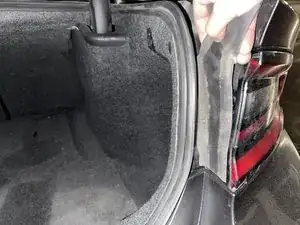
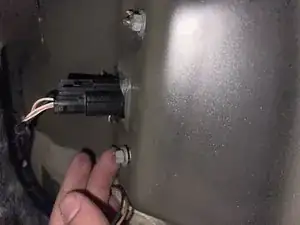
Pull back the inner lining to gain access to the screws securing the tail lights in place.
-
-
-
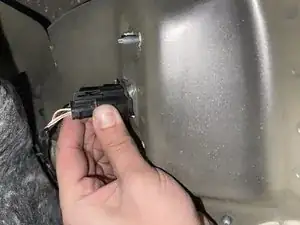
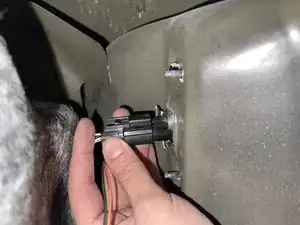
Insert the connector back to the tail light.
-
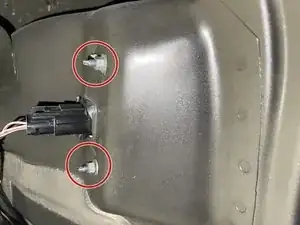
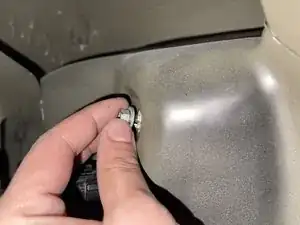
Screw the 8 mm nuts onto the bolts by hand before tightening with a 8 mm wrench.
-
-
-
Push the plastic pin back into the hole to secure the side inner lining.
-
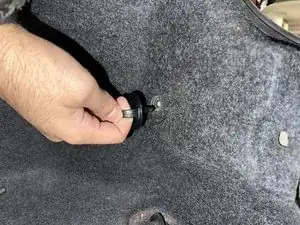
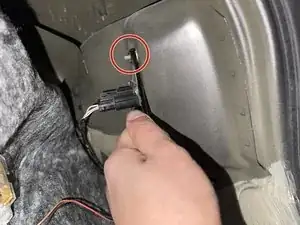
Push the plastic screw back into the hole to secure the bottom inner lining.
-
Push the rear plastic panel cover back on.
-
Repeat the same steps to replace the other tail light.
