Einleitung
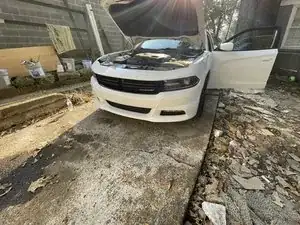
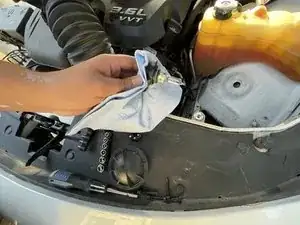
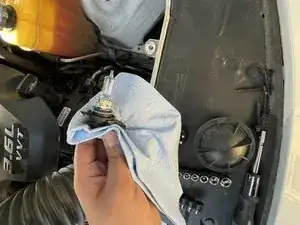
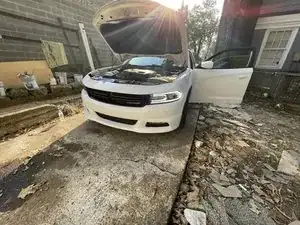
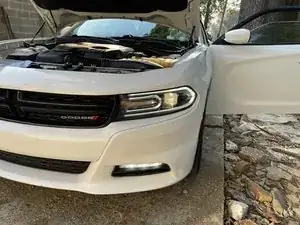
Is your headlight bulb not working? This guide will help you replace the bulb for a 2015 Dodge Charger SXT in 10 quick and easy steps without experience using a minimum of one tool and two attachments.
Probable cause: Light burnout
Tools used: A Phillips screwdriver and an 8 mm socket.
Note: The tools provided are the exact ones used during the repair which can be purchased from the link. Feel free to explore options. The most important is for the socket to be 8mm. It has to be compatible with the ratchet you are using to loosen the screws.
Result: Headlight replaced successfully and a lot of money saved!
Werkzeuge
Ersatzteile
-
-
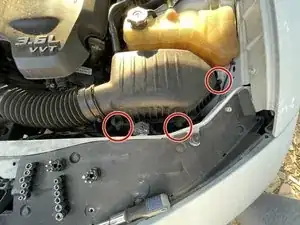
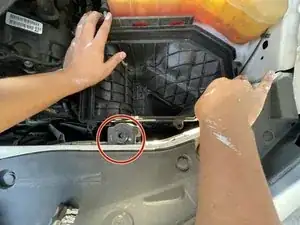
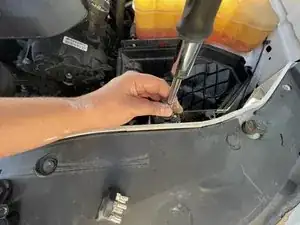
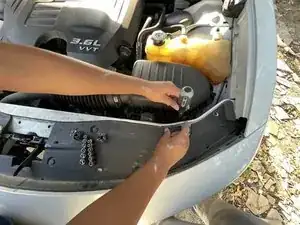
Use a Phillips #1 screwdriver to remove the three screws that secure the intake filter cover.
-
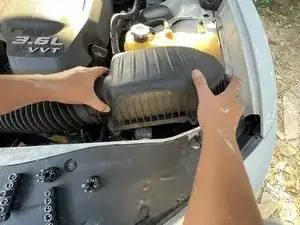
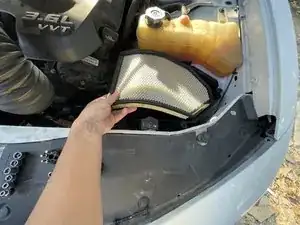
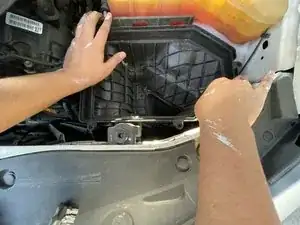
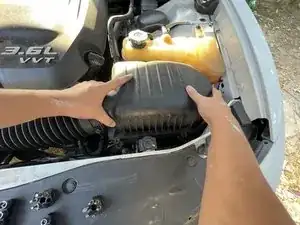
Grab the intake cover with both hands and gently lift upwards.
-
Place the cover safely on top of the main engine.
-
-
-
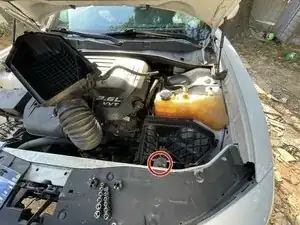
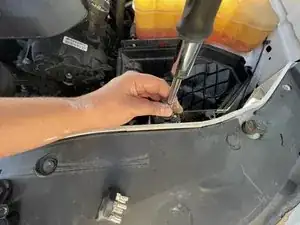
Loosen the bolt using a ratchet and an 8mm socket.
-
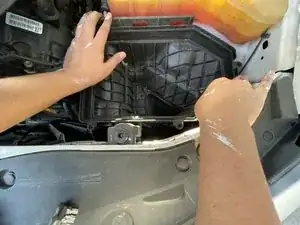
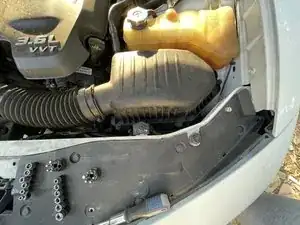
Lift the air intake compartment up and out of the engine bay.
-
-
-
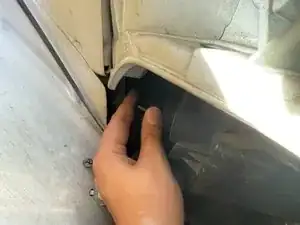
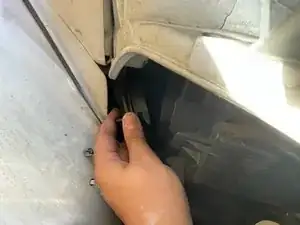
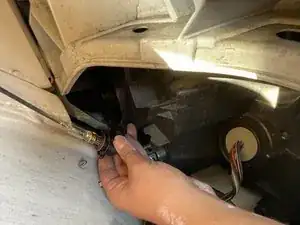
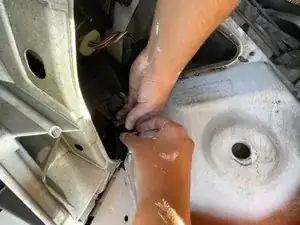
Remove the headlight compartment by twisting it counterclockwise.
-
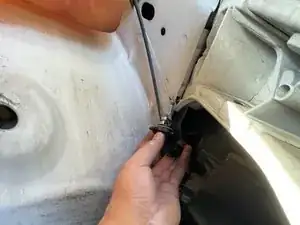
Now remove the old headlight bulb by lifting the small lever.
-
-
-
Connect the new headlight bulb and firmly align the bulb to the compartment.
-
Insert it back into the compartment and turn it clockwise to secure it.
-
-
-
Place the intake compartment back in its original place. Tighten the screw with the 8mm socket used in step 4
-
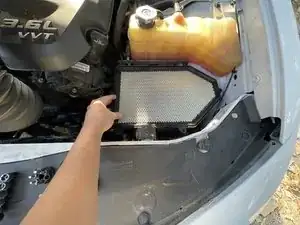
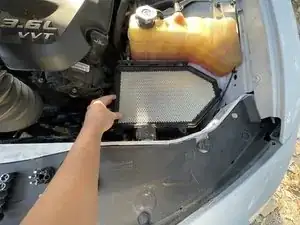
Place the air filter back in its place. Align it with the intake compartment.
-
-
-
Using both hands align the cover with the three screws holes.
-
Tighten the three screws using the Phillips screwdriver.
-
To reassemble your device, follow these instructions in reverse order.
