Einleitung
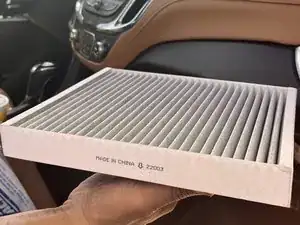
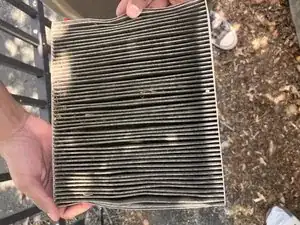
Cabin air filters filter out dust, allergens, and debris. However, as they filter these particulates overtime, they become dirty, clogged, and inefficient. Clogged air filters do not filter allergens properly which decreases the air quality. It also reduces airflow within the vehicle and could emanate a noticeably musty odor.
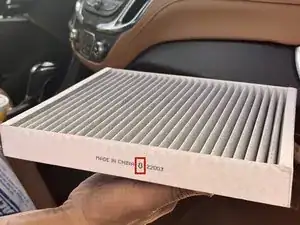
To avoid this problem, we must replace the cabin air filters every 15000 - 30000 miles. This guide will help you replace your existing cabin filter to save on money and time.
Werkzeuge
Ersatzteile
-
-
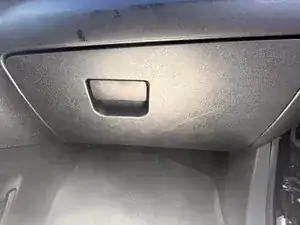
Find the glove box on the passenger side of the vehicle.
-
Open and remove all items from the glove box.
-
-
-
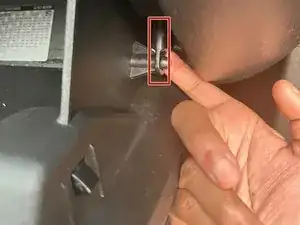
You will see a latch on the right side of the glove box.
-
Unhook the latch by gently pulling the latch outwards from the glove box.
-
-
-
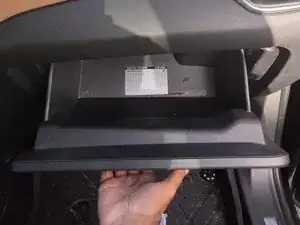
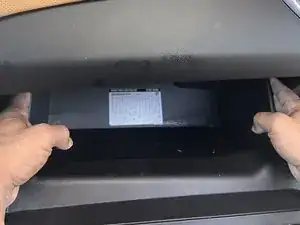
Place your hands on the sides of the glove box.
-
Tightly squeeze the sides inward, and pull the glove box forward to detach the glove box from the dashboard.
-
-
-
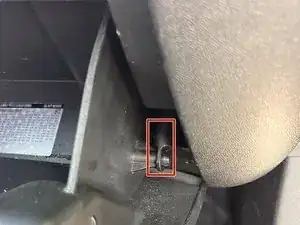
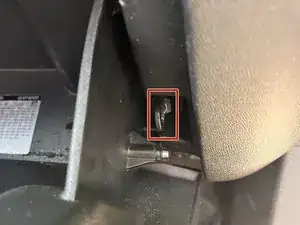
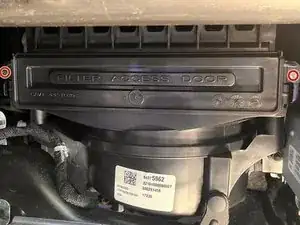
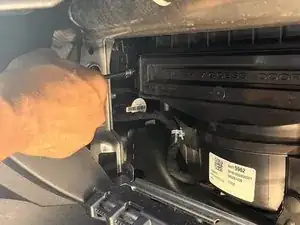
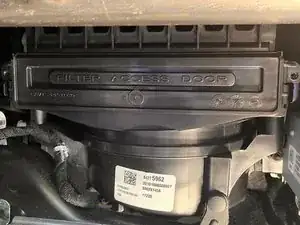
The cabin air filter box has one 7/32" screw on each side.
-
Use a 7/32" nut driver to remove these two screws.
-
-
-
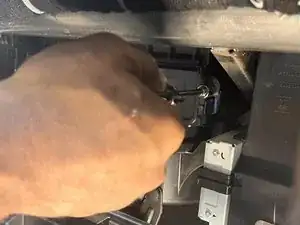
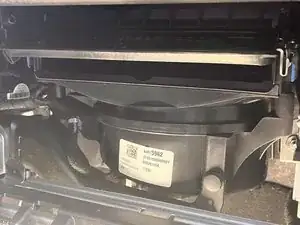
Plastic tabs will be right beneath the screws highlighted by markups.
-
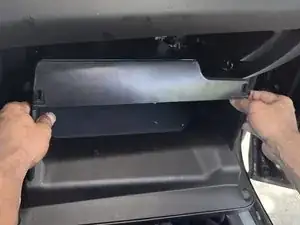
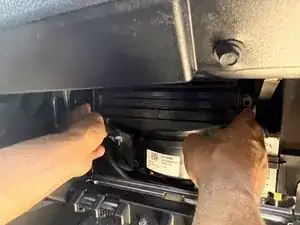
Push the tabs in on both sides of the box simultaneously.
-
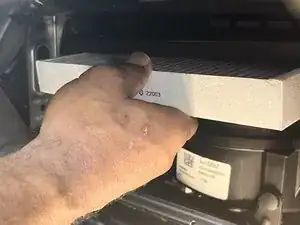
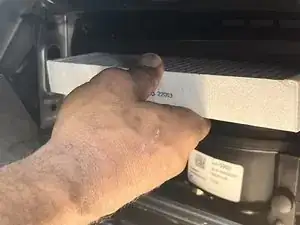
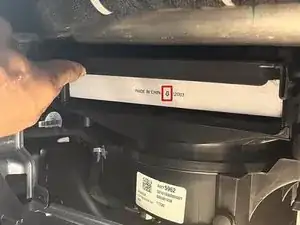
Lift the lid of the box to find the old cabin air filter.
-


To reassemble your glovebox, follow these instructions in reverse order.