Einleitung

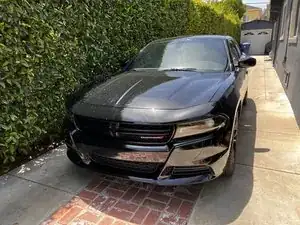
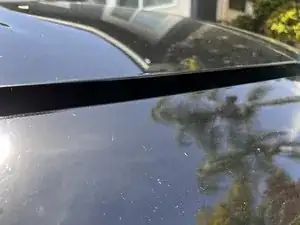
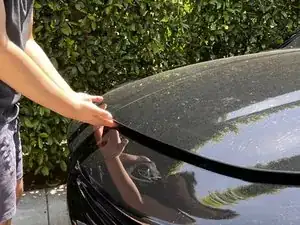
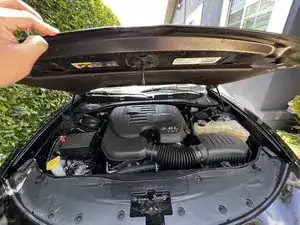
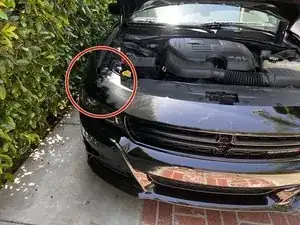
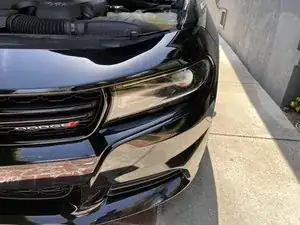
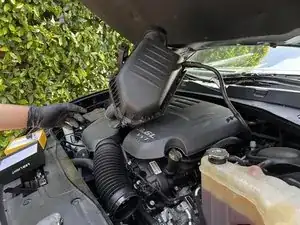
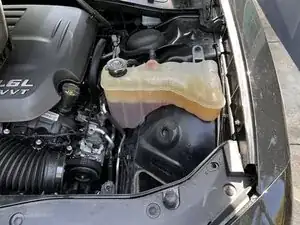
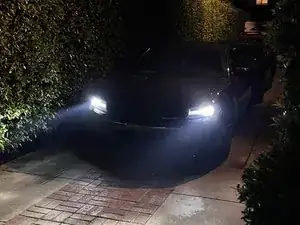
Learn how to replace your headlight bulbs for a 2018 Dodge Charger. All that is required is to open the hood of your car, locate the headlight compartment, and replace an old headlight bulb with brand new ones.

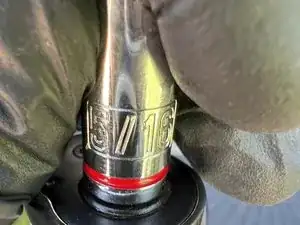
Note: The tools provided are the exact ones used during the repair. Feel free to explore options, the most important is for the socket to be 5/16 inches and is compatible with the ratchet you are using to loosen the screws. Provided will also be a head flashlight in case you decide to work during the night.

Before beginning, turn off the car, place it in park, and engage the parking brake.

  1. JoyJhL6EYHtXNnXF
    • Before you begin, make sure the vehicle is turned off and placed in park with the parking brake engaged.

  2. kgGagVN5JU5ScwoT
    kgGagVN5JU5ScwoT
    6IeiLSWYZyjQf5yD
    EDqq1doHu4BLZFJm
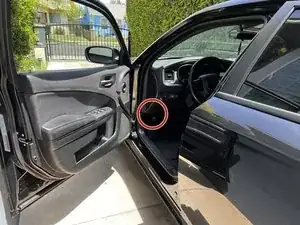
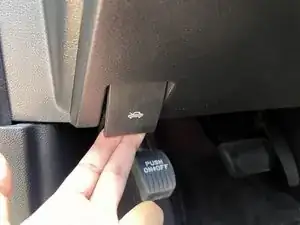
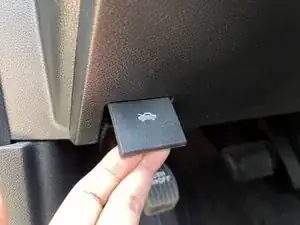
    • Open the hood by pulling the release lever inside the vehicle located on the driver's side by the parking brake.

    • Once pulled, you will hear the sound of the hood pop open.

  3. HmAqPDPyDunO4TTQ
    HmAqPDPyDunO4TTQ
    mPkYWg63ckjCEmBQ
    VZKdw525uVH3EHhX
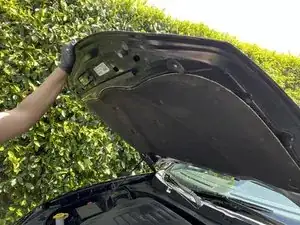
    • Carefully place your hands under the hood, down the middle of the car.

    • When you feel the lever, push it to the left using your left hand and slowly push the hood up.

    • This model of Charger does not require a stand to hold the hood. It will automatically hold on its own.

  4. UPMrSXPhIFVqkOwe
    UPMrSXPhIFVqkOwe
    uttaF2w5kEJA1Y1j
    pGdBuYKR5iyb1feE
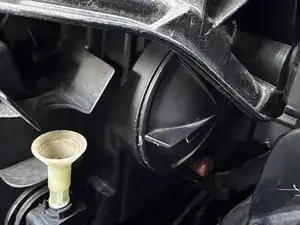
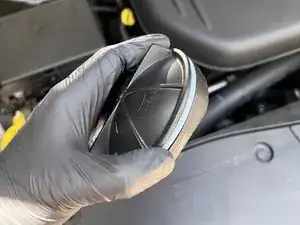
    • On the passenger side of the car, unscrew the cap covering the headlight compartment.

    • Remove the cap from the headlight.

    • Use gloves to protect your hands.

  5. O1VTWAQDuyxAVtFN
    O1VTWAQDuyxAVtFN
    NkBrMCJvRSyYHSAY
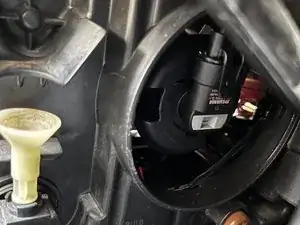
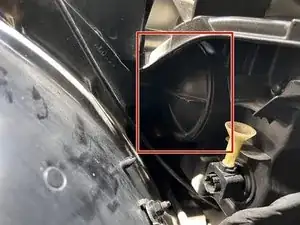
    • Once you remove the cap, you will see your current bulb that is installed.

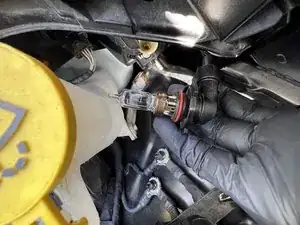
    • Slowly twist the bulb clockwise, and remove it from the compartment.

  6. VQXvmKhH6vUUjxTW
    VQXvmKhH6vUUjxTW
    hegKUwLfJ6UD23WE
    Ls4h1FtMtLwtJNWi
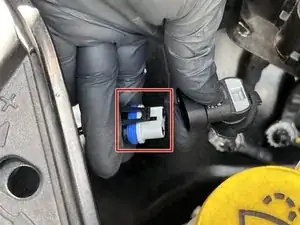
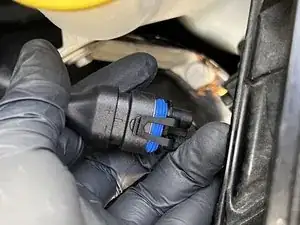
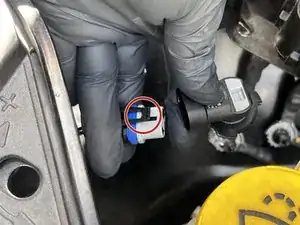
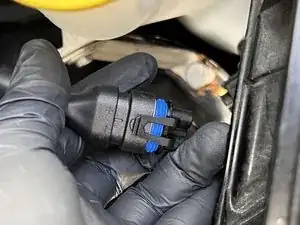
    • Unplug the bulb from the adapter.

    • Lift the lever and carefully detach.

    • Place the bulb in a safe area away from the vehicle.

  7. aSbiTdlqNOKSuJZF
    aSbiTdlqNOKSuJZF
    y2idqKGKI26AtLtp
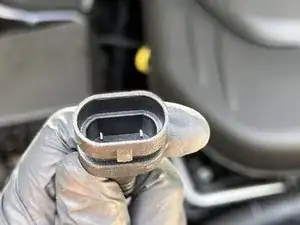
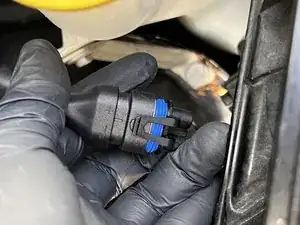
    • Connect a new light bulb to the adapter.

  8. xyUtISb52XXYNyo1
    xyUtISb52XXYNyo1
    QUuUuAUKkfHAL1XS
    UIiPlPVcJg4OfyLe
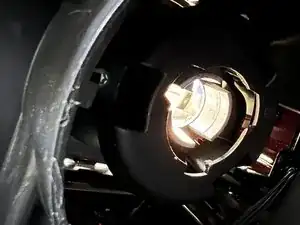
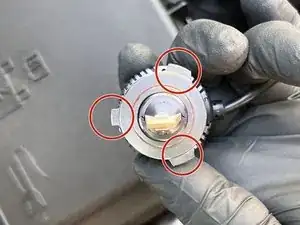
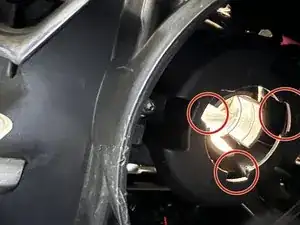
    • Align the bulb to the shape of the hole and turn clockwise to safely lock.

    • After installed, you will see cables sticking out. Go ahead and manage the cable just by fitting it in the compartment.

    • Place the cap back on the compartment and tightly seal it.

  9. BiQqoUPrNOvUN6nO
    BiQqoUPrNOvUN6nO
    AbVq6PSBMqFmybKU
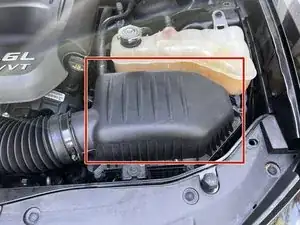
    • To access the driver's side lightbulb, you have to remove the air intake from under the hood.

  10. uUTwLKlKkdrUfvOH
    uUTwLKlKkdrUfvOH
    R4Em44rGrUhOnFiJ
    bOvKURPHyURkTwcX
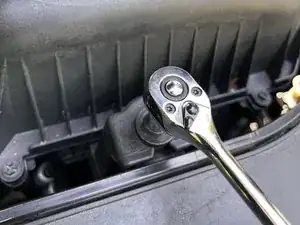
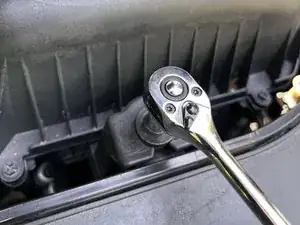
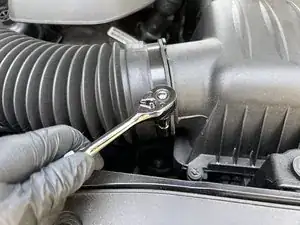
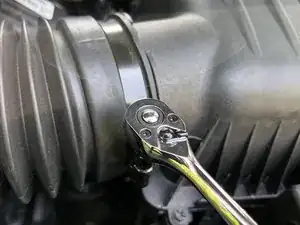
    • Loosen two bolts using a 1/4 ratchet with a 5/16 inch socket.

    • Gently loosen the bolt. Loosening it too quickly may result in the screw falling into the engine compartment.

  11. qCBB1P2PUNmiQZXd
    qCBB1P2PUNmiQZXd
    xZvXnAmmOGxsdTQV
    • Once the screw is loosened, use your hand to continue the process.

  12. ZCIPiBWRc6LM1JQl
    ZCIPiBWRc6LM1JQl
    4bi5XqCuVuJP46h6
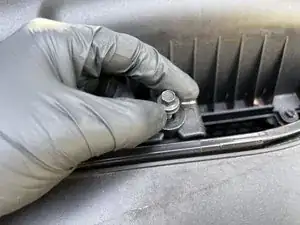
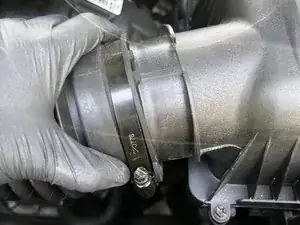
    • Loosen the screw attached to the ring.

    • Detach the tube from the intake.

    • Do not remove the ring from the tube.

  13. jIQnkESVh6eZfPRp
    jIQnkESVh6eZfPRp
    M1A2HGJ6qrCTeTDX
    T2mMqlumF6Cp1erh
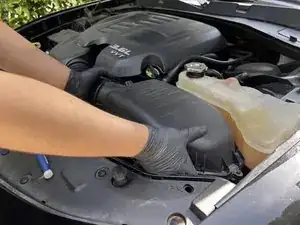
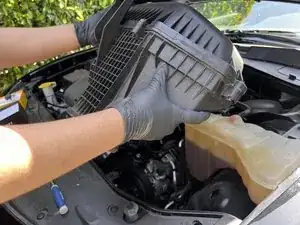
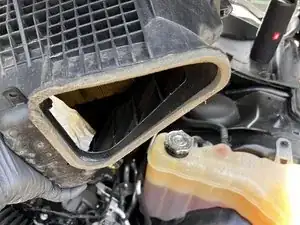
    • Grab the intake with both hands and gently lift upwards.

    • Place the intake safely on top of the main engine.

  14. LOOTt1EErabeLGkN
    LOOTt1EErabeLGkN
    rk1PBkWprL4tIKcQ
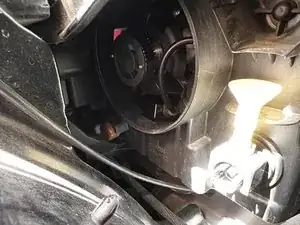
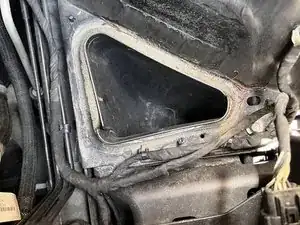
    • Once the intake is safely removed, you can access the headlight compartment.

  15. h24upfDNuuK3bvTl
    h24upfDNuuK3bvTl
    kVrMMWFJD5NSUw3O
    TnQKjcSTjaLa1E5F
    • Remove the light bulb by lifting the small lever.

    • Connect the new headlight bulb and firmly align the bulb to the compartment.

    • Double check that the bulb is properly installed and connected. If it is not installed properly, you will have to remove the intake once more.

  16. MgLTcE22UniftVxM
    MgLTcE22UniftVxM
    rBGN1CIJPu4UOHeq
    • Place the intake back in its original place.

    • Align the bottom of the intake to its original spot as seen in the picture.

  17. ffMEsqDGdULy5dJW
    ffMEsqDGdULy5dJW
    5LJcpEdXyiEUQePX
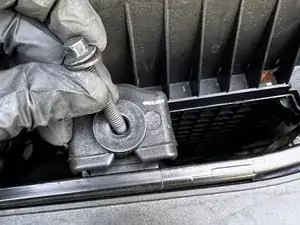
    • Place the bolt and ring back on the intake.

    • Tighten the screw with your hands and finish securing the screw using the 1/4 ratchet and the 5/16 in socket.

  18. mN2ZDdTTxAauDLNr
    mN2ZDdTTxAauDLNr
    vCDOHpamUZ3BupTQ
    sEs6C2A1mqEJwVRb
    • Firmly attach the tube to the intake.

    • Tighten the screw using the 1/4 ratchet with the 5/16 inch socket.

    • Close the hood of the vehicle.

    • Before closing the hood, make sure the engine compartment is clear of obstruction.

  19. JCMqnGFm4drqXIWy
    • Power on the vehicle to ensure the headlight bulbs are successfully working.

Anthony Does Repairs

Mitglied seit: 14/03/22

289 Reputation

0 Kommentare