Einleitung

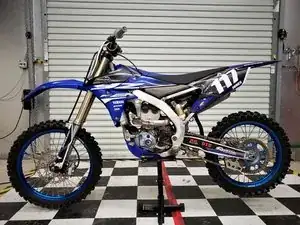
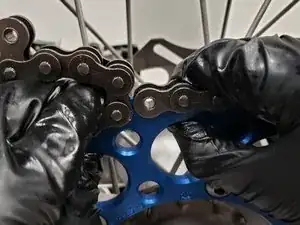
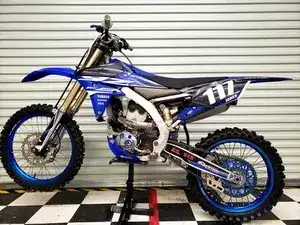
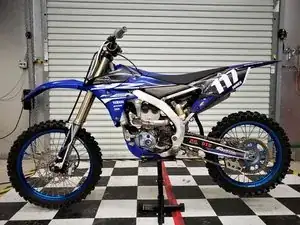
Do you have a 2018 Yamaha YZ 250f that is in need of a chain replacement? If you answered yes to that question, then this is the guide is for you!

Riding a dirtbike that has a worn-out chain can be harmful to both the bike as well as the rider. It is important to properly maintain these components prior to use for safe operations. The chain on the bike is very important as it is what drives the rear wheel to spin. The chain is driven by a front and rear sprocket. The front sprocket is connected to the dirtbike transmission and the rear sprocket is connected to the rear wheel. Together the sprockets and chain must function cohesively. Also, ensure the dirtbike is clean to prevent debris from going into places it does not belong. Give yourself a clear work area to help the process go along smoothly.

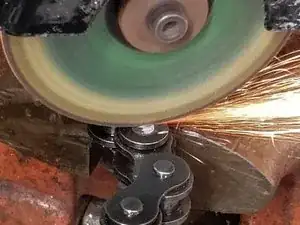
In steps 5 and 12 of the guide, you will be required to use an angle grinder to cut rivets off of a chain. Using a grinder can be very dangerous if you have minimal experience so it is important to exercise caution when using this tool. When grinding clear your working area of anything that is flammable to prevent a fire from starting. Lastly, before beginning, ensure the dirtbike is turned off as you can suffer traumatic injuries to your hands if they are caught in the sprockets.

Once you have done the steps mentioned above, you are now ready to begin the process of replacing your chain!

*When replacing the chain on a dirtbike it is also important to replace both sprockets to ensure the longevity of the parts. The steps to replacing the sprockets are NOT provided in this guide.

  1. YJvfQsYnQwwRKw6E
    YJvfQsYnQwwRKw6E
    sugYnIPMeRWRNX2n
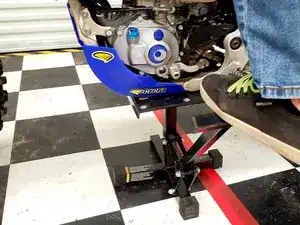
    • Place the dirtbike on a stand.

    • Ensure that the proper stand is being used as the bike may become unstable.

  2. EoFIS1OFIVWckjxX
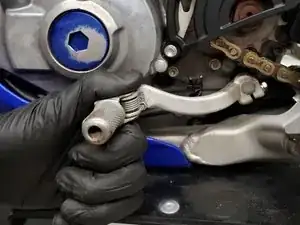
    • Shift the gear lever into its neutral position so that the rear wheel spins freely.

    • Neutral is between first and second gear.

  3. UELeEmon61xNhjQR
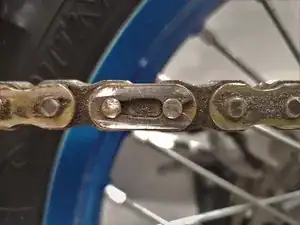
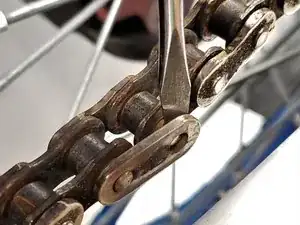
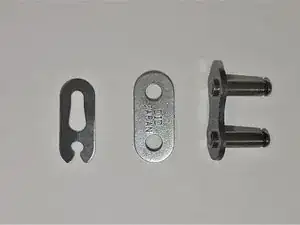
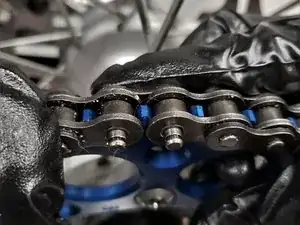
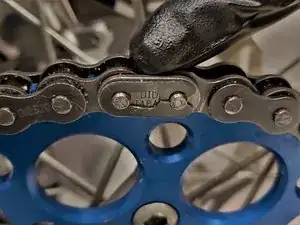
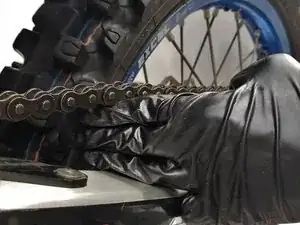
    • Locate the master-link on the chain.

    • The master-link has a safety clip on it in the shape of a C.

  4. ExPm3pvO3AN31VDp
    ExPm3pvO3AN31VDp
    unBQF6XPNGdGhYxT
    CTnokLM3wUtt2enP
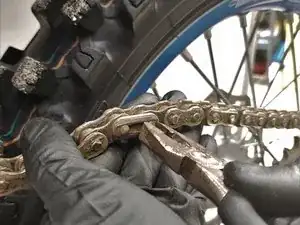
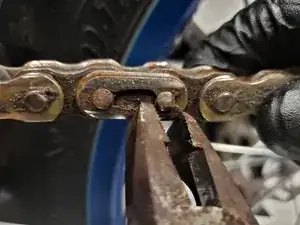
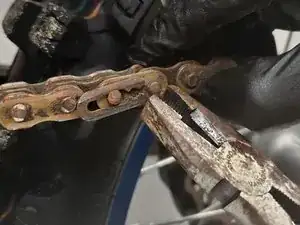
    • Use pliers to remove the safety clip from the master-link.

    • If the clip is worn it may break.

  5. RVIG3rXJYnqYiSds
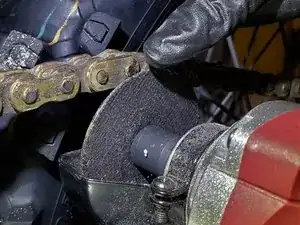
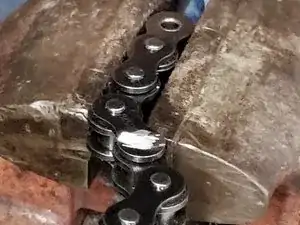
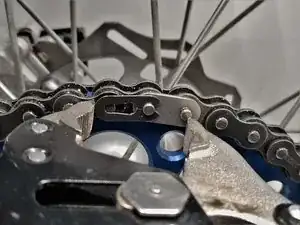
    • Use a grinder to remove both rivets on the master-link.

    • If using a chain break, ignore this step.

    • Using a grinder can be dangerous. Ensure you are wearing eye protection and are not near any flammables.

  6. x1jaaLbwjwwE6TyL
    x1jaaLbwjwwE6TyL
    plFmVoeMRvCgsjgT
    SBLnESleten1r6o3
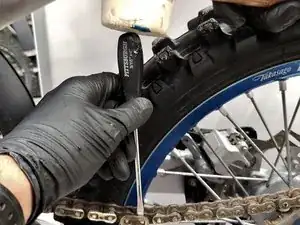
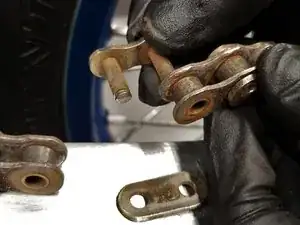
    • Use a mallet and flathead screw driver to pry off the master-link side plate.

    • Remove the master link.

  7. wG5A2ViWOQDCTfvn
    • Remove the chain from the sprockets.

  8. UORtF3WZEMZjQ4nc
    UORtF3WZEMZjQ4nc
    ekHIjwWQWD1AL2up
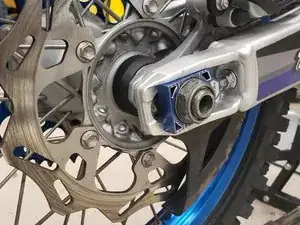
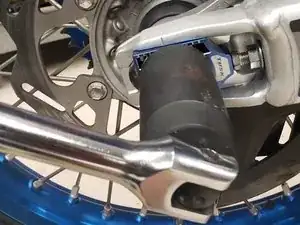
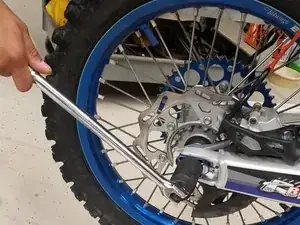
    • Use a 30mm socket and breaker bar to loosen the rear axle nut.

  9. baELsvcLgQmnph4A
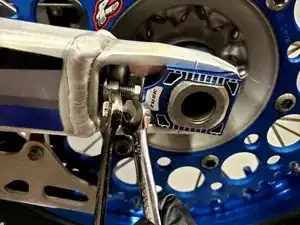
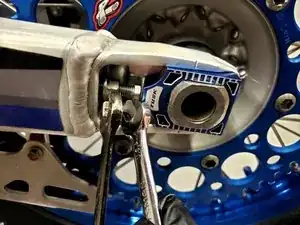
    • Use a 10mm and 12mm wrench to loosen the axle blocks.

  10. GbREgNM1anGZBiDi
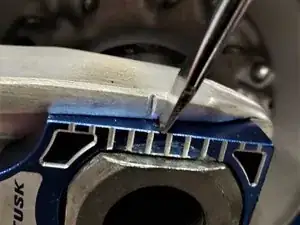
    • Slide the axle blocks so that it is on the center mark of the swing-arm.

    • Centering the axle blocks will allow for the maximum life of the chain.

  11. f5qe43Nj4dMHrEIh
    • Remove the new chain and master-link components from the package.

  12. mWC5XouLWNKHIXsT
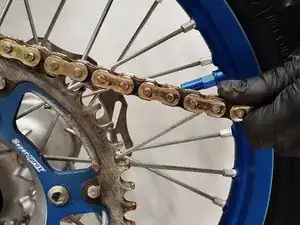
    • Roll the new chain onto the sprockets until both open ends rest on top of the rear sprocket.

    • The chain will contain extra links depending on the size of the sprockets used.

    • There should be minimal slack, and no gaps between teeth on the rear sprocket.

    • Place a mark on the extra links which will be removed.

  13. r35AF4IZm4LJXWET
    r35AF4IZm4LJXWET
    QdAydoUSnmw21uPl
    • Take the chain off of the bike and use a grinder or chain-break to remove the extra unwanted links.

    • Before cutting, make sure that you have marked the proper amount of links to be removed. Once the chain is cut this cannot be undone.

  14. 3S5vUuvZsPFRsOEX
    3S5vUuvZsPFRsOEX
    VESqZMUkmMBLuQjx
    vmUqeFZcPu5RVEEN
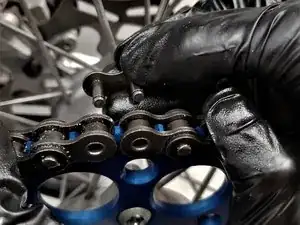
    • Place the chain back on the dirt bike and roll it until both open ends are on top of the rear sprocket.

    • Insert master-link into the chain from the inside out.

    • Install side plate to master-link.

  15. sxtMbiCJirAcsdU4
    sxtMbiCJirAcsdU4
    PicICRq2CGMRCqFf
    • Use pliers to install the safety clip onto the master-link.

    • The open end of the safety clip should be opposite the direction of wheel rotation when moving forward.

    • If safety clip is not installed properly it may cause the chain to fall off while operating.

  16. dFJjpfaSMfRyCskE
    dFJjpfaSMfRyCskE
    d3Mrcg5SUpyfHOAw
    OJOEehtxZVWTG2EA
    • Once axle blocks are in the correct position, tighten the rear axle using the 30mm socket and breaker bar.

    • Use the 10mm and 12mm wrench to tighten the axle blocks.

    • Ensure there is a small amount of slack in the chain. The 3 finger method displayed is a good rule of thumb when determining chain slack.

    • Check to make sure wheel spins freely with new chain installed.

  17. EFELJ3OYROs2GaVe
    • Chain replacement is complete!

    • Make sure to check regularly for wear and make adjustments to the chain.

Abschluss

By following the steps provided in this guide, you will have completed a chain replacement on a 2018 YZ 250f dirtbike.
Justin Krupinski

Mitglied seit: 18/09/19

336 Reputation

0 Kommentare