Einleitung
Is the screen of your Hisense 32" TV having some issues and getting someone to replace it would cost a fortune? Try using this guide to fix it yourself!
Werkzeuge
Ersatzteile
-
-
To begin, lay the TV screen-down on a smooth surface.
-
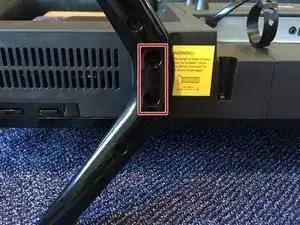
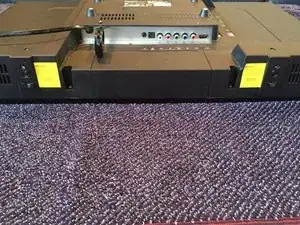
Unscrew the screws connecting both support legs to the TV.
-
-
-
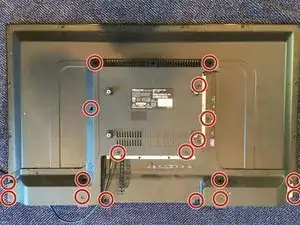
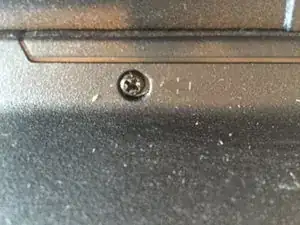
To begin removing the back plate, find and remove all 18 screws indicated with the Phillips screwdriver.
-
Once all of the screws are removed, carefully pop off the back plate without damaging any of the connected wires.
-
-
-
Slide the power cord free from its metal framework.
-
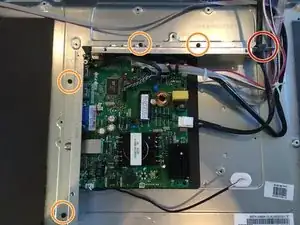
After the power cord has been moved, remove the four screws keeping the housing in place. Once finished, remove the housing as well.
-
-
-
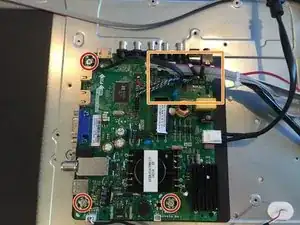
Remove the three silver screws connecting the circuit board to the rest of the TV that are circled in the picture using the Phillips screwdriver.
-
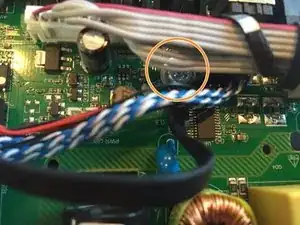
Remove the final silver screw, making sure to avoid disconnecting any of the wires that obscure it from view.
-
-
-
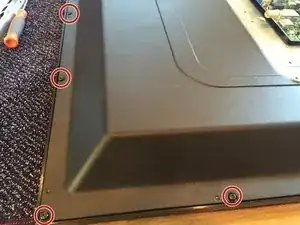
Remove all of the 18 screws connecting the front frame to the back of the TV with the Torx screwdriver.
-
-
-
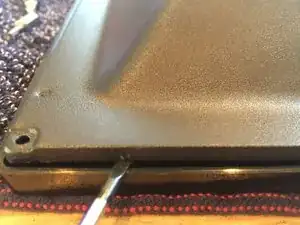
Once the screws are all removed, slide the flat-head screwdriver into the small gap between the front and back plates. Use the screwdriver to pry the plates apart and lift the back plate up.
-
-
-
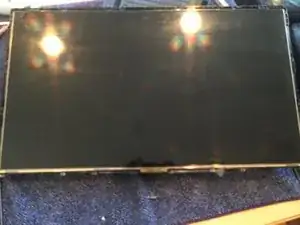
Completely separate the back from the front and flip the back section over so that the screen is now on top.
-
-
-
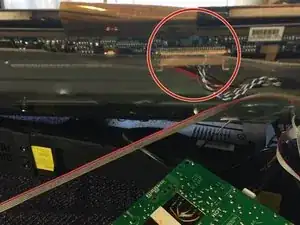
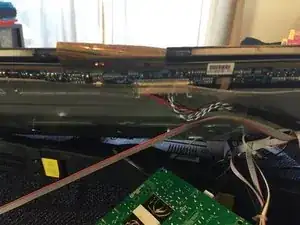
Find the cable pictured and detach the plastic film protecting the circuitry to which the cable is attached.
-
-
-
After detaching the plastic, detach the wire connecting the screen to the rest of the TV.
-
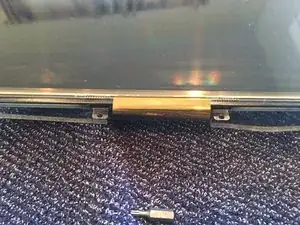
Next, the circuitry needs to be removed from the TV itself. Lift the screen circuitry free from the adhesive and then lift the screen free from the back section of the TV.
-
-
-
Now that the screen has been removed, take the new screen and attach its circuitry in the same place as the previous screen. After that, connect the cable from the rest of the TV to the screen's port and it should be good to go!
-
To reassemble your device, follow these instructions in reverse order.
