Einleitung

LG makes some of the finest LED TVs you can buy. Thanks to features such as the excellent webOS smart TV platform with connecting to the router and the superiority of OLED panels. It also offers some of the finest picture quality, sound, and smart capabilities available in any 4K TV on the market.

However, when it comes to replacing or reinstalling LED strips or arrays, people usually approach a TV repair technician. Yet, you can do it by yourself at your home.

This repair guide will work with the following models:

42LY340C-UA BUSWLJR
42LB5600-UZ BUSWLOR
42LF5600-UB BUSYLOR
42LF5600-UB BUSDLJM
42LF5600-UB AUSYLOR
42LF5600-UB BUSYLJR
42LF5800-UA BUSYLOR
42LX530S-UA BCCYLOR
42LX330C-UA BUSYLOR

Backlight LED Array

A Backlight LED Array is a long circuit board containing surface-mount device light-emitting diodes (SMD LEDs) that radiate light into a room to provide illumination. The strips are sometimes referred to as LED tape or ribbon lights, and they typically include an adhesive backing that makes them simple to install.

LED light strip options that are among the finest available may be utilized for various interior design projects, including recessed lighting, television backlighting, and kitchen countertop illumination with under cabinet lighting.

In this tutorial, we are using these backlight LED Arrays to replace the LED strips of the LG 42inch LED. These LED strips are chosen for their high level of quality, usefulness, and visually appealing design. Other factors considered are the adhesive strength, app functioning, brightness, and simplicity of installation, and how well the light strips functioned in general terms.

How much does it cost to replace LED strips on TV?

It costs between $100 and $125 to replace one LED backlighting strip, including all necessary components and labor. Repairing older TVs is more expensive. Parts for these televisions may be difficult to find. Additionally, components for televisions with a screen size of 42" or larger are costlier.

LG 42lb5600 Screen Replacement Steps

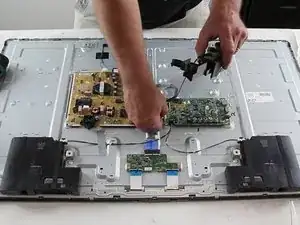
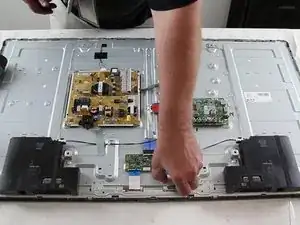
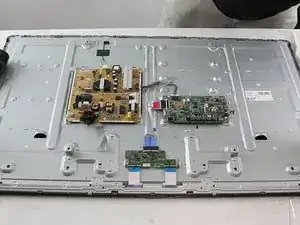
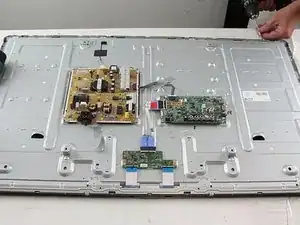
How do I change the LED strip on my LG TV? In this tutorial, we'll teach you how to replace the LG 42inch LED TV strips.  This tutorial will work with a wide range of LG 42inch LED TV models, even though these models may vary somewhat from one another. These LG 42lb5600 Screen Replacement Steps that we are demonstrating should apply to all of the models.


  1. i6wuGGfXcgSnesk5
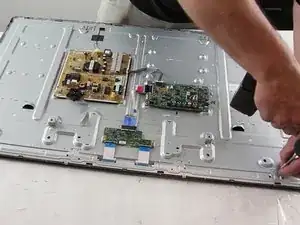
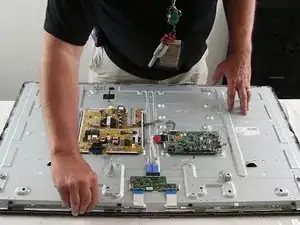
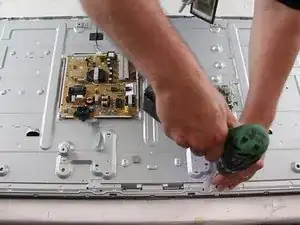
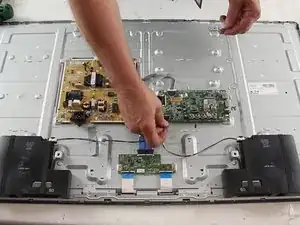
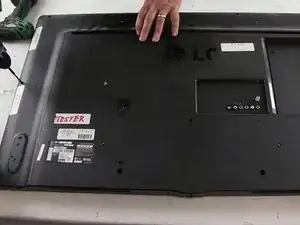
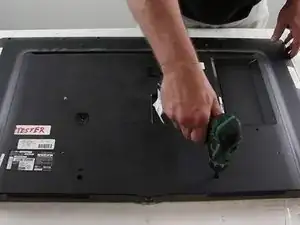
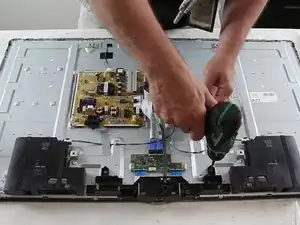
    • Remove the screws from the rear of the television, as well as the back cover.

  2. Bw2agJfYIplF6gTs
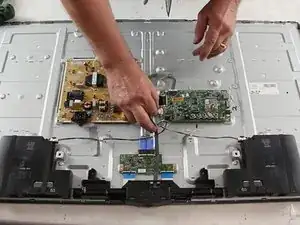
    • Remove the screws that connect the IR sensor to the mainboard to remove and detach it.

  3. EMcxleJ4GehjAlHY
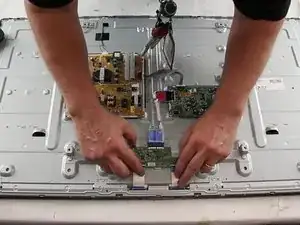
    • Disconnect the ribbon wires from the buffer boards using the provided connectors.

  4. 2XOsPCYbTtZefMSn
    • Remove the speakers from the mainboard by disconnecting them from it.

  5. IROHKNGthTqdPcHM
    • Remove the screws on the assembly that are around the television.

  6. FCceD5TGLJjpKhWQ
    • Remove the screws that hold the buffer board in place.

  7. DxNMBxKeZmtrLUhc
    • For certain covers, you may need to pry the clips away from the bezel using a five-in-one tool or something similar to free the clips.

  8. x62cZvJJZvtbrAeE
    • Remove the buffer board covers from the board.

  9. FlXTUmvIvLotxRYk
    • To get the buffer boards free, release the tabs on the boards.

  10. GPRLtRIAL3TsgYkK
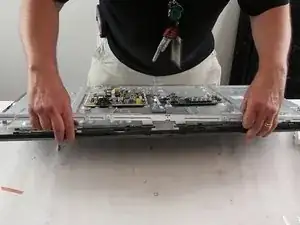
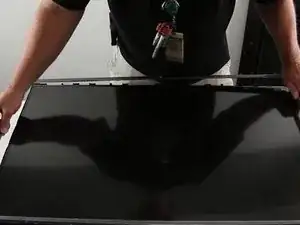
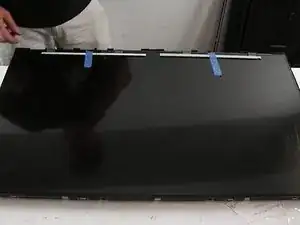
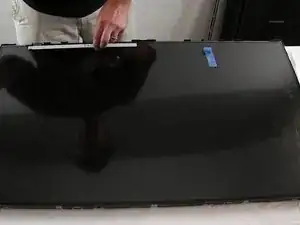
    • Remove the bezel by flipping the television over.

  11. MbsYRrNC3Al1bI4C
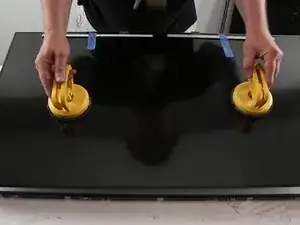
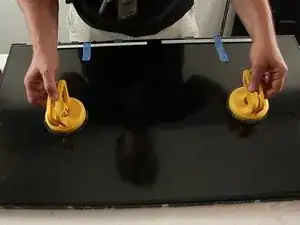
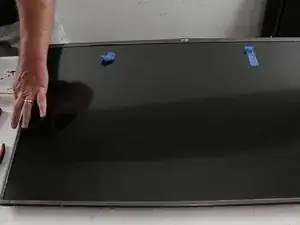
    • Flip up the buffer boards and tape them to the panel using suction cups.

  12. WSsOCQFYDLvoUIme
    • Remove the panel off the television by lifting it evenly so that it does not break.

  13. dB6JHqWraSEoAZCK
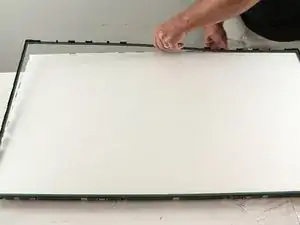
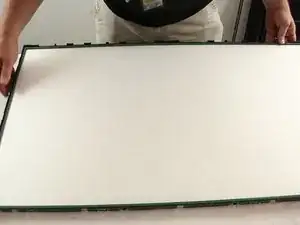
    • Remove the panel frame.

  14. MLVg1iBENHCAZwvH
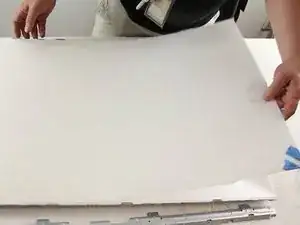
    • Tape the diffusion layers together at the corner to keep them aligned, then remove the layers of diffusion one by one, starting at the corner.

  15. FDneR3RaaWEZFMAT
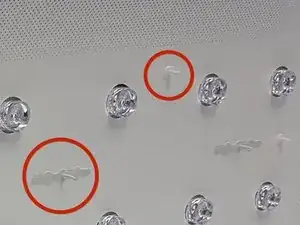
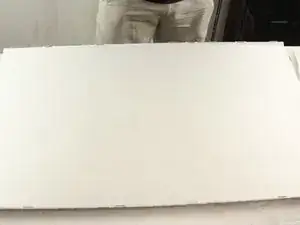
    • The reflector is held in place by two sets of tabs located on each side of it.

  16. wigWpNYfVLi5HURN
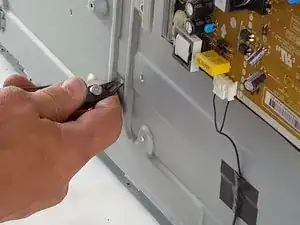
    • Pinch the smaller tabs through the chassis on the board side, using needle-nose pliers to get them tight.

  17. EHE6ZSQPsFOqBd5H
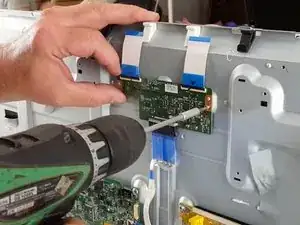
    • Some of the smaller tabs may be placed under the boards; to reach at least one of the smaller tabs, you will need to remove the t-con board.

  18. MV5JjnUUI4RYJDIH
    • To release the bigger tabs, you will need to raise one side while sliding it.

  19. 5jvMQgRgPWa1VrAI
    • Remove the reflector sheet.

  20. lXqsLLrDkRtUaTGH
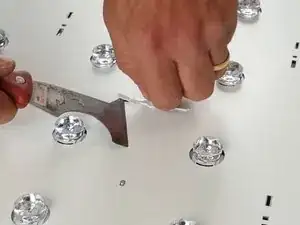
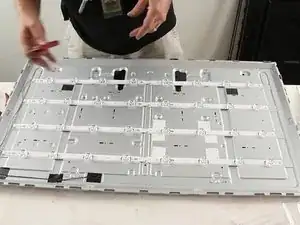
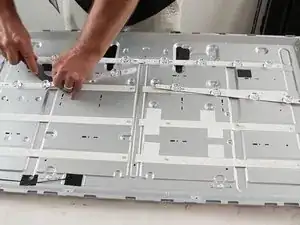
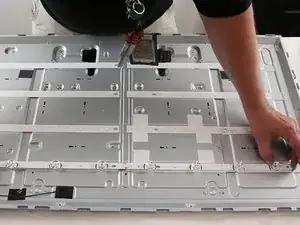
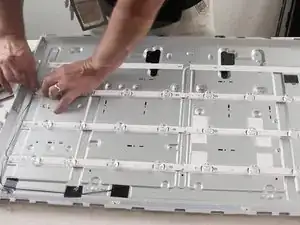
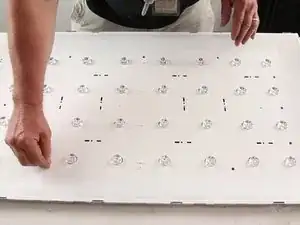
    • Use a five-in-one tool or something similar to disconnect the LED strips from the power cables and pry underneath the LED strips to lift them out of their mounting brackets on the chassis.

    Three LG strips for a 32" TV for example cost £25. It is possible to replace the failed led. My led's were in series, so if one fails open-circuit, all the led lamps in the strip go out. If one strip goes out so do the other strips). You have to be careful when testing them to ensure you don't put too much current through them or the led's will fail. You can buy special led testers and soldering stations, but they are not absolutely necessary. Pry off the plastic lens then modify a soldering iron (I used a 25W). I undid the screw on the soldering iron to remove the tip, and used the screw to attach a piece of metal with a flat area of size of the lens , bending the metal to get the best thermal contact with the iron. Then I lay the copper side of the strip opposite the failed led on the hot flat metal. It took about 5mins to melt the solder and slide the failed led away. The led must be replaced by a new led or one melted off another scrap strip. Re-glue on the lens. Used led's will have shorter life.

    Dave Empson -

  21. WXHZVVMlraKli4J4
    • Connect the new LED strips and make sure they are properly aligned on the chassis.

  22. HIE4dfFv62HjgTMY
    • Reconnect the LED strips to the power cable as they have been disconnected.

  23. M5PeDAchaaoWbH3J
    • Reconnect the reflector sheet and clips to the reflector frame.

  24. IZDrsEcwFx1MLwCI
    • Remove the tape from the layers of diffusion and reinstall them.

  25. 5par6rGtZ5OkvqMJ
    • Reinstall the panel frame.

  26. BuIhGJXphyd12osG
    • Adjust the panel's position and then remove the suction cups.

  27. NQlJsidZtbSN6TCX
    • Release the buffer boards from the tape.

  28. kaGfYR5iRe3dIY6T
    • Reinstall the bezel and tighten it down using the screws that run around the perimeter of the TV.

  29. UkJf3xL3LgnYXODr
    • Reinstall the buffer board covers on the board.

  30. ibYRDUbFnN3fDNTK
    • Reconnect the t-con board and ribbon wires as they are disconnected.

  31. eqxxwicbjgYtK5vn
    • Reinstall the speakers and connect the wire to the mainboard.

  32. xUNYKhsFgyLcluie
    • Reinstall the infrared sensor and tighten it to the chassis once more.

  33. LSTiBOF6d5UuCmsp
    • Reinstall the back cover and put the screws back in place.

Abschluss

Removing and Reinstalling 4G LG TV LED Strips may sound tricky or complicated; however, after reading this tutorial for replacing the LED strips of LG 42inch LED TV, you can do it by yourself now! I hope you enjoy it. See you in the next tutorial.
Rachel Burnham

Mitglied seit: 16/07/21

749 Reputation

0 Kommentare