Einleitung
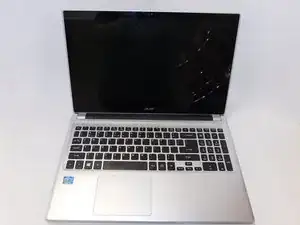
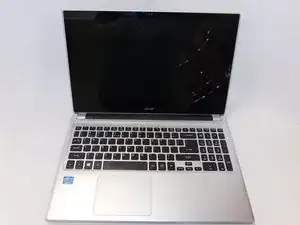
This is a guide for a full replacement of the display on an ACER Aspire V5 Laptop. Your display is a very delicate piece of hardware that allows you to visually interact with your computer. This guide is here to help you in case your computer is still functioning but your screen has stopped working.
You should consider doing this build if your screen is no longer functioning to your liking or if there is significant damage to the screen shattering of the glass or if the quality of the image has deteriorated.
During this build, you will have to remove a majority of the electronics from the chassis and you will be working closely with internal electronics. It would be advised to use an anti-static wristband and you should look into what this is if you don’t know what it is, this link is a good resource for learning about this https://www.staticsolutions.com/anti-sta....
Werkzeuge
Ersatzteile
-
-
Start by placing laptop on non-static surface and powering off completely. Apply static resistant wristband.
-
-
-
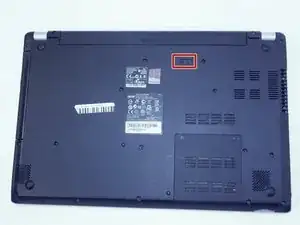
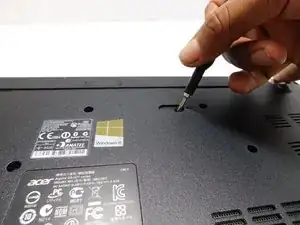
Use a pointed tool (we used a screwdriver) to slide release to the right when facing laptop from non-battery side.
-
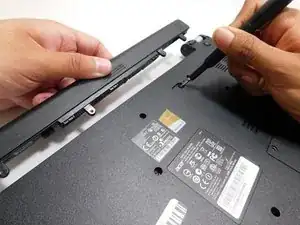
Gently pull battery away from laptop with slide release held open.
-
-
-
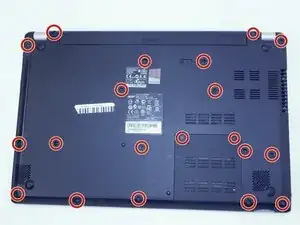
Remove all twenty 6.7 mm Phillips #0 screws from the bottom side of the laptop.
-
Turn the laptop over and open the lid.
-
-
-
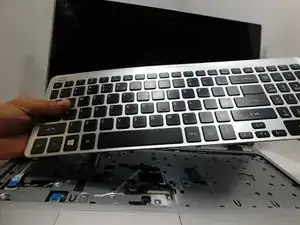
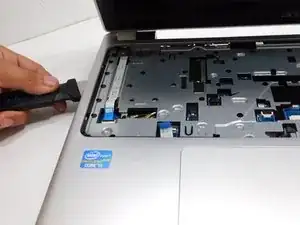
Use a Jimmy tool to slide between the keyboard and top panel. Gently pop the tabs out of their slots and the keyboard will come loose. DO NOT PULL KEYBOARD OUT YET.
-
Once cables are safely detached, lift keyboard off of laptop and place on safe, non-static surface.
-
-
-
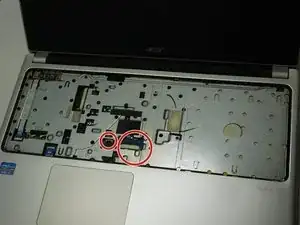
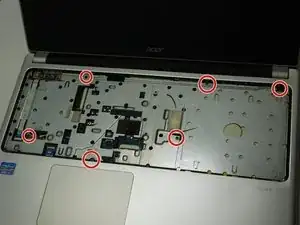
Use a Phillips #0 screwdriver to remove the six screws.
-
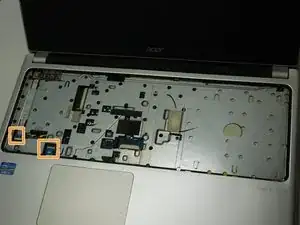
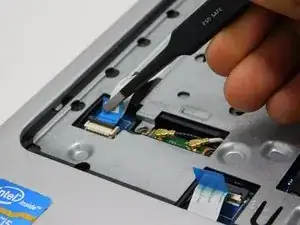
Flip up the block lock bars on the two ZIF connectors, then gently disconnect the two ribbon cables.
-
-
-
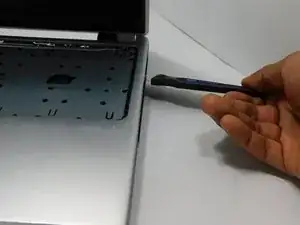
Slide the Jimmy Tool in between front and back panel of the laptop.
-
Slowly rotate the Jimmy tool, prying until the top panel pops loose. Repeat on all sides until the top panel is free of main body.
-
Gently lift top panel free of main body. You now have access to the Motherboard.
-
-
-
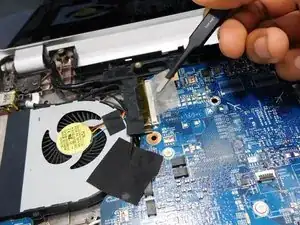
Once the top panel is removed, lift the tape that holds the power cable for the fan.
-
Gently pull fan power cable out.
-
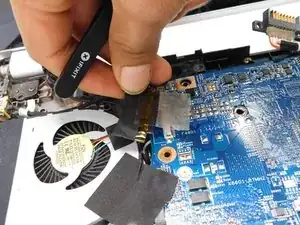
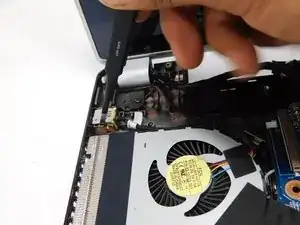
Use tweezers to gently pull charging port out of place.
-
-
-
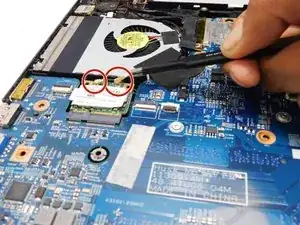
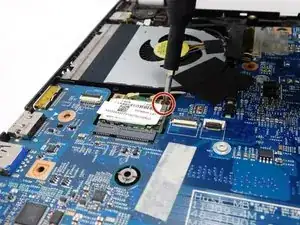
Use tweezers to gently detach black and white Wi-Fi card cables shown here by lifting up until they pop off.
-
Once both cables are detached, unscrew the single screw holding Wireless LAN card in place.
-
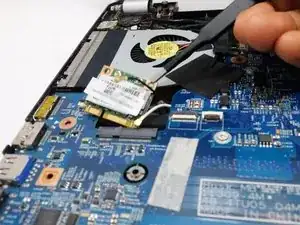
The Wi-Fi card should lift up slightly on its own. Use tweezers to gently lift the Wi-Fi card out at a 45 degree angle to prevent damage.
-
-
-
Place fingertips on edges of motherboard to prevent damage to the circuitry.
-
Remember to disconnect this RAM cable on the bottom of the laptop. This can also be accessed and disconnected from the RAM ports on the backside.
-
Using your fingertips, grip the edges of the motherboard to prevent damage to the circuitry.
-
-
-
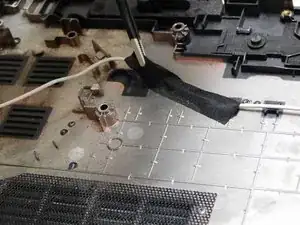
Use tweezers to gently lift the tape holding down the white cable until tape is unstuck. Unthread black and white cables until free of the bottom panel.
-
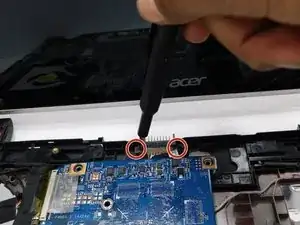
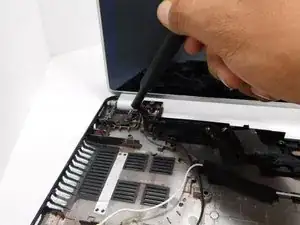
Unscrew the Phillips #0 left side screws until left side of display is now lose.
-
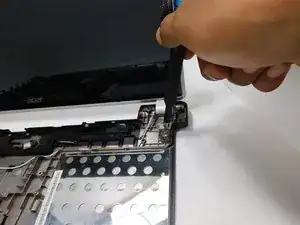
Do the same for the two flat screws on the right side.
-
-
-
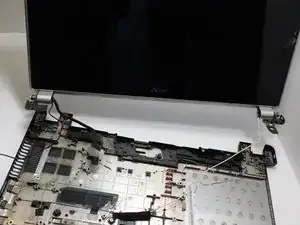
Display should now lift free of the main body of the Laptop.
-
Safely dispose of broken display and replace with new display.
-
To reassemble your device, follow these instructions in reverse order.
