Einleitung
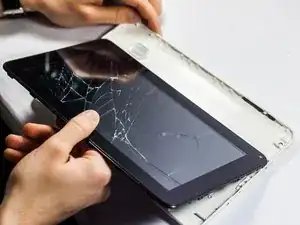
The battery can sometimes stop charging or short and must be replaced in order to turn on and function again.
Ersatzteile
-
-
Remove screws.
-
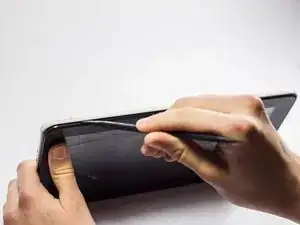
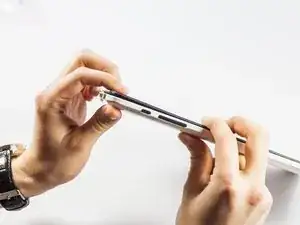
Insert spudger tool on the middle of the left side, between the white and black plastic.
-
Slide in a plastic opening tool and use it to further pull the back off.
-
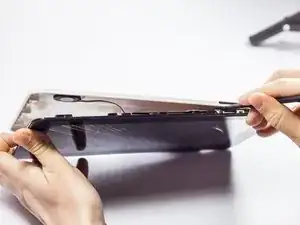
Work your way around the edge of the tablet with the plastic opening tool and insert more as needed.
-
Pull off the back cover.
-
-
-
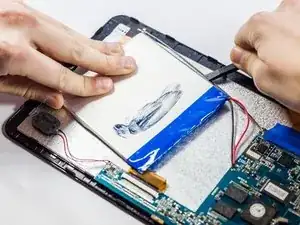
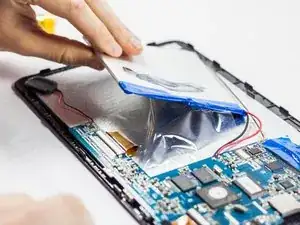
Using the black plastic spudger tool, insert it under a corner of the battery.
-
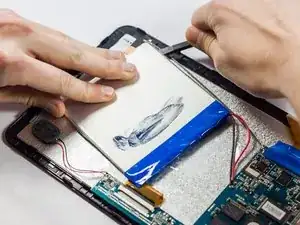
Work your way around the edges to pry the battery and loosen it from the adhesive.
-
Remove the battery.
-
-
-
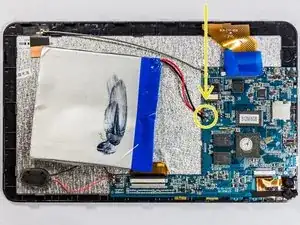
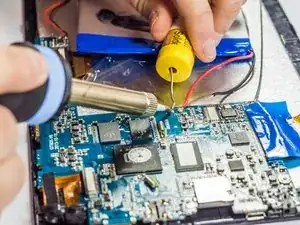
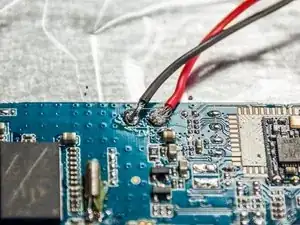
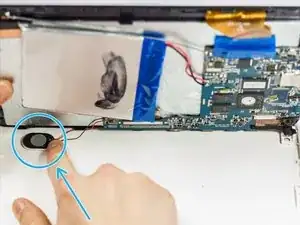
Locate the battery unit solder points and note where it is attached to the motherboard.
-
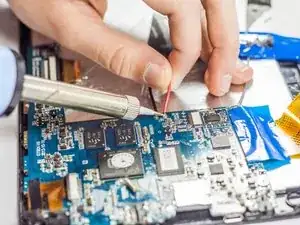
Plug in your soldering iron/pen and wait the required amount of time to heat up.
-
Apply a small amount of pressure with the iron on the solder points until the joints come loose and the wires move freely away from the board
-
Remove the battery unit
-
-
-
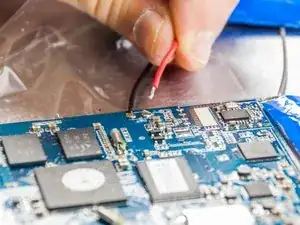
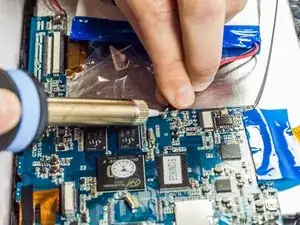
Locate the red and black wire ends of your new battery
-
Take your solder out and place it on the point with the wire
-
Use the iron/pen to slowly melt a small piece of solder onto the point and let it solidify.
-
Repeat this step for the other point
-
-
-
Replace the back cover with the new part in place.
-
Gently press the speaker into place.
-
Replace the screws.
-