Einleitung

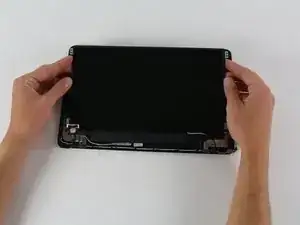
This guide will take you through a step-by-step process for the removal of your Chromebook’s screen.

  1. QOqEWOE3ChjVEjFk
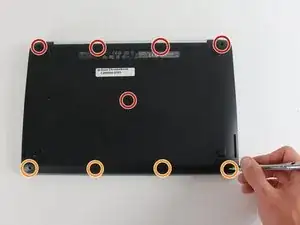
    • Before proceeding, power down your Chromebook. Close the display and lay it on a soft surface, top-side down.

    • Remove the five 8.4 mm Phillips #0 screws.

    • Remove the four 4.6 mm Phillips #0 screws.

  2. snNXDQ2grhFEgCeA
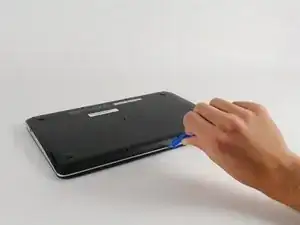
    • Use the plastic opening tool to gently work around the edge of the Chromebook until the back panel starts to lift off.

  3. qnsNoJntkABOhrAU
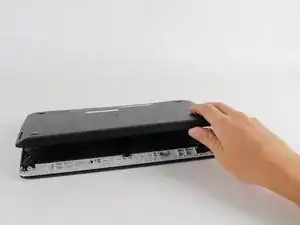
    • Remove the back panel by lifting it away from the Chromebook.

    • Some clicking will be heard as the panel is removed from the back, this is completely normal.

  4. NQYF6V6TnmG2FoSE
    NQYF6V6TnmG2FoSE
    UnCLUX1VRlSYjCIo
    gdWYZjfesf2rWH4c
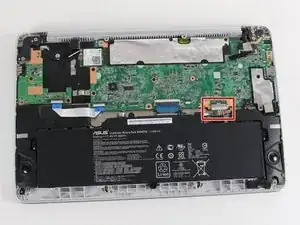
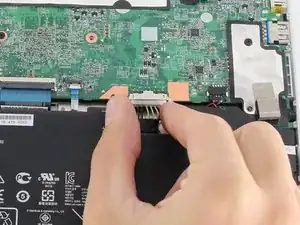
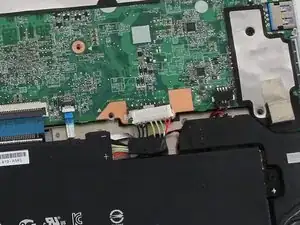
    • To disconnect the battery, pinch the multi-color bundle cable with your thumb and forefinger and pull directly back.

  5. DTydJvY1BwhELXpK
    DTydJvY1BwhELXpK
    cxlVjdlLCoQu2BGu
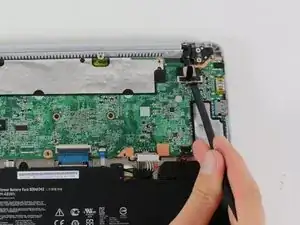
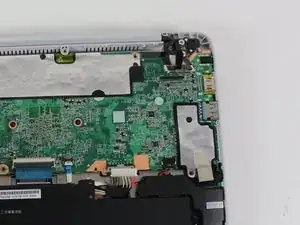
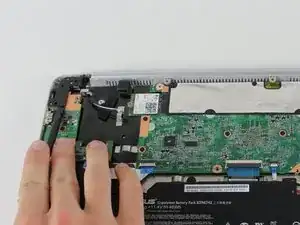
    • Disconnect the screen cable connector located on the top right of the motherboard.

    • Using a spudger, gently pry up the sides of the connector.

    • Pull the connector off with your fingers.

  6. sfpYHqTUqBN4O4H3
    sfpYHqTUqBN4O4H3
    JqC4IMEILAlaLa5S
    eJfVYiDGebeCMbqB
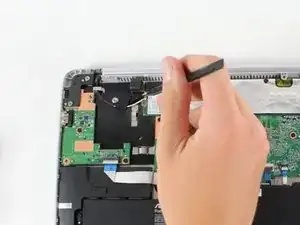
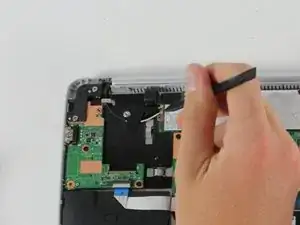
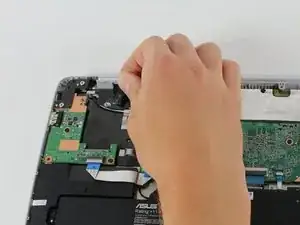
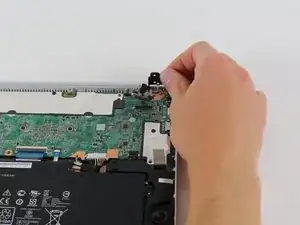
    • Disconnect the black and white antenna cable connectors for the WiFi card. The connectors look like small buttons on the ends of colored wires.

    • Gently pry the cable connectors off with your fingers or a spudger.

    • Peel the back the black piece of tape holding the connectors in place

    • These connections are button-like and will have a little resistance when removing.

  7. DEdUVmIDYGdhw1sF
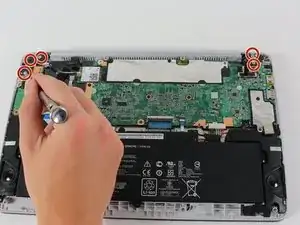
    • Remove the three 5.7 mm #0 Phillips screws in the left hinge mount.

    • Remove the two 5.7 mm #0 Phillips screws in the right hinge mount.

  8. dX2ByWoDERyuKUBZ
    dX2ByWoDERyuKUBZ
    CptCoVZrIiy4x3aa
    eBL2CKKg5EBGy2nu
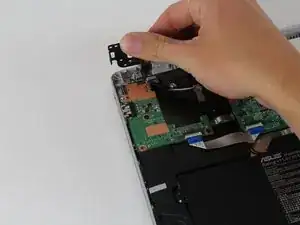
    • Pry up the bigger hinge on the top left of the Chromebook with a plastic spudger.

    • With your fingers, bend the hinge all the way back until it is perpendicular to the Chromebook.

    • Repeat this process on the smaller hinge on the top right.

    • These require quite a bit of force to rotate back.

  9. OJDHKD6ty4sNLAty
    OJDHKD6ty4sNLAty
    PXargj5s3deSvj1s
    bVhlPfuXQtotoUGJ
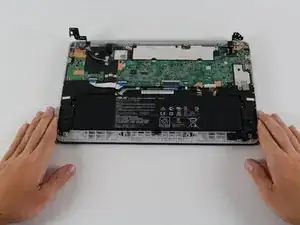
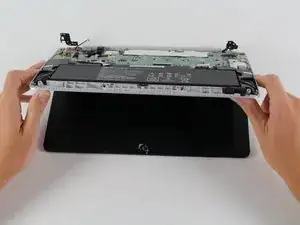
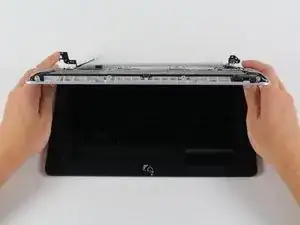
    • Grab the sides of the Chromebook as if you were opening it.

    • Slowly hinge the back of the Chromebook away from the screen.

    • Use your middle fingers to push the back of the Chromebook towards you, and away from the hinges. At this point the keyboard and the screen should be completely seperated

  10. uFWsNrEHkVVcElcH
    uFWsNrEHkVVcElcH
    ygFytelTrLPuIrjG
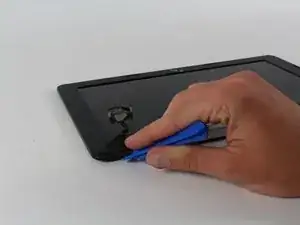
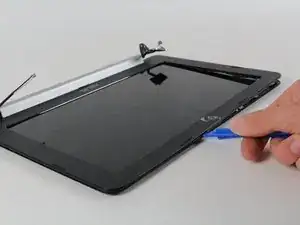
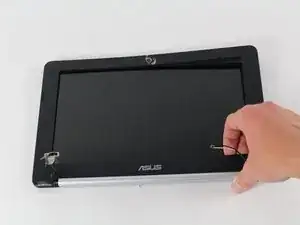
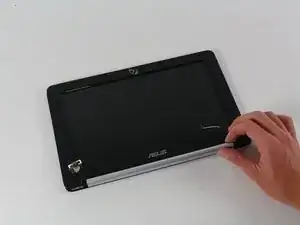
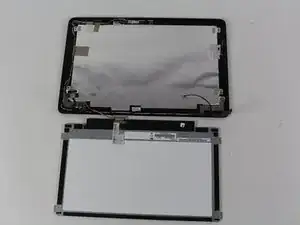
    • Using the plastic prying tool, pry open the outer non-hinge edges of the screen frame by sliding the tool around the perimeter of the frame.

    • You should hear snapping sounds and the screen cover should be hanging off the frame with the bottom edge still connected.

  11. SC5LJeRgvrKBLgdS
    SC5LJeRgvrKBLgdS
    GKSKGMCoBMpc5655
    JEJFDCws2rQ6PYKE
    • Work two fingers under the inside edge of the plastic screen cover then slide them across the screen, unhooking all the connections.

    • There are many connections between the cover and frame that will need forcing to separate. Also, the grey rounded plastic piece may fall off through this step.

  12. MY33YRrHmkWL1UMd
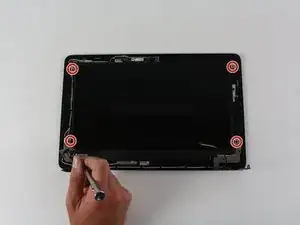
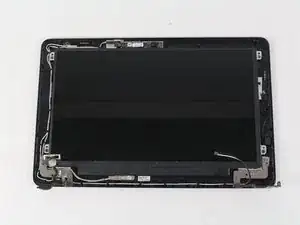
    • Remove the four 2.8 mm #00 Phillips screws located around the perimeter of the screen.

    • The screen is still attached to the laptop by a cable on the back of the screen.

  13. ULwVkOJItFHwpF5T
    ULwVkOJItFHwpF5T
    bSfD31nGNMnt4UFI
    3gfO3TCau4KOWYDB
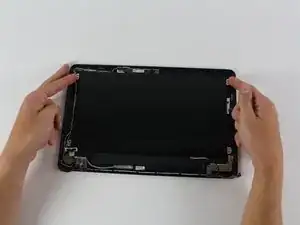
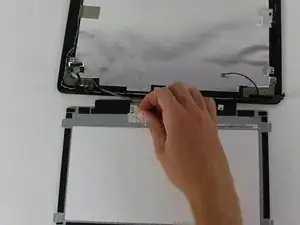
    • Flip the screen towards the hinge to access the cable connector.

  14. jyy1bjfIkGL3I6JD
    • Peel the tape that holds the cable connector in place and slide the connector out.

Abschluss

To reassemble your device, follow these instructions in reverse order.
Christopher Lim

Mitglied seit: 26/04/17

779 Reputation

0 Kommentare