Einleitung
Werkzeuge
-
-
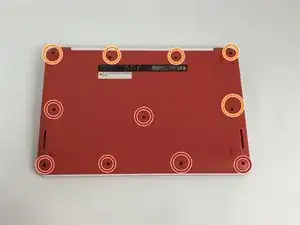
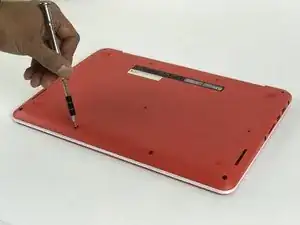
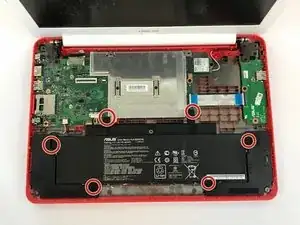
Using the JIS J0 Screwdriver, remove the following screws from the bottom:
-
(5) Five 6mm screws
-
(6) Six 8mm screws
-
-
-
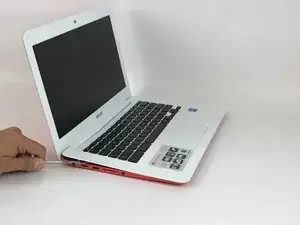
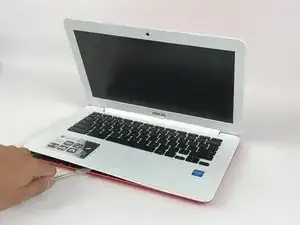
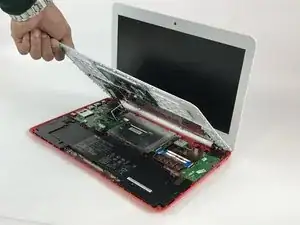
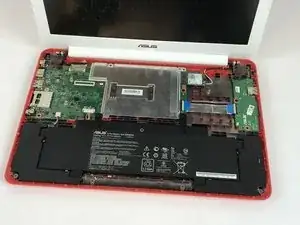
Gently wedge the spudger in between the bottom of the device and the keyboard, and carefully pry the cover open. Then, carefully lift up on keyboard.
-
-
-
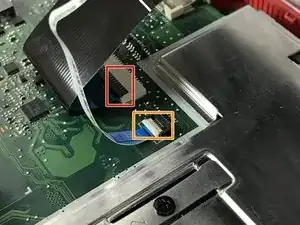
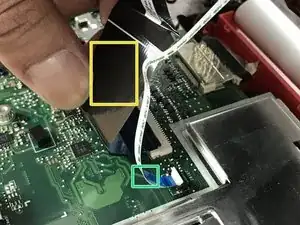
Carefully flip up the large black tab.
-
Carefully flip up the small white tab.
-
Remove its corresponding black cable.
-
Remove its corresponding white cable.
-
-
-
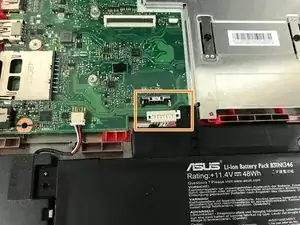
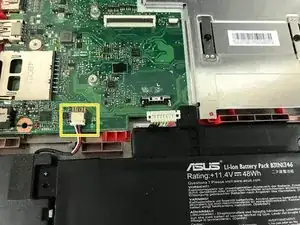
Using the plastic opening tool, gently push the connector tab away from the battery to detach the cable.
-
-
-
Using the plastic opening tool, disconnect the audio connection by pushing the audio tab toward the speakers.
-
With the audio cable detached, carefully lift the speakers out of the device.
-
-
-
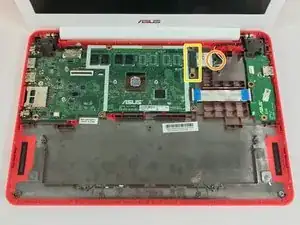
Remove the LCD cable from the motherboard.
-
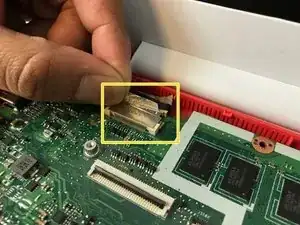
Peel back the tape and then gently pull back on the connector cable.
-
-
-
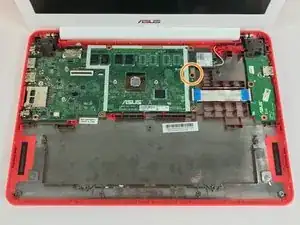
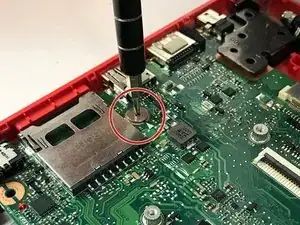
Using the JIS J0 screwdriver, unscrew the 3mm screw.
-
Remove the Wi-Fi card from the motherboard.
-
-
-
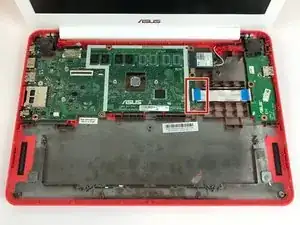
Using the plastic opening tool, lift up on data cable for the daughterboard to remove it from the device.
-
-
-
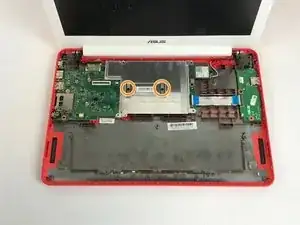
Using the JIS J0 Screwdriver unscrew and remove the (2) two 3 mm screws from the heat shield.
-
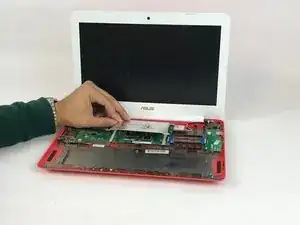
Gently lift up on the heat shield to remove it.
-
-
-
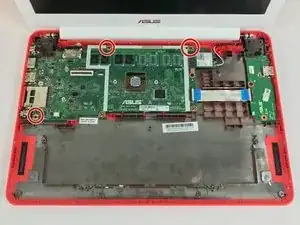
Using the JIS J0 Screwdriver, unscrew and remove the (3) three 6mm screws from the left hinge.
-
-
-
Using the JIS J0 Screwdriver, unscrew and removing the following:
-
(1) One 3mm screw from the right side of the motherboard.
-
(1) One 4mm silver screw from the left side of the motherboard.
-
To reassemble your device, follow these instructions in reverse order.
