Einleitung

This guide will teach you how to properly take apart your Asus to replace the track pad.

  1. ujlaiuv3VWfYqgTi
    ujlaiuv3VWfYqgTi
    ln3BnqmhZwbHsBmP
    SC1FcEpjbN3iGuPN
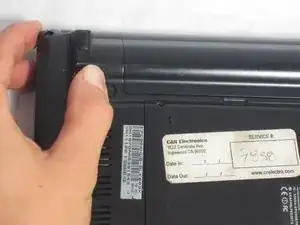
    • Flip the laptop over and locate the battery lock tabs.

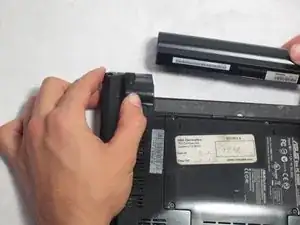
    • Slide the right tab to the unlock position (right) so that a red dot is showing. Then, slide and hold the left tab to its unlock position (left).

    • Pull the battery out.

  2. GQJV1Qqu4EKUiKjm
    GQJV1Qqu4EKUiKjm
    of2nvtUfXUCoHoEt
    yekHvhqACY6JRjea
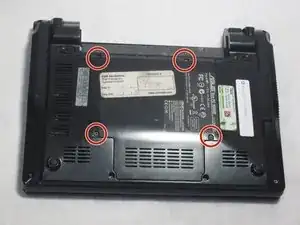
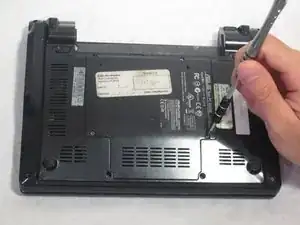
    • Remove the four 4.76 mm screws using the Phillips J0 screwdriver.

    • Lift up on the hard drive cover to remove.

  3. cumNR24UZ3NVQ2Km
    cumNR24UZ3NVQ2Km
    oikP4XdZlVE5ULmV
    JUUrGNF2fusSlRly
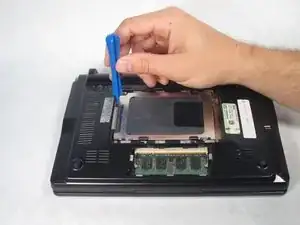
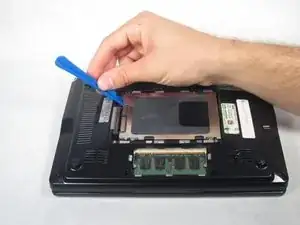
    • Starting from the left, use a plastic opening tool to slide the hard drive all the way to the right.

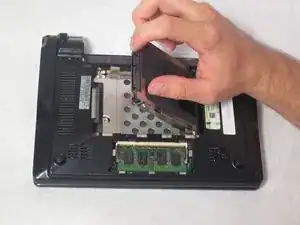
    • Once the hard drive is all the way to the right, lift it up on the hard drive and pull it out.

  4. AcGtSQnYpbmKKKZW
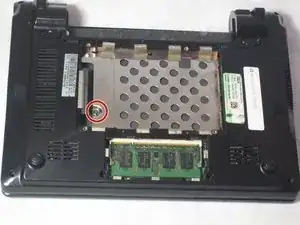
    • Remove the 4.76 mm screw under the hard drive using the Phillips J0 screwdriver.

  5. VUiQB1YRII3vyFYO
    VUiQB1YRII3vyFYO
    qYpbViHOoKKImvWQ
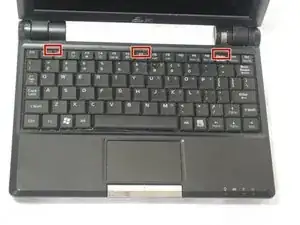
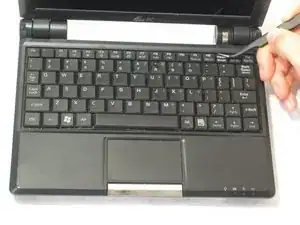
    • Flip the laptop back over and unlock the three keyboard tabs at the top of the keyboard by pushing down on the silver tabs with tweezers .

  6. cp4eQy646Pi6LNbo
    cp4eQy646Pi6LNbo
    wuLHvJeBbQ4CMBHQ
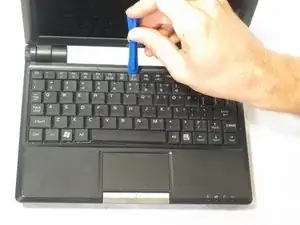
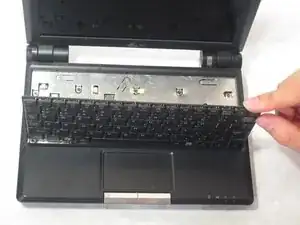
    • Use the plastic opening tool to lift up the keyboard.

  7. 6DTWsYR2Yh5JtrQv
    6DTWsYR2Yh5JtrQv
    3StyFqLxNnIIXMAU
    1vjCVMoYI2aPVlww
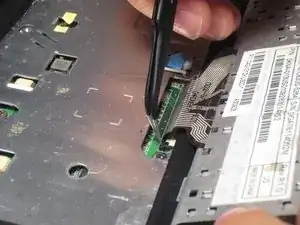
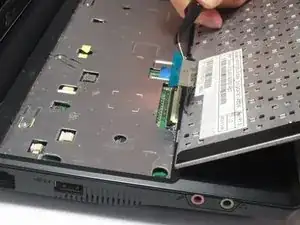
    • Using a pair of tweezers, disconnect the cable at the bottom of the keyboard by flipping the two black lock switches up on both sides of the cable.

    • Carefully pull the cable out.

  8. rQm4RASPduhInDer
    rQm4RASPduhInDer
    J42ecmmBUmTMTW5P
    guyIqeqnQYoqDZ6D
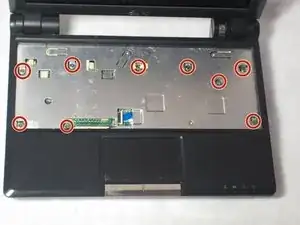
    • Remove the nine 4.76 mm screws from the surface of the laptop using the Phillips J0 screwdriver.

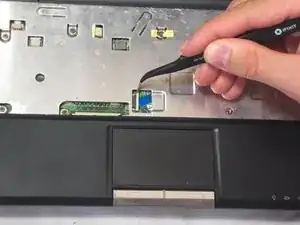
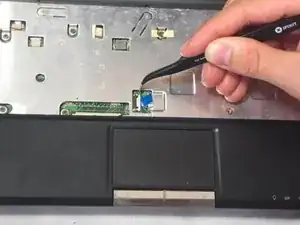
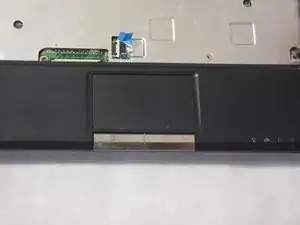
    • Using a pair of tweezers, unlock the blue touch pad ribbon by pushing the white lock tab to the right.

  9. iCTShMLUFkiUFnVy
    iCTShMLUFkiUFnVy
    uRbIfyTPVfJOolru
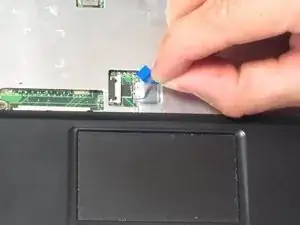
    • Carefully pull the blue touchpad ribbon to the right.

  10. ugWVvrjkSKJ33RJB
    ugWVvrjkSKJ33RJB
    MWioIaNOHUHt13O1
    pAORE2LXoIOaQHvq
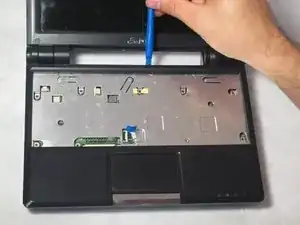
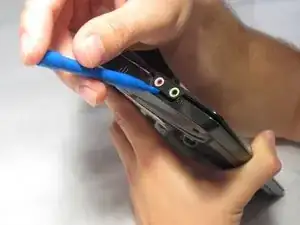
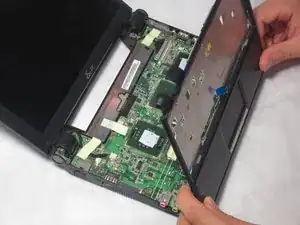
    • Using a plastic opening tool, remove the cover of the laptop by prying up the edges.

    • Be careful around the audio and microphone jacks as they can be easily damaged. Lift the right half of the cover and move it towards the left.

  11. dUZbIkUuqrHLdFsM
    dUZbIkUuqrHLdFsM
    TuOWyX3wjZByykto
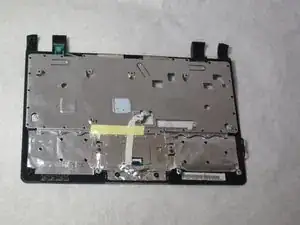
    • Lift up and remove the top cover of the laptop.

    • Flip this cover over to reveal the back.

  12. 3oOqE3GIjXNcfQOZ
    3oOqE3GIjXNcfQOZ
    GFwBx6HjYOLaU5L1
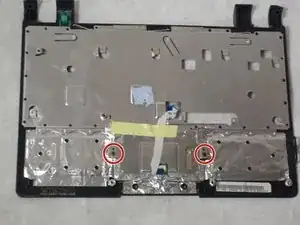
    • Remove the two 4.76 mm screws using the Philips JO screwdriver.

  13. RwttrY2lStboocMk
    RwttrY2lStboocMk
    XEUPsOLt5FyKEaJe
    nlDRZw6QP6FFvrxS
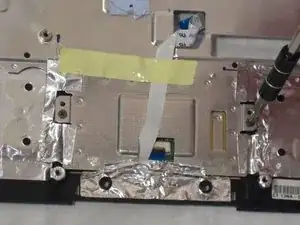
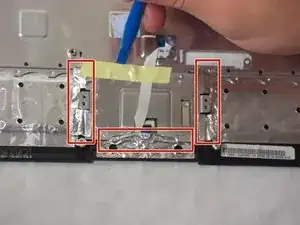
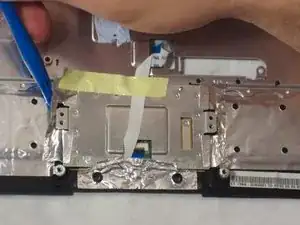
    • Using the plastic opening tool, gently pry the metal foil up around the edges of the trackpad.

    • Caution: Do not completely remove the foil.

    • Lift the metal plate up to expose the trackpad.

    • Now you can safely remove the track pad.

Abschluss

To reassemble your device, follow these instructions in reverse order.
Kendall Marie Mehlhorn

Mitglied seit: 13/10/15

557 Reputation

0 Kommentare