Einleitung
Werkzeuge
-
-
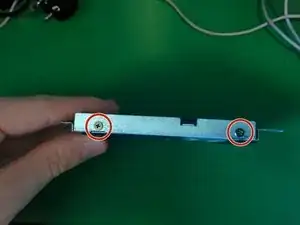
Remove the battery, using release clips.
-
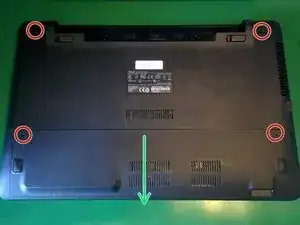
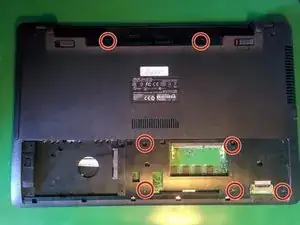
Remove either 2 (or 4 for a full teardown) 12mm phillips screws, then removing the bottom cover to gain access to the HDD and RAM.
-
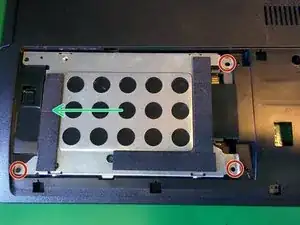
Remove HDD and RAM cover
-
-
-
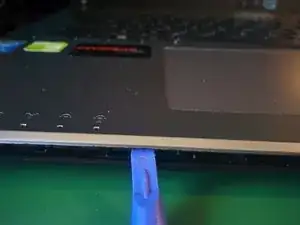
Flip laptop and open lid. Separate the keyboard plate from the main housing, using a plastic prying tool. Being careful not to damage the LED indicators or other peripheries.
-
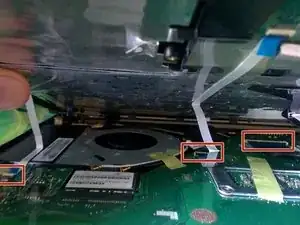
Disconnect the LED, trackpad, and keyboard ribbon cables.
-
The keyboard can now be removed
-
-
-
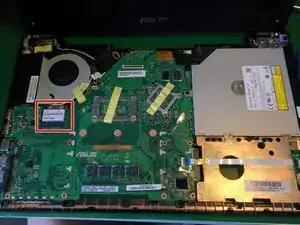
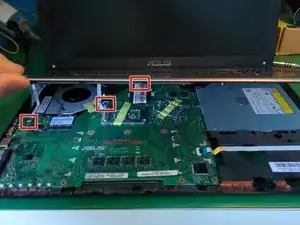
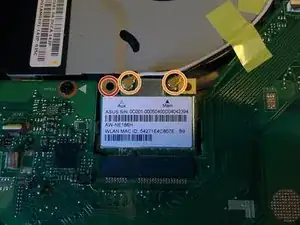
Locate Wifi Card
-
Remove the antenna cables using a spudger tool.
-
Remove the Philips screw The Wifi Card will pop up and should be easily removed.
-
Abschluss
To reassemble your device, follow these instructions in reverse order.