Einleitung
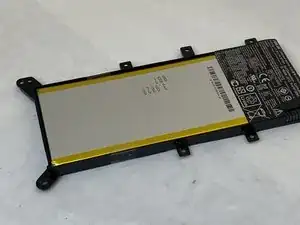
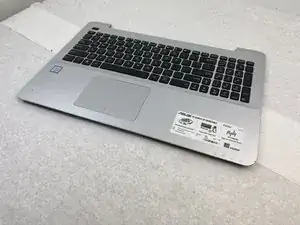
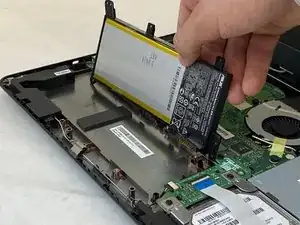
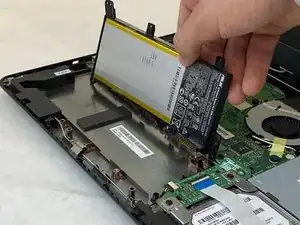
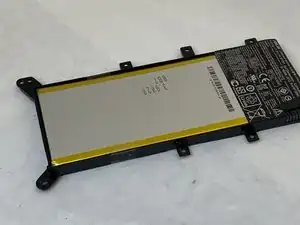
This guide will explain the process of installing a new battery, or replacing an existing one. The ASUS F555UA-EH71 comes with a 14.8V 38Wh Li-ion battery.
Werkzeuge
Ersatzteile
-
-
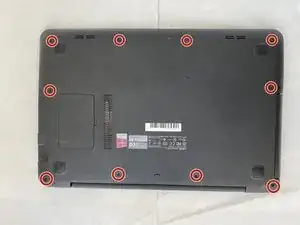
Remove the ten 18 mm screws holding down the outer shell of the laptop using the Phillips #000 screwdriver.
-
-
-
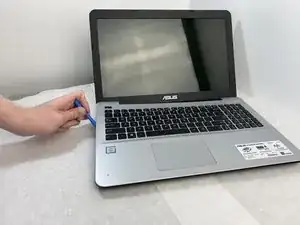
Use your fingers to gently pry open the gap between the silver and black parts of the casing.
-
Separate the keyboard panel from the body of the laptop by wedging the iFixit Opening Tool in between the keyboard panel and the body.
-
-
-
Gently open the casing until the white, silver, and gold power strips are visible. Gently peel the strips from the bottom side of the laptop.
-
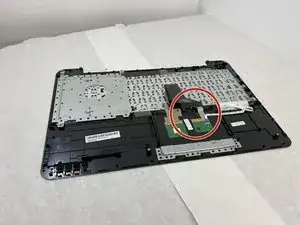
Disconnect the two cables connecting the keyboard panel to the laptop.
-
-
-
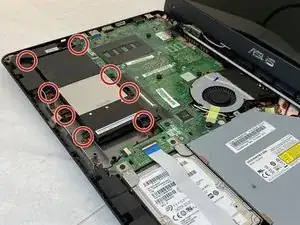
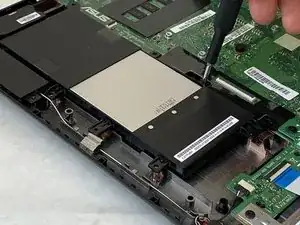
Use the Phillips #000 screwdriver to remove the eight 4 mm screws holding the battery in place.
-
To reassemble your device, follow these instructions in reverse order.
