Einleitung
This guide provides instructions for the replacement of the Asus GL752VW-DH74 battery.
Werkzeuge
Ersatzteile
To reassemble your device, follow these instructions in reverse order.
5 Kommentare
Step3 Remove Screw next to the serial label in order to remove the disk tray.
Step 5 Hard Drive screws case screws have to also be removed in addition to the screw below the internal clock battery
Great Guide Thank you !!! - Battery Model for GL 752VW-dh51 A41N1501
KN-IL -
Despite the few missing “unscrew” steps, it REALLY helped me. It took quite a bit longer than 20 min as I did not want to wreck something, but overall I could not have changed my battery without this guide. THANK YOU!
Vio Belc -
Thank you for your help, I now know how to change the battery, I tried disconnecting and reconnecting it see if I would get any power at all but zip, I will look on Ebay to try and buy a battery for it but I hope it’s that as it was working fine then said battery had no charge when I always made sure it never ran out so not sure what the problem was, at first I thought it was the chord but wasn’t that as I changed it.
angel -
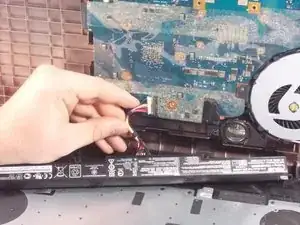
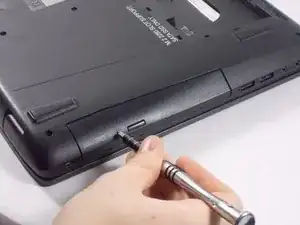
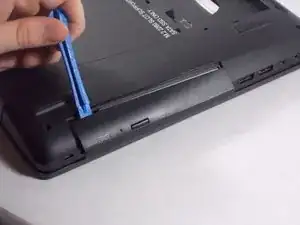
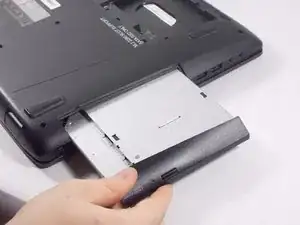
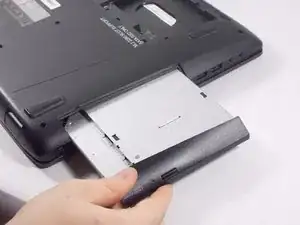
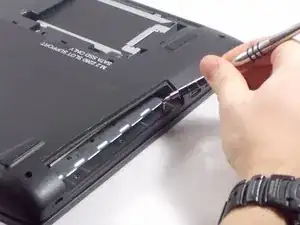
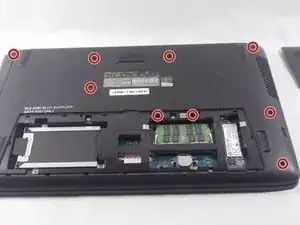
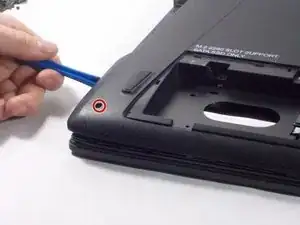
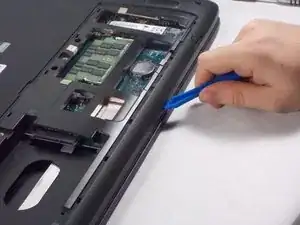
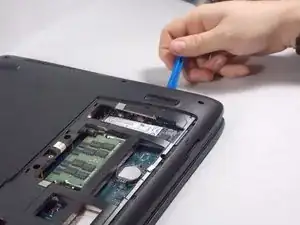
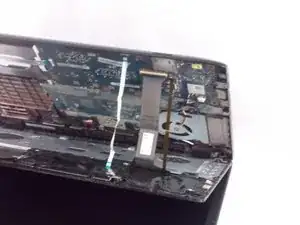
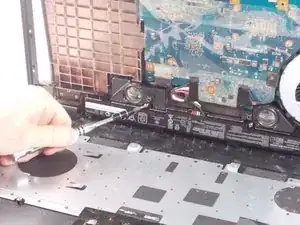
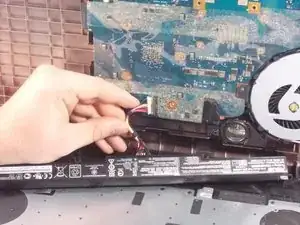
I want to point out that in order to do this step you have to remove the screw holding the CD drive in place first. On top of this if the screw is out very light pulling on the drive will remove it. There is no need for a pry tool or a needle to eject it. To make it easier on yourself I would actually do step 5 first and just be done with all the screws before you take out the CD screw (Which, by the way, step 5 is shown with the CD drive still attached and screwed in which can cause confusion and possible damage if not careful/paying attention).
Stephen Patterson -