Einleitung
This guide demostrates the removal of the Asus GL752VW-DH74 display. Make sure that the laptop is unplugged before utilizing this guide.
Werkzeuge
Ersatzteile
To reassemble your device, follow these instructions in reverse order.
6 Kommentare
Followed your tutorial and replaced my laptop screen successfully, thanks!
3 stars at best. If I did not have any experience dealing with hardware replacement - and mine is only desktop - I would have been hard pressed to complete the screen replacement, if at all. I can't imagine a single person I know who had never kicked around on the internals of a computer that could have done this. You leave out incredibly important steps and kiddos to the few comments that corrected you on the screws that needed removal. You could have told us to remove the screen cable from the back of the screen and not the motherboard. You also assumed people had special tools at their disposal such as a hinge remover tool, or case separator tool. You should have advised people to take pictures before each step so that when reassembling they could refer to how it looked before they pulled this cable or that. All in all, thanks, but a sloppy job.

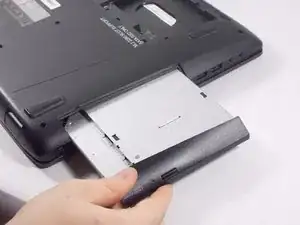
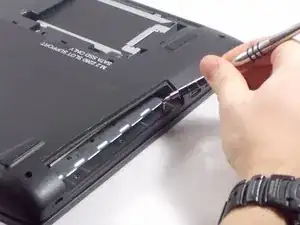
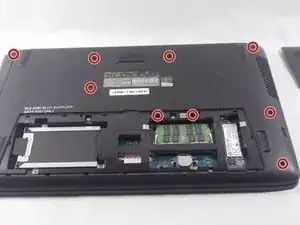
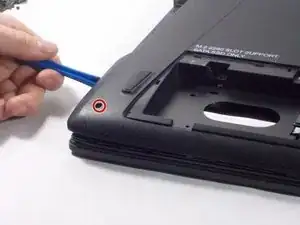
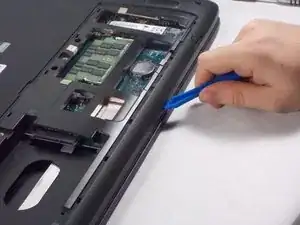
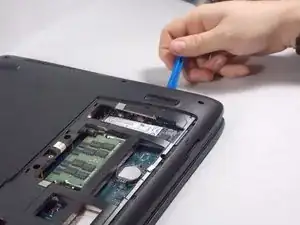
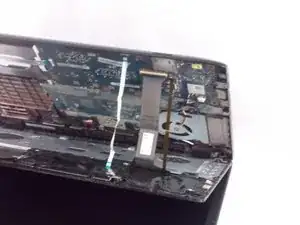
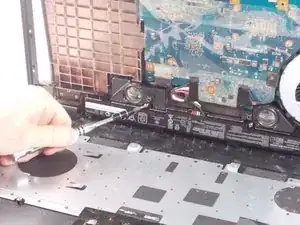
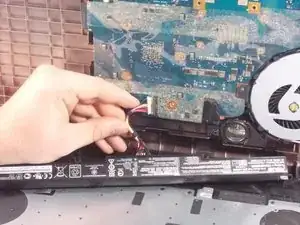
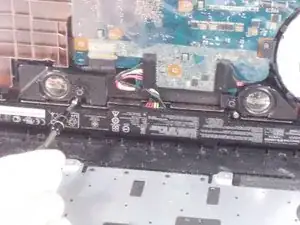
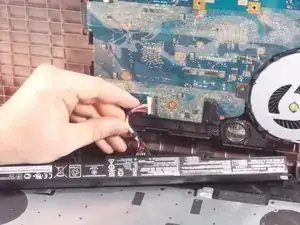
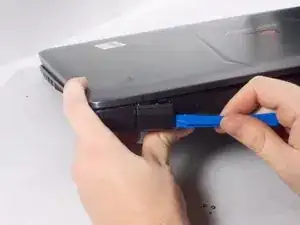
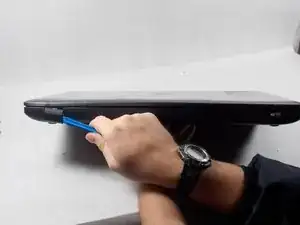
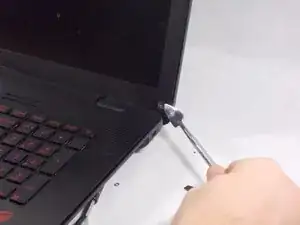
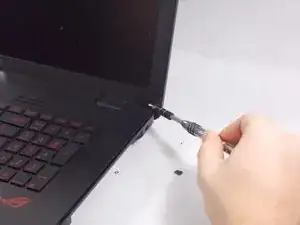
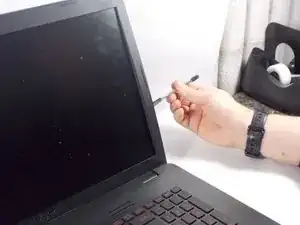
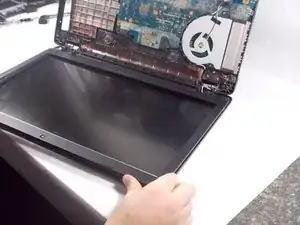
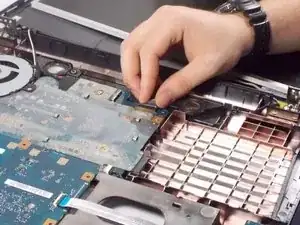
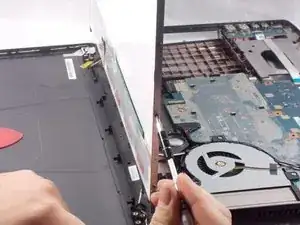
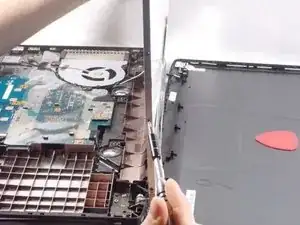
Step 1: Remove the optical drive.
Stig Kjørlaug -
On the GL752VW-DH71 you have to remove the screw about 6 inches straight back from the middle of the drive in order to remove the disk drive.
Diana Giles -
You have to remove all the screws from the next step (and the screws that are from the comments, as there are lots more than in the guide)
Iain Halliwell -