Einleitung

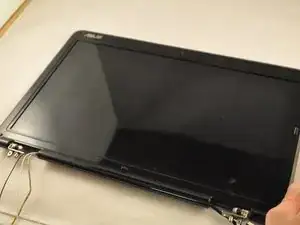
Sometimes screens stop working. This guide will show you how to replace your screen and get back to browsing.

  1. ammx3CTICFxHPAwQ
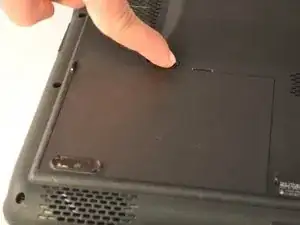
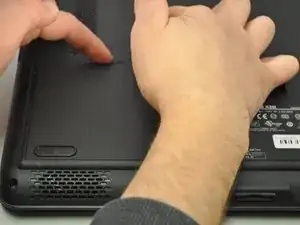
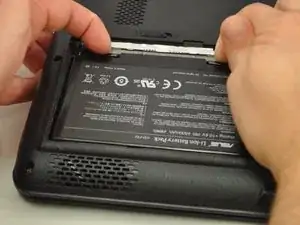
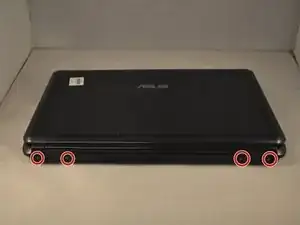
    • Slide the tab over to unlock the battery cover located on the bottom-left corner of the laptop.

  2. obDnTCRoFM5rCec2
    obDnTCRoFM5rCec2
    TAV2FDwR64OGsWbl
    GWpUcFeD6GJbEdQq
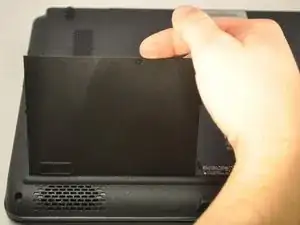
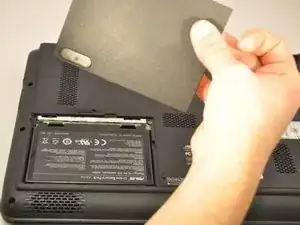
    • Lift the exposed lip and remove the battery cover.

  3. KMSkL52JwQyoZHM2
    KMSkL52JwQyoZHM2
    FdH1MPvWMDTbN4Z1
    PbIjIQ4fYxKZYQQN
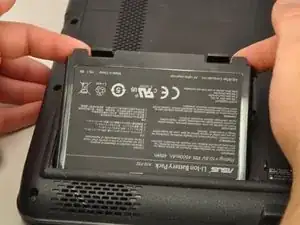
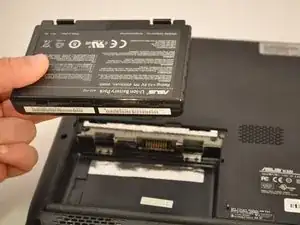
    • Press the tabs on the battery and lift them. The battery should come out easily.

  4. BPDIBlHO2coaRRxk
    BPDIBlHO2coaRRxk
    2JYPX4TVLtkPCJFt
    xkUqauJfZkkrK2ZJ
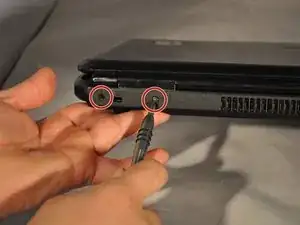
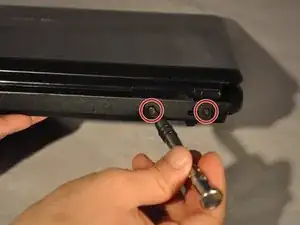
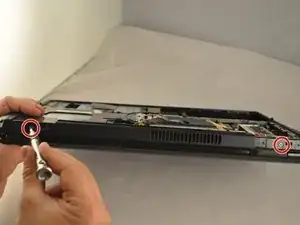
    • Using the PH1 screwdriver, remove the four 4 .75 mm screws that are located on the vent panel.

  5. ZfUNoVyl1QIOVIkq
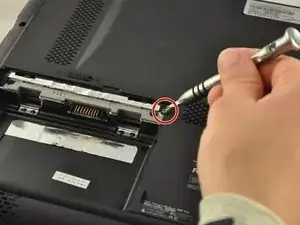
    • Remove the one .5 mm screw located in the top right corner of the battery compartment.

  6. MWoYJM6Comcl6vXJ
    MWoYJM6Comcl6vXJ
    lBqj4LMoDlOjOgkP
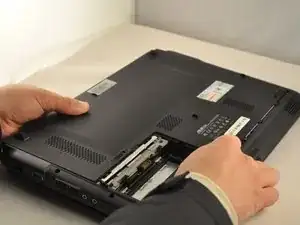
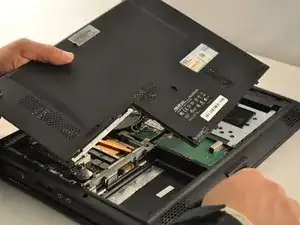
    • Remove the bottom panel by sliding it toward the hinges and lifting the back panel up.

  7. NJvvWCVkOjFPBPDj
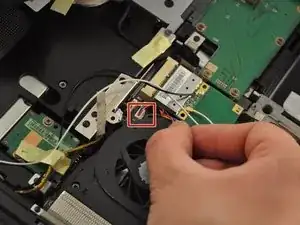
    • Unplug the wire cable attached to the fan by pulling it out .

  8. yIQOhM6GkAXFJLsF
    yIQOhM6GkAXFJLsF
    ddsaYjJOQi2KQLEC
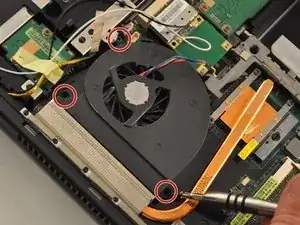
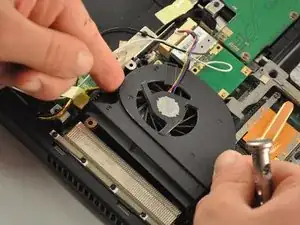
    • Using the PH1 screwdriver, remove the 3 .75mm screws labeled as 1, 2, and 3 on the fan. NOTE these screws have the labels "1", "2", and "3" next to them.

    • Lift the fan up with your fingers.

  9. 3S6sQ1M3Cmghw6Ec
    • Using the PH1 screwdriver remove the two .75 mm screws from the hinge side of the laptop.

  10. PUVJCZ43bOJrIouL
    PUVJCZ43bOJrIouL
    Sfr2PkO3SaXfUgS2
    JNFvJstRkiQVDUBm
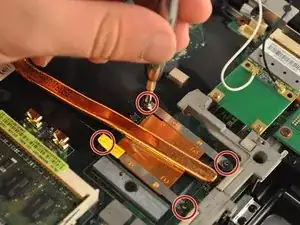
    • Using the PH1 screwdriver, remove the four .75 mm screws from the copper heat sync. They will be labeled 1-4.

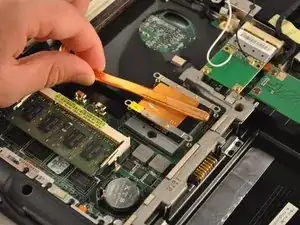
    • Pull the copper heat sync out of the laptop.

  11. FDZGoJHQsQ3TJjBF
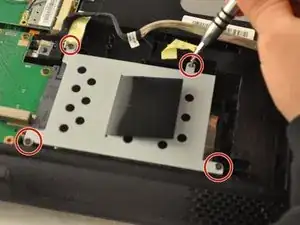
    • Using the PH1 screwdriver, remove four .75 mm screws from the driver, located in the bottom-right corner of the laptop.

  12. MVSjFnGBK1O1klDH
    MVSjFnGBK1O1klDH
    bmJUIusweTBKiGDA
    NuGSRwMbrX1iEwgS
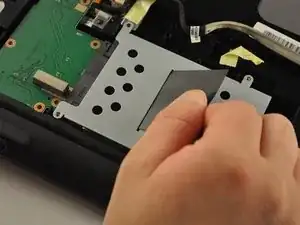
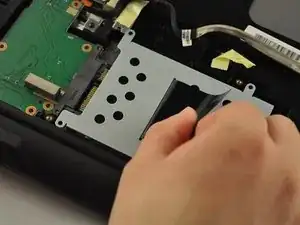
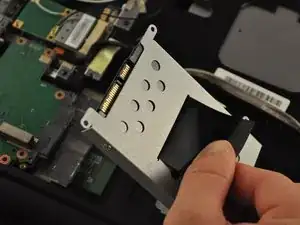
    • Pull on the black tab on the driver to slide the driver back, and lift the driver out of the laptop.

  13. dmPcXRRaw4VUFAHL
    dmPcXRRaw4VUFAHL
    ZeSEU2OolftJEUMV
    KZU2h5GyJB2vOAMY
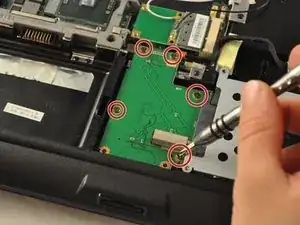
    • Using the PH1 screwdriver, remove the five .5 mm screws from the SD card reader, located in the bottom-middle corner of the laptop.

    • Slide the SD card reader away and out.

  14. 2o5PnOmYpRDaFSPY
    2o5PnOmYpRDaFSPY
    sBApKFl6ywHdEdfJ
    AWZY5BZTVN1PBUg1
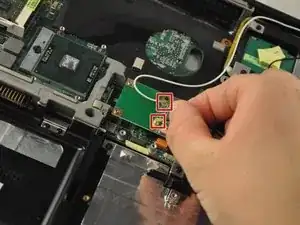
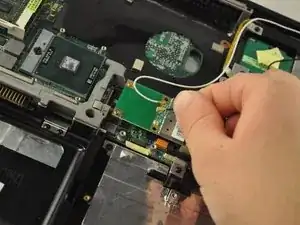
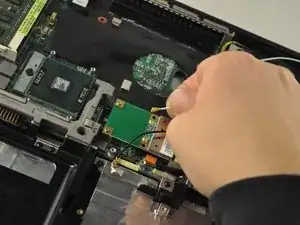
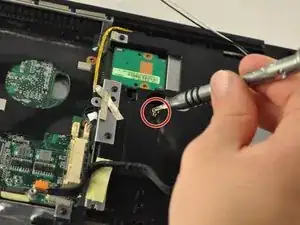
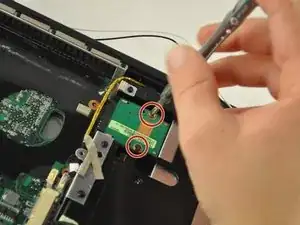
    • Detach the white and black wires from the Wi-Fi card, located in the central area of the laptop.

  15. LO55bCed3x2DuMnS
    LO55bCed3x2DuMnS
    Ir3YRTqQWxRxMD1P
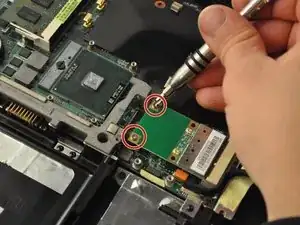
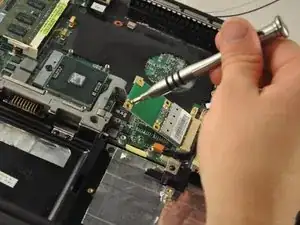
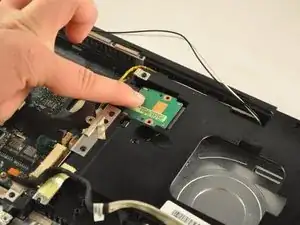
    • Using the PH 1 screwdriver, remove the two .25 mm screws from the Wi-Fi card.

  16. r4JDZbpTcIqiWjyG
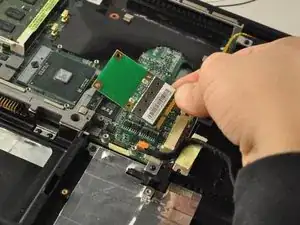
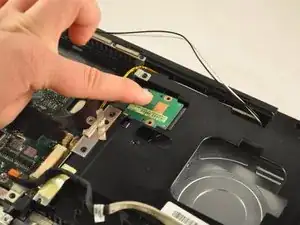
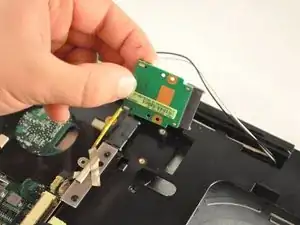
    • Slide the Wi-Fi card out of its slot to remove.

  17. WHiEssBfOWMSQmeq
    • Using the PH1mm screwdriver, remove one .5 mm screw from the disk drive, located inthe top-right corner of the laptop.

  18. oYLktwWlLom3XTiN
    oYLktwWlLom3XTiN
    J14vlWgpXwP1FYR1
    UjtZjomITh1CjrDw
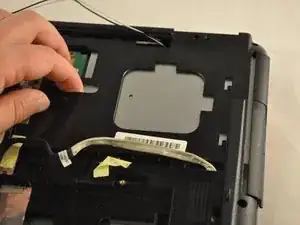
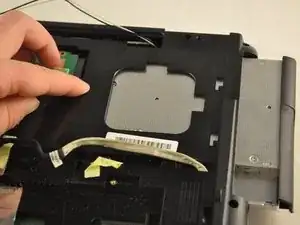
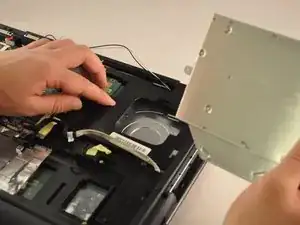
    • Slide the disc drive out of its slot.

  19. RTpFtCUiPxpNh146
    • Using the PH 1 screwdriver, remove the two .5 mm screws from the RAM drive.

  20. EACKoHJJlSDdXRVS
    EACKoHJJlSDdXRVS
    UivaRaJXgpcSuqIZ
    5XYXeI2acIwDbe2d
    • Slide and lift the RAMdrive out of its port.

  21. pKSOgFF2amKMvnEl
    • Using the PH1 screwdriver, remove the .75 mm screw from the plastic housing corner, located in the bottom-right corner of the laptop.

  22. mN6wpJBKCinGjIqG
    mN6wpJBKCinGjIqG
    HeQlUOMKEsThoZVV
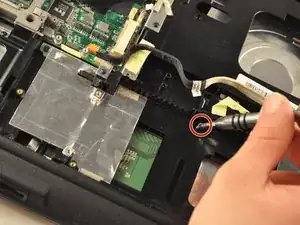
    • Unplug the black cable from the central area of the laptop.

  23. 1oIyLi5cAXXirI6M
    1oIyLi5cAXXirI6M
    Lgm5D1UR5XTDmfDM
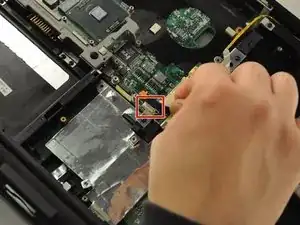
    • Unplug the wire cable in the central area of the laptop.

  24. C1nVWV5uIvjAByOa
    C1nVWV5uIvjAByOa
    HbfWi2TqZneQmGYW
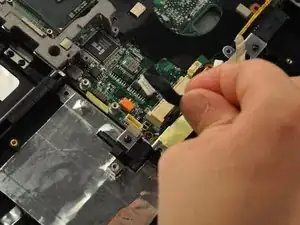
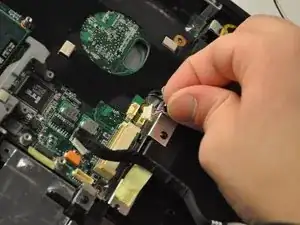
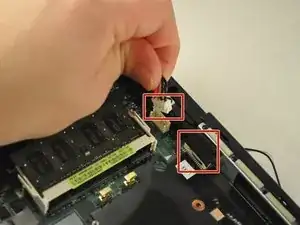
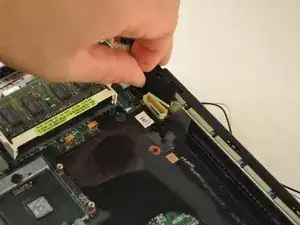
    • Unplug the wire and black cables on the motherboard, located in the upper-left corner of the laptop.

  25. QNVGKcZ5SQenx3i5
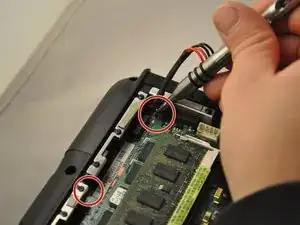
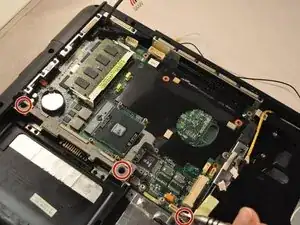
    • Using the PH1 screwdriver, unscrew the two .75 mm screws from the top-left corner of the motherboard.

  26. UgqE4kDIL3KiZjLW
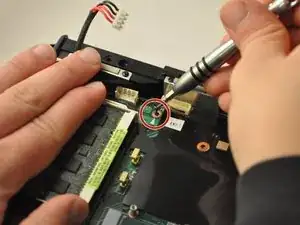
    • Using the PH 1 screwdriver, remove the .75 cm screw from the top-middle section of the motherboard.

  27. Zq5dCvWGHWiIJh3A
    • Using the PH1 screwdriver, remove the .75 mm screw from the top-middle corner of the motherboard.

  28. oBeCj4fRZNNgTww2
    • Using the PH1 screwdriver, remove the three .75 mm screws from the bottom corner of the motherboard.

  29. IjNeoEm5ftfsQBu5
    IjNeoEm5ftfsQBu5
    QisoVnYorMNbGyBx
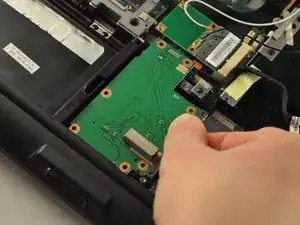
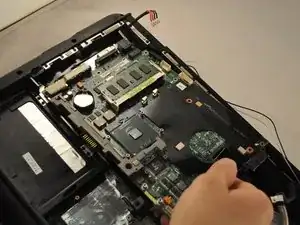
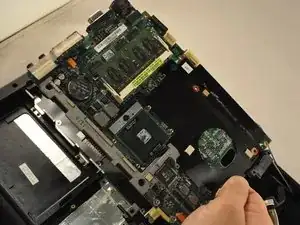
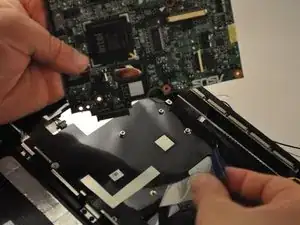
    • There is a ribbon cable connected to the back of the motherboard. Be careful not to break the ribbon cable.

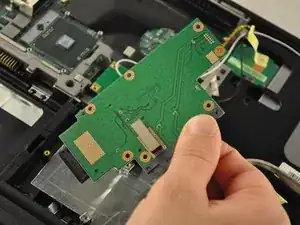
    • Slide the motherboard to the right and lift it up, but do not pull it completely out.

    Motherboard has THREE cables attached to the face — 2 Ribbon and 1 Modular

    Scot Young -

  30. REUfkKO2qijO5oom
    REUfkKO2qijO5oom
    RDmZAjJMu5CDCWdX
    t6aiExjJfHACFtGU
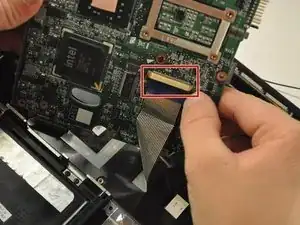
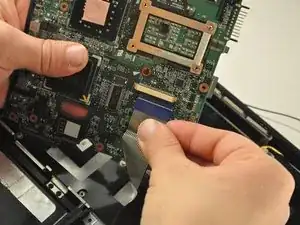
    • Gently unplug the ribbon cable from the underside of the motherboard.

  31. gMKP1iy5d5wtgxqC
    gMKP1iy5d5wtgxqC
    NEIINAnT2AKu2SwT
    hRIIdS2oiNEV4o5v
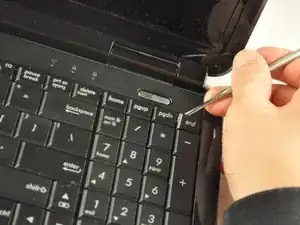
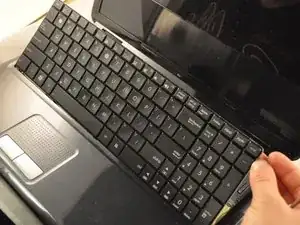
    • The ribbon cable that was plugged into the motherboard is attached to the keyboard. Be sure not to damage it.

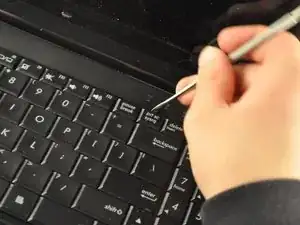
    • Use the metal spudger or opening tool across the top edge of the keyboard to pop it out.

  32. U63FHVrFFBLP32Mk
    U63FHVrFFBLP32Mk
    4lvjh2sc1B2ANjWe
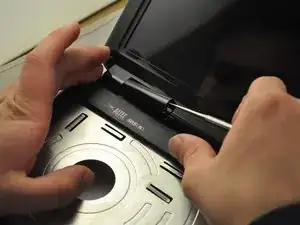
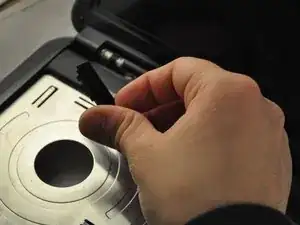
    • Use the metal spudger or opening tool to pop out the plastic hinge covers.

  33. 3Gwr1XmjEuVXbcwL
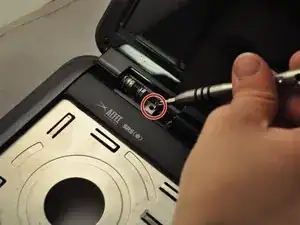
    • Use the PH1 screwdriver to remove the .75 mm screws from the hinges. Each hinge has one screw.

  34. ITK2CpM6Ko5bPYPv
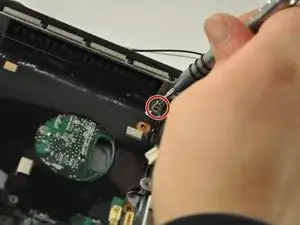
    • Be careful not to damage the cables that are attached to the screen frame. Be sure to pull them through the laptop carefully.

    • The screen should separate from the rest of the laptop.

  35. BcihCoSF6wpbKbcU
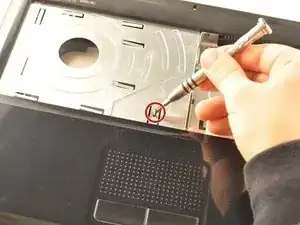
    • Using the PH1 screwdriver, remove the .75 mm screw from the bottom-middle section was previously covering.

  36. FQmLSIrnCFXrfMsQ
    • Using the PH 1 screwdriver, remove the .75 cm screw from the bottom-middle section where the keyboard was previously covering.

  37. cOMSdbvOiMWK22r1
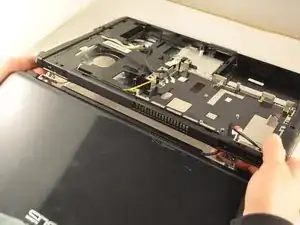
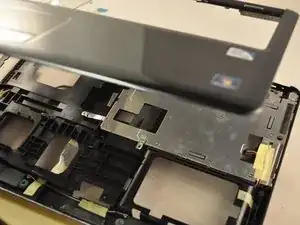
    • Lift the front cover off of the laptop.

  38. vUKUEAjhkpnbVijU
    vUKUEAjhkpnbVijU
    ASD3LHVxBG6dOhwQ
    EINtWGdxoDRToSYE
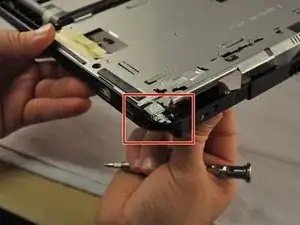
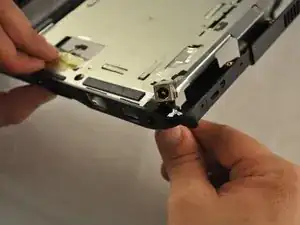
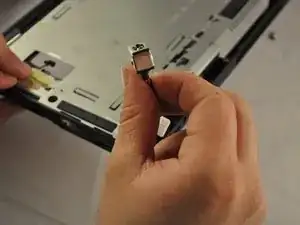
    • Flip the laptop back over. The charging port will be located in the top-right corner.

    Step 30 — there are THREE cables (2 ribbon and 1 modular) attached to the face of the motherboard that you cannot see until it’s been removed.

    Scot Young -

    Yes indeed, thanks Scot.

    Also this guide forgets to remove all the screws around the outside edge, to remove the top cover Step 37. 7 screws by my count. 4 on I/O side, 3 on DVD side

    Nick Cowan -

    Also Step 33 removing hinges, requires the pictured screw on top of each, as well as 2 underneath each hinge

    Nick Cowan -

  39. lJtRXKvcIdCgCLiI
    lJtRXKvcIdCgCLiI
    mJAKUcNMFkPpa6vu
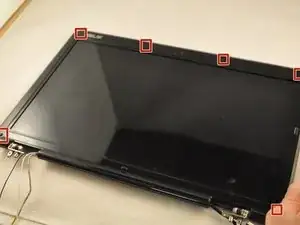
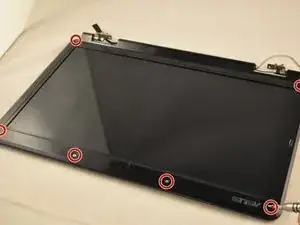
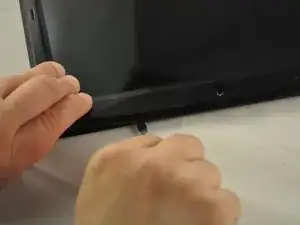
    • Using a metal spudger, pop off the six rubber screw covers.

  40. tW3hwqeTQotrwAHB
    tW3hwqeTQotrwAHB
    vjhH6IJ5JIAW6ZNE
    • Using the PH1mm screwdriver, remove the six .75 mm screws from the front of the screen frame.

  41. 2Q3S6darNosVEWxc
    2Q3S6darNosVEWxc
    Jg4SgyI2d5inWEcJ
    KnJpFb5FPDCUyUr5
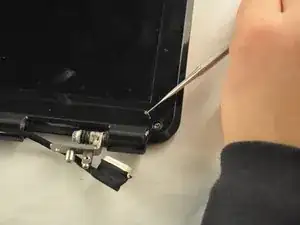
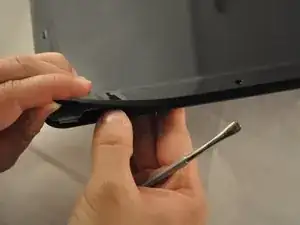
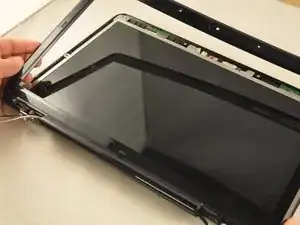
    • Use the plastic opening tool or spudger along the edge of the frame, to pry off the frame.

  42. aLiu6IUoZs2beMPV
    aLiu6IUoZs2beMPV
    MXhLPqEAjRkuaD1i
    hc1JejqKagFuZMKI
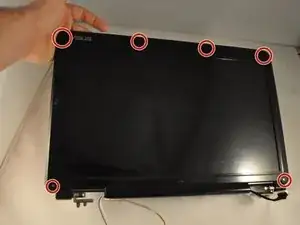
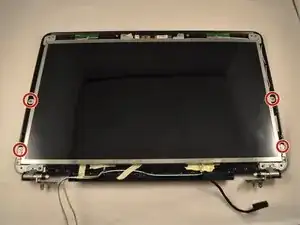
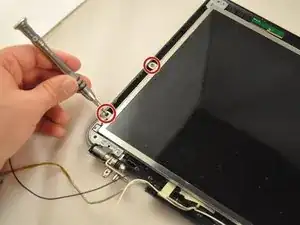
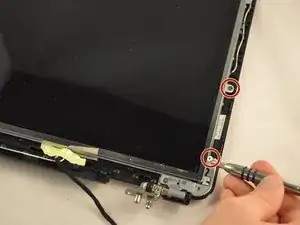
    • Using the PH1 screwdriver, remove the four bottom .75 mm screws from the screen frame.

  43. DWrIdgV6dECjwiq6
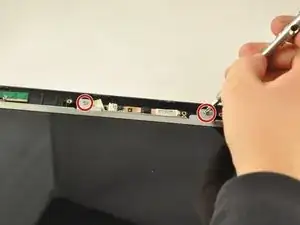
    • Using the PH1 screwdriver, remove the two .75 cm screws from the top of the screen frame.

  44. eTh3HwuCB22ci3QN
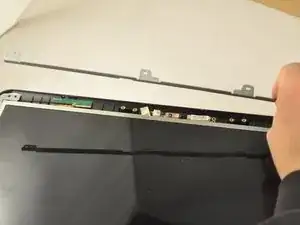
    • Lift the bracket off the top of the screen frame.

  45. kWKw4QmJfLVZDqCi
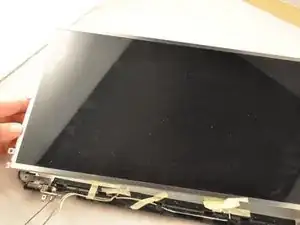
    • Lift the screen should out.

Abschluss

To reassemble your device, follow these instructions in reverse order.

Dmitriy Ivakhnenko

Mitglied seit: 27/09/17

111 Reputation

3 Kommentare

Very well done. Thank You

Rc wells -

Thank you for your time!

tatiana.morais.89 -

Now, I don´t know how to connect the cables to the motherboard because they are too short.
tatiana.morais.89 -