Einleitung
This guide will show you how to replace the front camera for a Asus MeMO Pad 7. If you want to take a picture from the front camera but it is not working, you can simply follow the instructions to replace and make it work again.
Werkzeuge
-
-
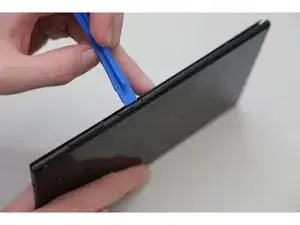
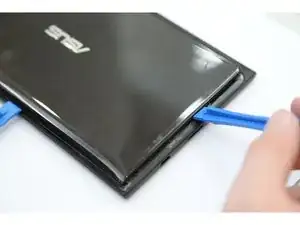
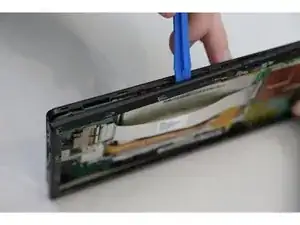
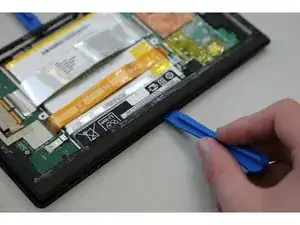
Make sure your device is turned off. Then with a plastic opening tool, carefully remove the back panel by carefully working your way around the perimeter.
-
-
-
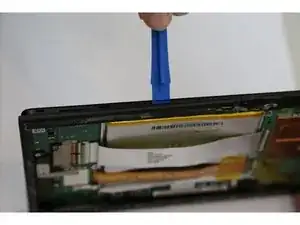
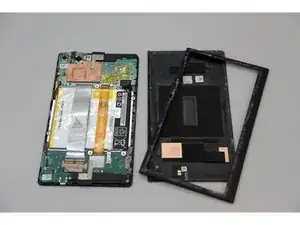
After removing the rear panel, use a plastic openning tool to remove the frame of the tablet.
-
Start in the middle of the top side and insert a plastic opening tool between the screen and the frame.
-
Carefully run the plastic opening tool along all the edges of the tablet.
-
-
-
When you take the rear panel and the frame out, place the rear panel and the frame away from the device.
-
-
-
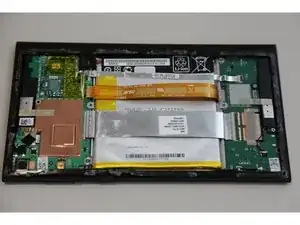
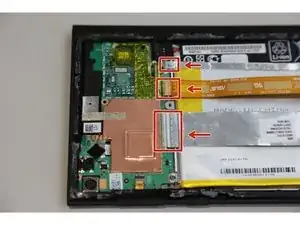
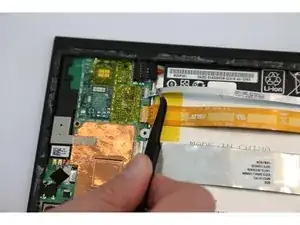
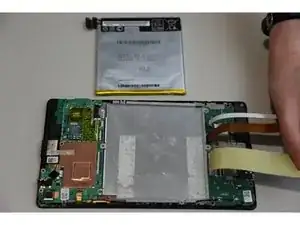
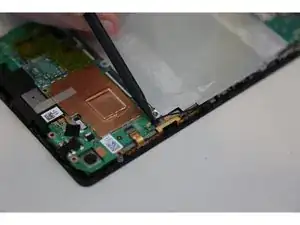
Disconnect the ZIF connectors to release the data cables holding the battery in. Use tweezers to do this.
-
-
-
Find the place where the battery connector is. Disconnect the battery connectors by carefully pulling up on them using a spudger or plastic opening tool.
-
-
-
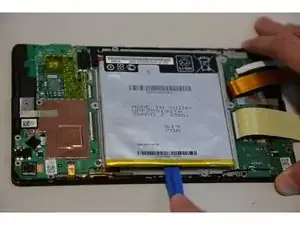
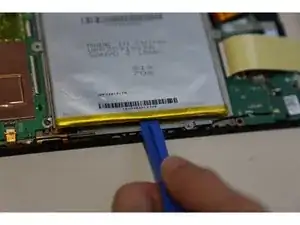
Using a plastic opening tool carefully pry the battery loose. The battery is glued to the pad; slight pressure will be needed to remove the battery.
-
-
-
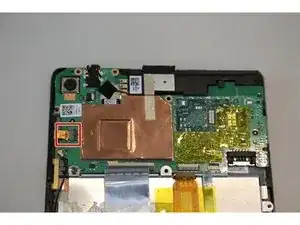
After removing the battery from the device, locate the volume connectors on the side of the device.
-
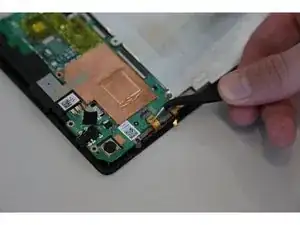
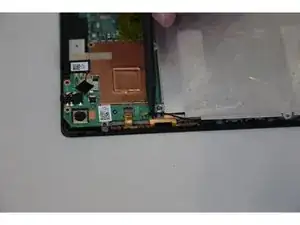
Using tweezers, carefully remove the volume connectors and place it to the side.
-
-
-
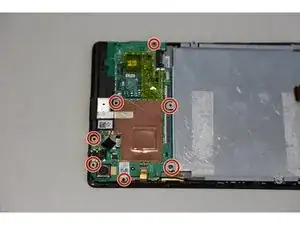
Locate seven 2mm Phillips #0 screws attaching the motherboard to the pad. Remove the screws with a Phillips #000 screwdriver.
-
-
-
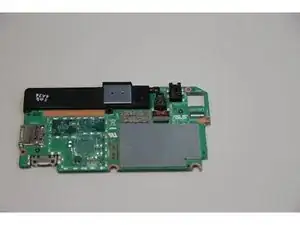
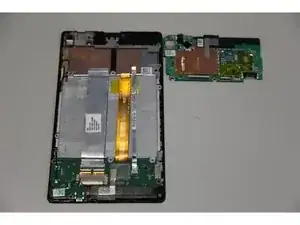
Once all the screws are taken out, you can remove the motherboard. Carefully, take the motherboard out with a plastic opening tool.
-
-
-
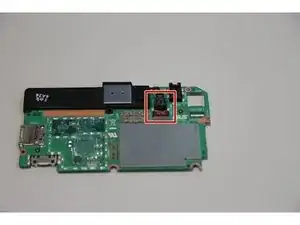
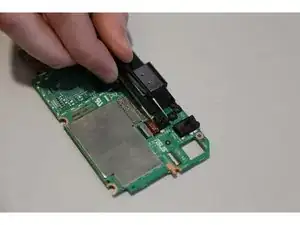
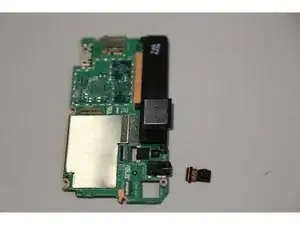
Flip the motherboard and find the place where the front camera connector is.
-
Using tweezers, carefully remove the front camera connectors and place it to the side.
-
To reassemble your device, follow these instructions in reverse order.
