Einleitung

The motherboard has lots of other parts mounted into it, therefore it is important to treat the board carefully, and follow instructions as shown on the steps.

  1. WdKlQ1Q36RHjadwP
    WdKlQ1Q36RHjadwP
    vQRvGTQWMpW55aPw
    • Make sure that the device is turned off as a precaution.

    • Unplug the charger and remove any memory card you may have in the device.

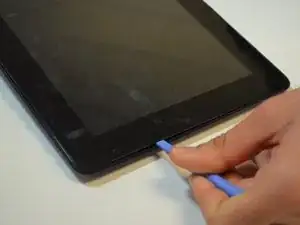
    • Wedge the plastic opening tool between the front and back cover on every side.

    • Slide the plastic opening tool back and forth to make sure that the back cover is disconnected.

    • Once disconnected, remove the back cover from the device screen.

  2. Ze2mRKZBkc1ZevDH
    Ze2mRKZBkc1ZevDH
    iVK3NBaH5twcvSPs
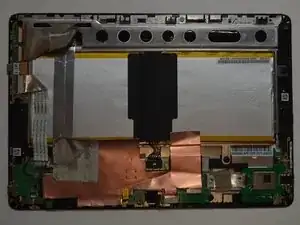
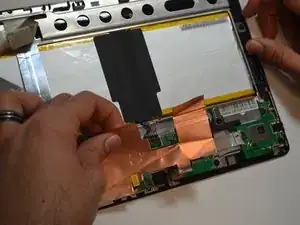
    • Remove the protective copper sticker and all tape fixed on the device.

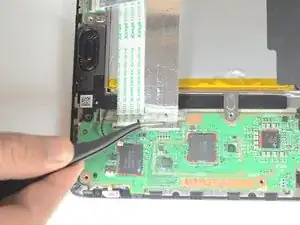
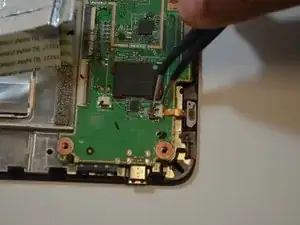
    • Using tweezers, remove the ribbon cable from their connections attached to the motherboard.

    • While using the tweezers, make sure to use minimum force and precision to avoid damaging any components.

  3. cA652BtjxeJB1DRx
    cA652BtjxeJB1DRx
    5hev1VTyFMPIlrih
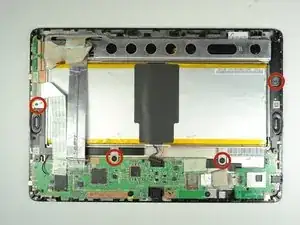
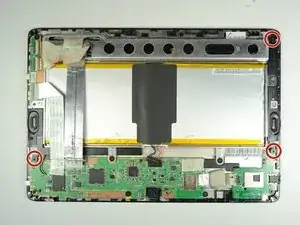
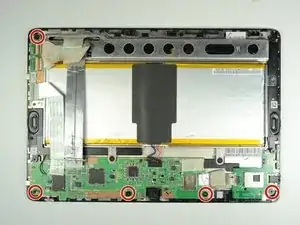
    • Remove the four 2 mm Phillips #00 screws holding the battery tray in place.

  4. xTUFoFkZOlRbJTUB
    xTUFoFkZOlRbJTUB
    ZZ6F4EndHxGD6OTp
    JyeK62mmPw1aAlIl
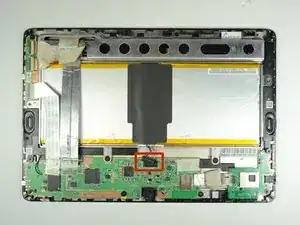
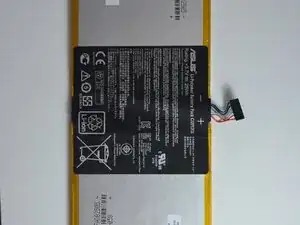
    • Locate the battery cable attached to the motherboard. Using the same technique used on the ribbons, do the same with the battery.

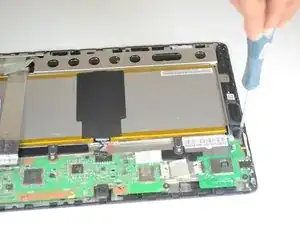
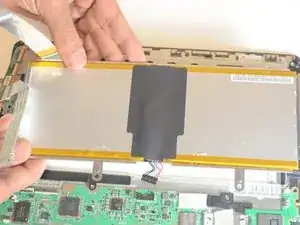
    • Remove the battery from the device. Once removed, use the plastic tool to separate the metal frame from the battery.

    • When separating the metal frame, be sure to hold on in the center as the battery is two separate cells.

  5. vU2XkGZTgPLQG2cf
    • Remove three screws using a Phillips #00 screwdriver.

  6. heZHLaiO4vAaW4m2
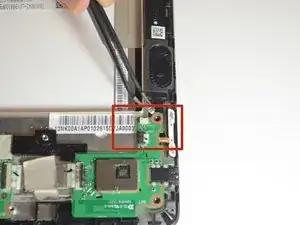
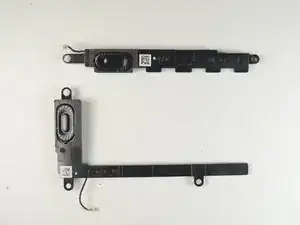
    • The two speakers are located on opposite sides of the device. Both are long black pieces with connections to the motherboard.

    • Unplug the speaker cables from their connections on the motherboard gently by using tweezers.

  7. h4yJAvLaOBpNmFFr
    h4yJAvLaOBpNmFFr
    GiCRNVMcSmtCeKxT
    WSTjnTaINATQL13O
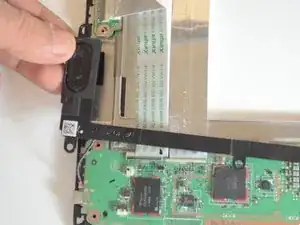
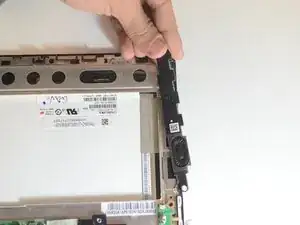
    • Gently use your hands to remove the speakers.

  8. 4MiqpuuoIsKLasDM
    • Remove the five screws using a Phillips #00 screwdriver.

  9. qXrSx3ujKO3KcZlm
    qXrSx3ujKO3KcZlm
    AjpjoyLZNwwGAOhZ
    BcCAaC6eL5H3lr6Z
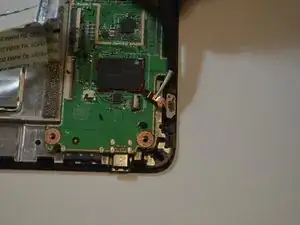
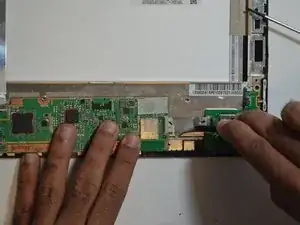
    • Carefully disconnect the cord that connects the on/off button to the motherboard

    • Peel back the electrical tape holding the connections of the motherboard down to the frame of the device.

  10. aNuu3eEVeJZpTKSE
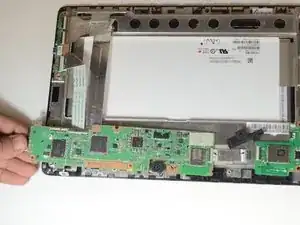
    • Use your hands to remove the motherboard from the device.

Abschluss

To reassemble your device, follow these instructions in reverse order.
Al Muatasim

Mitglied seit: 20/01/15

294 Reputation

0 Kommentare