Einleitung
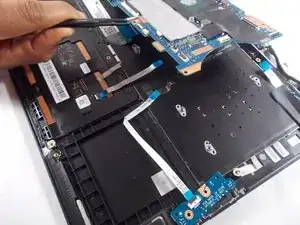
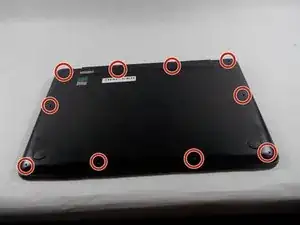
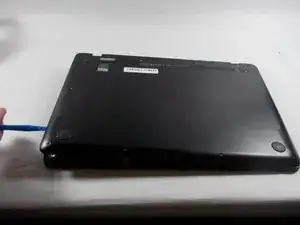
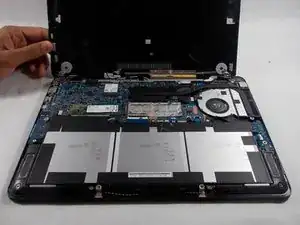
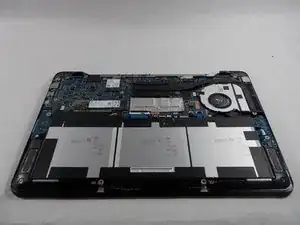
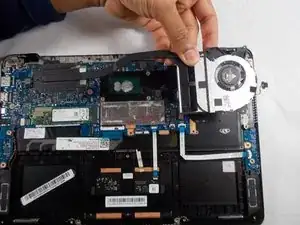
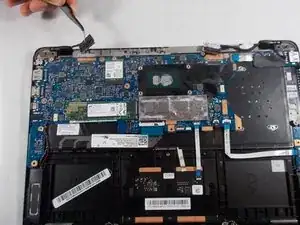
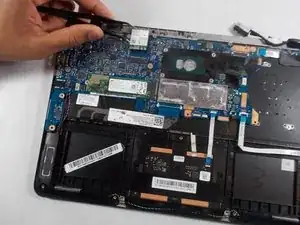
There may be many reasons why a laptop will not turn on, hopefully it is a defective battery, however it could be because the motherboard is fried. If all other options are explored and nothing works, follow these steps to safely remove and replace the motherboard.
Werkzeuge
Ersatzteile
-
-
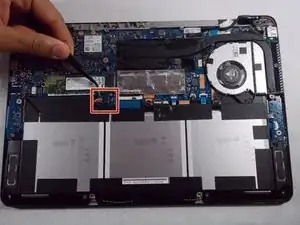
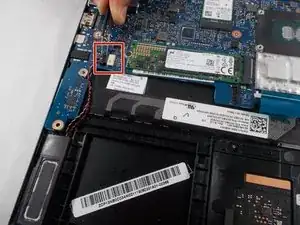
Next, lift up the battery connector from the laptop in the upper left side of the battery, using tweezers or spudger.
-
-
-
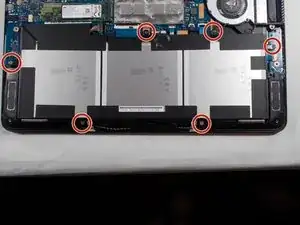
Remove the six screws holding in the battery with a Phillips #0 screwdriver.
-
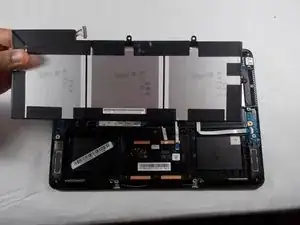
Once battery is lifted out and removed, proper dispose of the old battery.
-
-
-
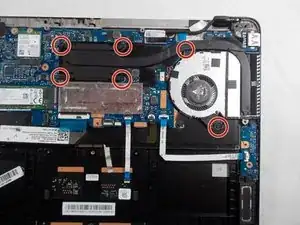
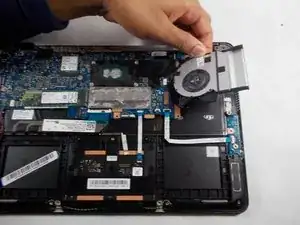
Using a Phillips #0 screwdriver remove the six screws holding the CPU Fan and Heatsink in place.
-
-
-
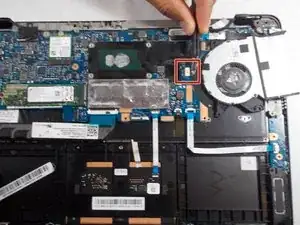
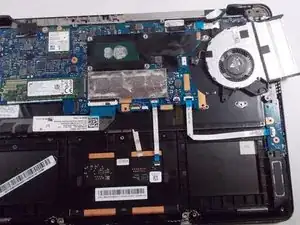
Next, carefully remove the sliding connector that connect the CPU Fan and the laptop together using the tweezers.
-
-
-
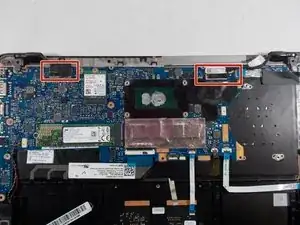
Locate the two connectors that are located near the top of the motherboard.
-
Simply lift the two connectors up and they should pop out easily.
-
-
-
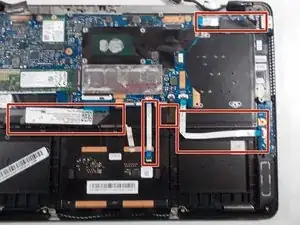
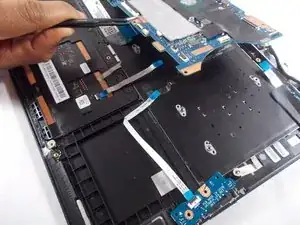
Locate all 5 ribbon cables that are connected to the motherboard.
-
Using tweezers lift the black component up therefore allowing the ribbon cable to be released and taken out.
-
-
-
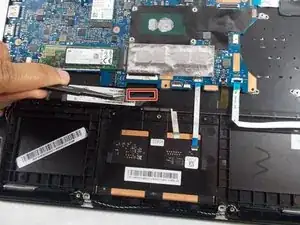
Locate the single sliding connector that is attached to the motherboard.
-
Using tweezers slightly remove the sliding connector from the motherboard.
-
-
-
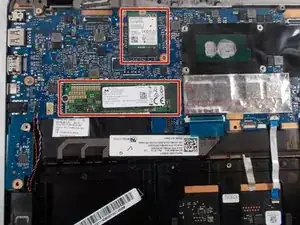
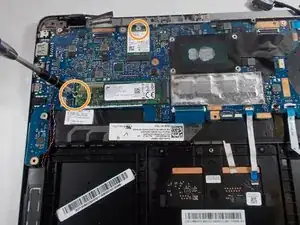
There are two chips that are attached to the motherboard. One is a square wifi card and one is a rectangular m.2 ssd, locate them on the motherboard.
-
Remove the two screws holding the chips in place on the mother board.
-
Both chips now can be removed by simply sliding them out of their connectors.
-
-
-
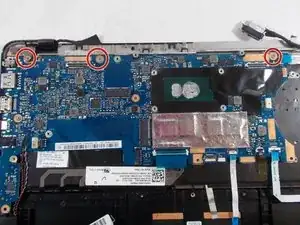
Locate the 3 screws near the top of the motherboard holding the motherboard in place.
-
Using a Phillips head #0 screw driver remove each screw driver.
-
-
-
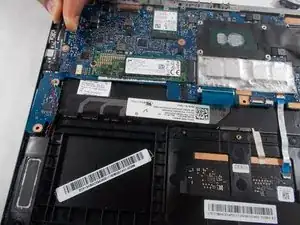
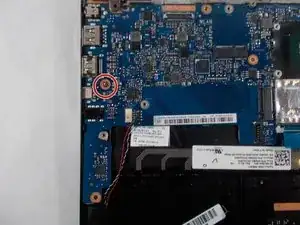
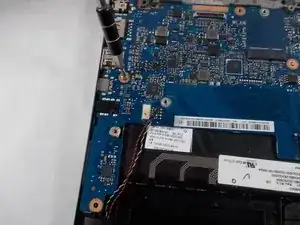
Locate the final screw that holds the motherboard in place, on the left side of the motherboard near the middle.
-
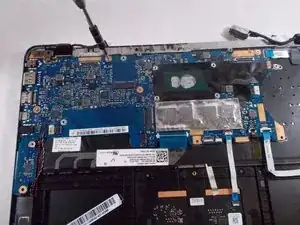
Using a Phillips head #0 screwdriver remove the screw. The motherboard should easily pop out and from there properly dispose of the mother board.
-
To reassemble your device, follow these instructions in reverse order.
