Einleitung

Use this guide to replace the left SSD on your ASUS TUF Gaming F15 FX506HEB-DB74.

Before you perform this repair, if at all possible, back up your existing SSD. If you are replacing the SSD where your operating system is installed, familiarize yourself with a disk cloning utility so you’ll be ready to migrate your data to the new SSD.

Be sure to completely power off and unplug your laptop. Make sure the laptop is not in standby, sleep, or hibernation mode.

  1. QTEpynD4dJlQ5dCD
    QTEpynD4dJlQ5dCD
    uIPUxh1CufR3a1Er
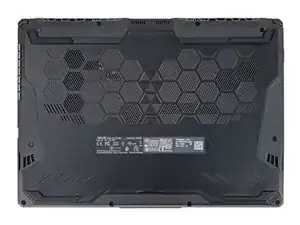
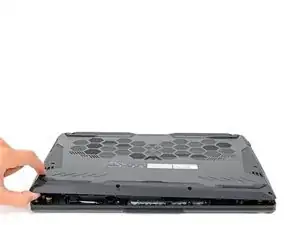
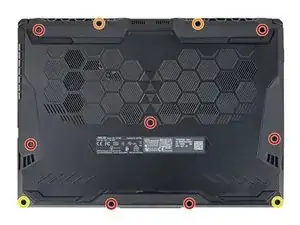
    • Remove the 11 Phillips screws securing the lower case:

    • Seven 11.6 mm screws

    • Two 14.6 mm screws

    • Two 6.1 mm screws

  2. PTVLu5Ys2uOg2lUN
    PTVLu5Ys2uOg2lUN
    ZQQvBZTRurlWXdCs
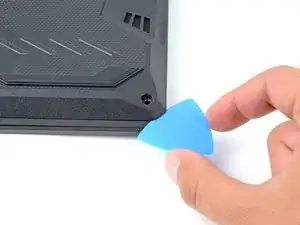
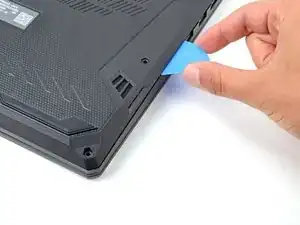
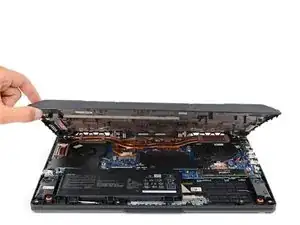
    • Insert an opening pick between the lower case and the chassis on the front right edge.

  3. wIeNMQexu2ntGkSe
    wIeNMQexu2ntGkSe
    2UWpbkQ3jIQaqlFd
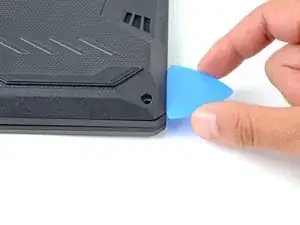
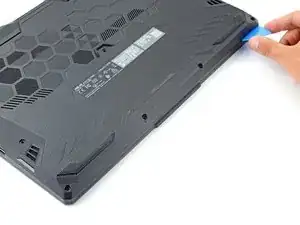
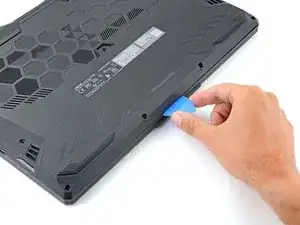
    • Slide the pick along the right edge to release the clips securing the lower case.

  4. 3dqrEcyGUBW2LojQ
    3dqrEcyGUBW2LojQ
    Qf5BtrPoyaXH1cMw
    yiQpggYH2iZtA5aV
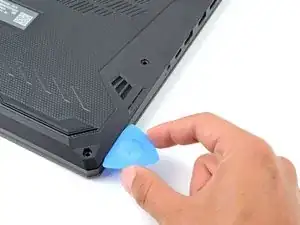
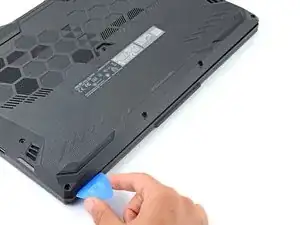
    • Continue sliding the opening pick along the perimeter of the lower case to release the remaining clips.

  5. EeZUQ5YtGLXIkxqG
    EeZUQ5YtGLXIkxqG
    bUuVBZwJjgysL6Tv
    UCAJsZNYKh3rCdPl
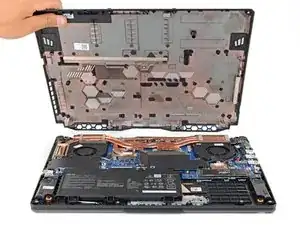
    • Lift the lower case from the chassis and remove it.

    • During reassembly, this is a good point to power on your laptop and test all functions before sealing it up. Be sure to power your laptop back down before you continue working.

  6. RJXHWxEGSLVV5muy
    RJXHWxEGSLVV5muy
    EMykCVnT2t2bhyOY
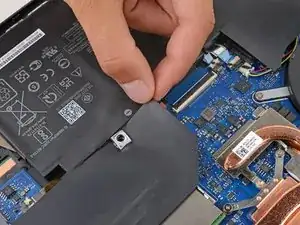
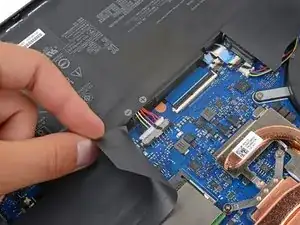
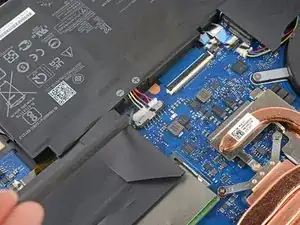
    • Use your fingers to move the plastic that covers the battery connector out of the way.

    • If the plastic is not staying out of the way use a piece of tape to secure it.

  7. YNA23OMcHFr1poyU
    YNA23OMcHFr1poyU
    csfPGa3HNTlaLQwW
    c5UVm5ICg1NlCy65
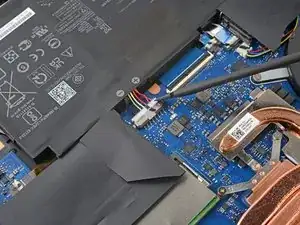
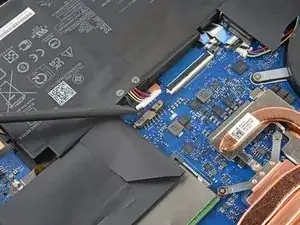
    • Use the flat end of a spudger to push each side of the battery connector until it comes out of the socket.

  8. f3pWyw5F611HFObM
    f3pWyw5F611HFObM
    CNG3CVoJPKUrFNhy
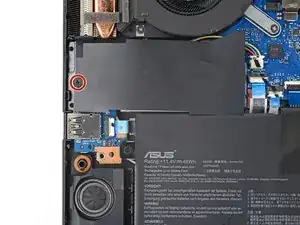
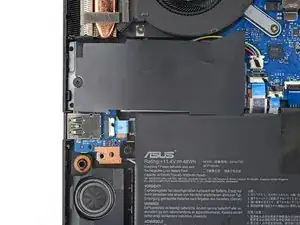
    • Use a Phillips screwdriver to remove the 3.6 mm screw securing the left SSD and its cover.

  9. mx4YJAT1oNLGRaCQ
    mx4YJAT1oNLGRaCQ
    DvFWo15BleiXjbav
    Sxh2NVGNAaFVJprp
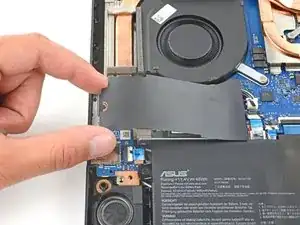
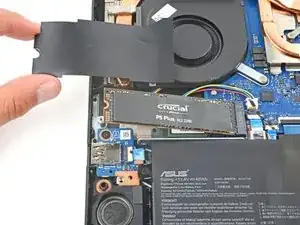
    • Slide the SSD cover off of the SSD by grabbing the edges near the screw indent and pulling away from the SSD.

  10. 332cfYtIgXlnKrSg
    332cfYtIgXlnKrSg
    HKejMUB6MOINObol
    2ER1LqLfKKGKAFSi
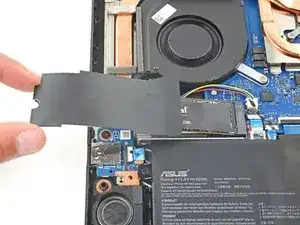
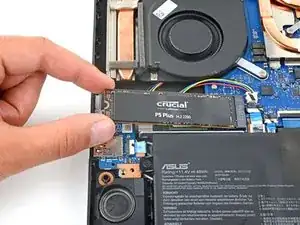
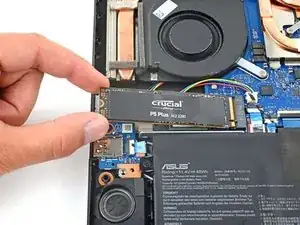
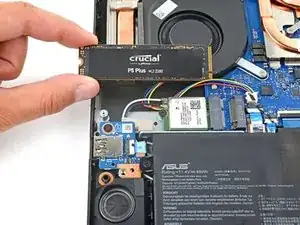
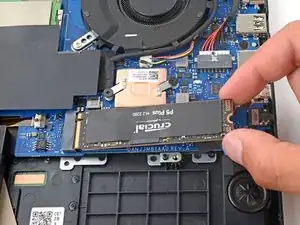
    • Pull the SSD out of its socket and remove it. Keep the SSD as parallel to the motherboard as possible when pulling on it.

    • Do not pull up at a sharp angle, as this could damage the SSD and the socket.

Abschluss

To reassemble your device, follow these instructions in reverse order.

Take your e-waste to an R2 or e-stewards certified recycler.

Repair didn't go as planned? Try some basic troubleshooting, or ask our ASUS TUF answers community for help.
Spencer Day

Mitglied seit: 14/09/22

17445 Reputation

0 Kommentare