Einleitung
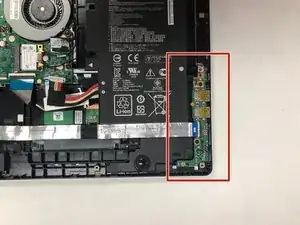
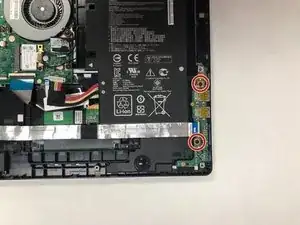
This circuit board is directly connected to the USB receivers and is responsible for reading information from USB drives as well as writing information on to USB drives. This board also contains the buttons for power and volume control.
Werkzeuge
-
-
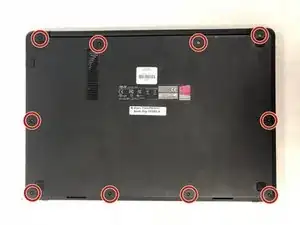
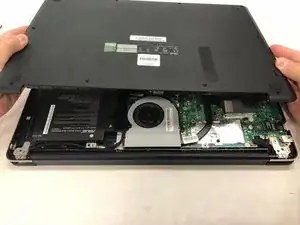
Remove the ten 10.7 mm screws using a Phillips #0 screwdriver from the back of the laptop.
-
-
-
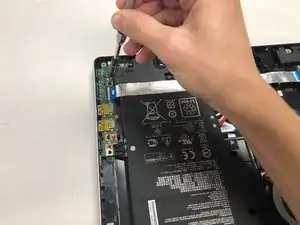
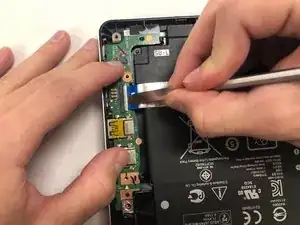
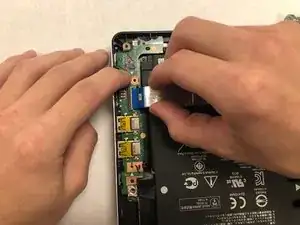
Using a spudger or fingernail, flip up the white plastic latch securing the ribbon cable.
-
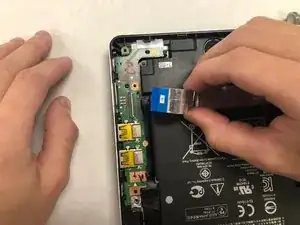
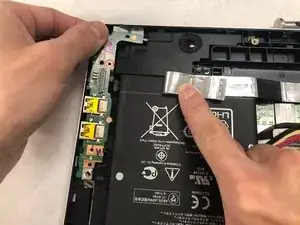
After the latch is released remove the ribbon cable and clear it from the board.
-
-
-
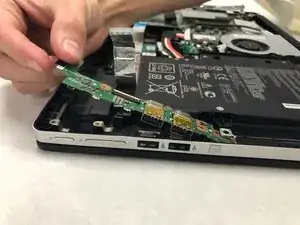
Remove the board itself by carefully pulling the board up then away from the rest of the computer.
-
Abschluss
To reassemble your device, follow these instructions in reverse order.
