Einleitung

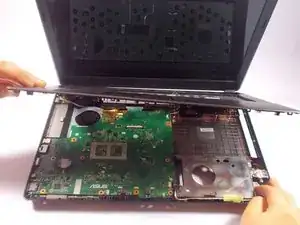
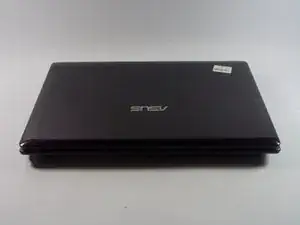
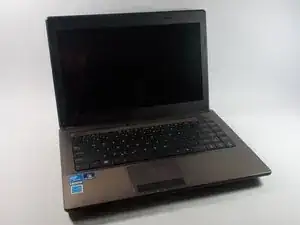
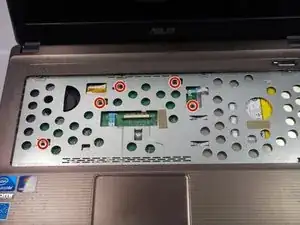
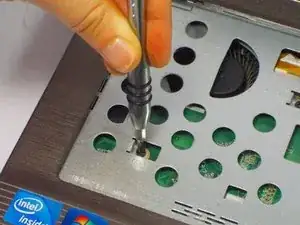
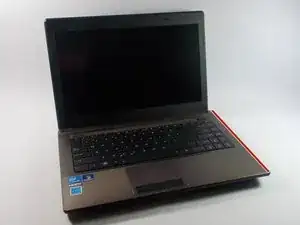
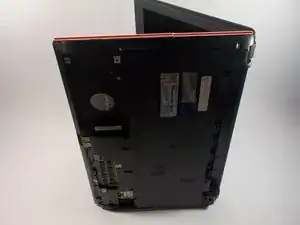
Use this guide to show you how to remove the front panel of the laptop. Don't forget to keep track of all your screws.

  1. KWueXTCGrtBVrNBN
    KWueXTCGrtBVrNBN
    olBGPhrEUq1w1suh
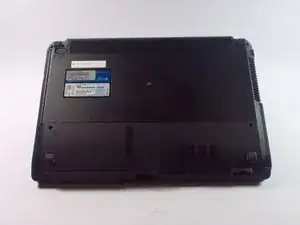
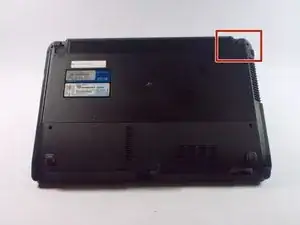
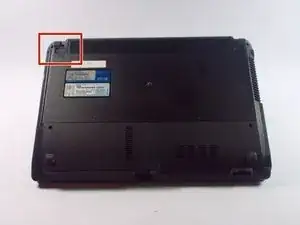
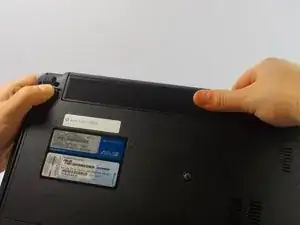
    • Flip the device over.

  2. 5BPCavAOQMMFhfJc
    5BPCavAOQMMFhfJc
    XEWBuJ65Us1Bd3dX
    3e1iD6fBWNKJXLOt
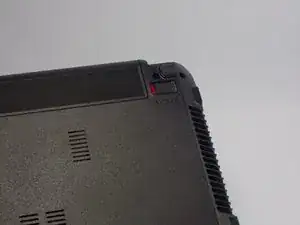
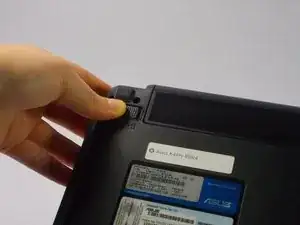
    • Slide the right lock button to the unlock position.

    • After it is unlocked, a red line will be visible.

  3. SGiygMCARBjIFlZr
    SGiygMCARBjIFlZr
    5KZUnU2GBVGNRVmi
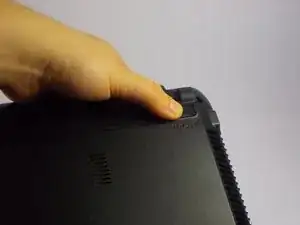
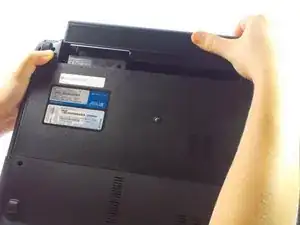
    • Slide the left lock button into the unlock position and hold.

  4. BHTyROPwnnykEVUt
    BHTyROPwnnykEVUt
    VnxFsUm6lYCWZfNl
    gIvweW3M43UOsAg6
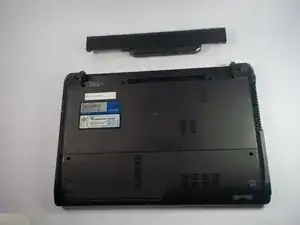
    • While holding the left lock button in the unlock position, push the battery from the center away from you.

  5. lPoWMETcLTFjkHiZ
    lPoWMETcLTFjkHiZ
    PXj3y6XxRNEDP2Wg
    • Open the laptop to show the keyboard.

  6. mGxbgwRqUqkBbVrW
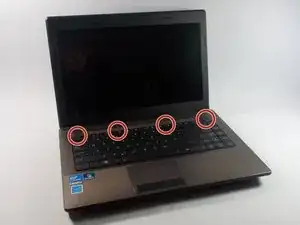
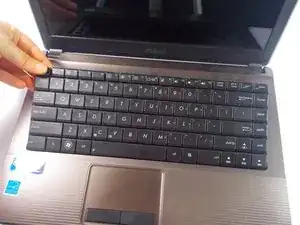
    • Look at the top row of the keyboard, you will see a space that has four latches holding the keyboard down.

    • The latches are located above the Esc key, the F5 key, between the F10 and F11 key and the Delete key.

  7. FJohgSBh3SNGgoFu
    FJohgSBh3SNGgoFu
    RpGTFDZbxZHUURjH
    VXiEbESVYdntphmS
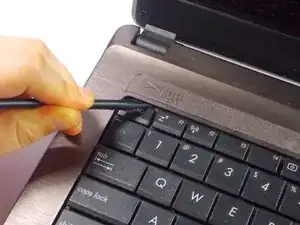
    • Don't pull too hard on the keys otherwise they may fall off.

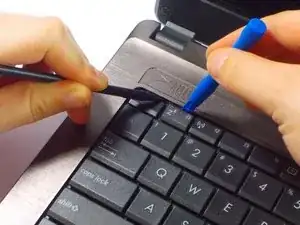
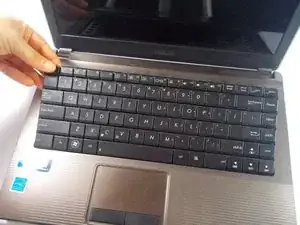
    • Push the latch away from the keyboard using the spudger point.

    • While pushing the latches use a plastic opening tool and pull up on a key near it.

    • Continue along the rest of the keyboard until it is released at all four latches.

  8. fBtPJ1quqPHcBVtM
    fBtPJ1quqPHcBVtM
    FKWShKohZLHjg3jq
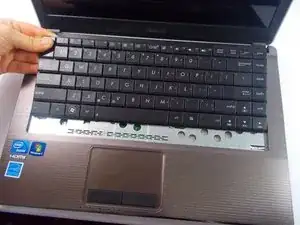
    • Push the keyboard away from the mouse track pad to unlock the bottom from the base.

    • Do not pull too hard because there is a ribbon connecting to keyboard to the motherboard.

  9. C4UWgqyaQLJV2TLE
    C4UWgqyaQLJV2TLE
    irgPEHFTfEAsdJPa
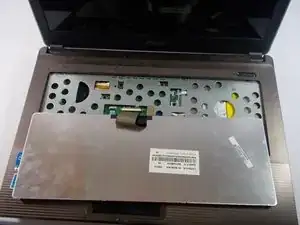
    • Flip the keyboard over to reveal the back of it and what is underneath.

  10. ufGEIuXVO4MLYvEL
    ufGEIuXVO4MLYvEL
    JWmF1Xrb4bYEMOlP
    NckqdhcCKxI4vBWV
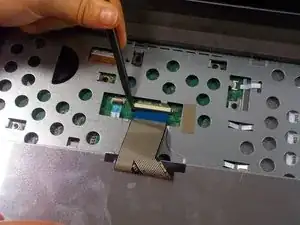
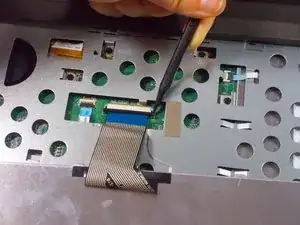
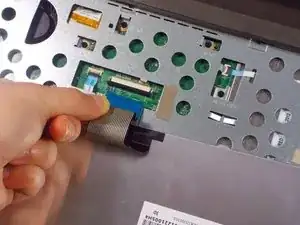
    • Pull each end of the black ribbon cable piece towards the mouse track pad to unlock the ribbon connector piece.

    • Gently pull out the ribbon cable from the connector piece.

  11. WehlkUyVOMPymujY
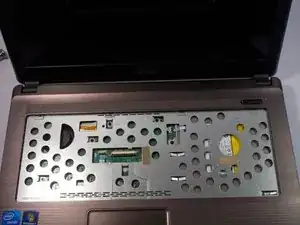
    • Remove the keyboard completely.

  12. rvuSfoUFoJnZAZ41
    rvuSfoUFoJnZAZ41
    TvpodNBBwZPbNHZQ
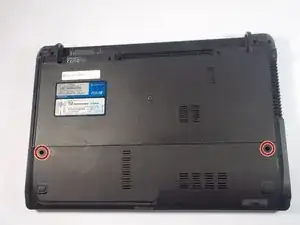
    • Remove the two 9 mm Phillips head screws with the PH0 bit indicated by the red circles in the picture.

  13. cMyKDZCsWltWZeRn
    cMyKDZCsWltWZeRn
    NBFlFNXxB1tf5gAO
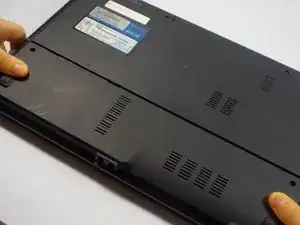
    • Once the screws are removed, slide the back panel away from the computer.

  14. GBZUWYxXEBknnarQ
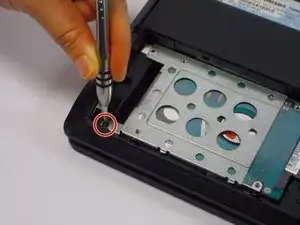
    • Remove the 9mm Phillips head screw in the left bottom corner of the hard drive with the PH0 bit.

  15. Egh6hjw6jl1udyMC
    Egh6hjw6jl1udyMC
    HYEqmW3IDjCQLDuJ
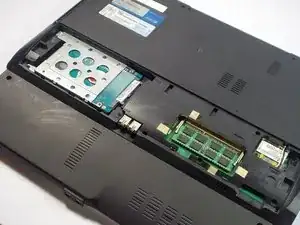
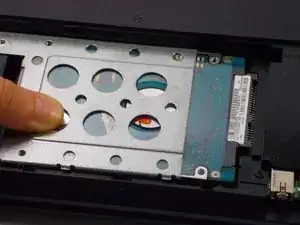
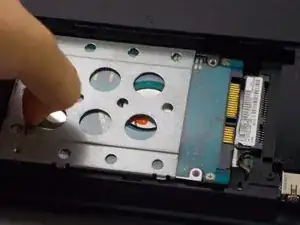
    • Slide the hard drive to the left, unlocking it from its default position.

  16. MLVMOrXiCWgWnriM
    MLVMOrXiCWgWnriM
    tpp4K1vTeamGsguX
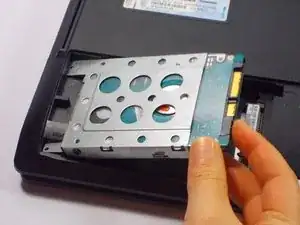
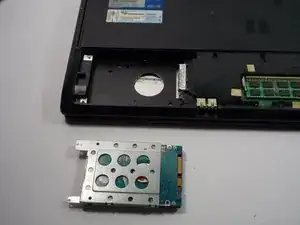
    • Pull the hard drive upwards and take it out of its position.

  17. bfflLr6wCDpbNgGO
    bfflLr6wCDpbNgGO
    YCGyBfRRpnrpCus6
    2LoGtlEqBPSmBaK5
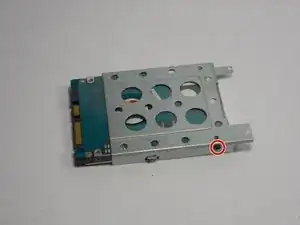
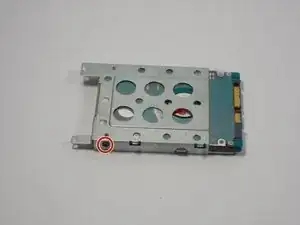
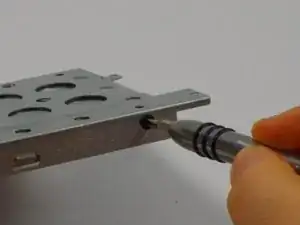
    • Remove two 3mm Phillips head screws, one located on each side of the metal casing holding the hard drive using the PH0 bit.

  18. h1hR2xTXtf6IHCPg
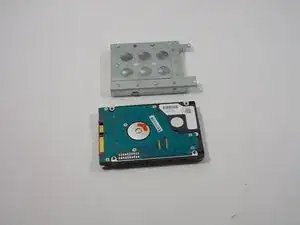
    • Pull upwards on the metal casing and it will come off.

  19. 2QWCMRws51Wt5CEi
    2QWCMRws51Wt5CEi
    QaooQSUlKmqWH2pw
    NHeXc6TCg4BLNVov
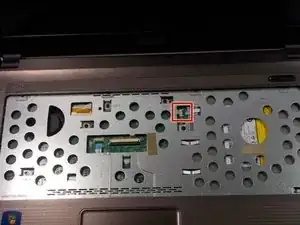
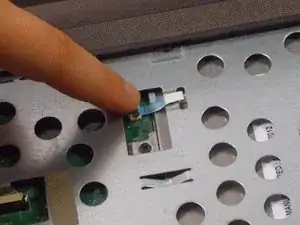
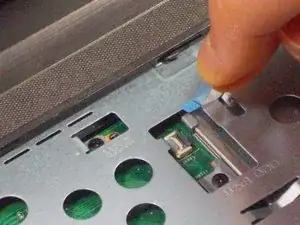
    • Lift up the black lock holding the ribbon.

    • Using the blue tab, pull out the ribbon.

    • Pull gently on the ribbon to remove the risk of damaging the ribbon.

  20. LjVhSAdfMbL21FSJ
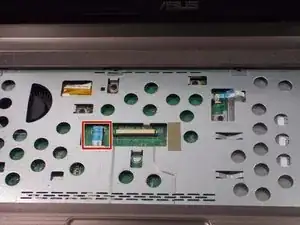
    • Lift up the black lock holding the ribbon.

    • Using the blue tab, pull out the ribbon.

    • Pull gently on the ribbon to remove the risk of damaging the ribbon.

  21. cQrrP4c3YKSwNEjD
    cQrrP4c3YKSwNEjD
    GVaRh4yvfLxS6AOB
    • Remove the five 9 mm Phillips head screws with the PH0 bit.

  22. oniMo2rQ32wgTP3Q
    oniMo2rQ32wgTP3Q
    yTBaRjJIWchxWKYf
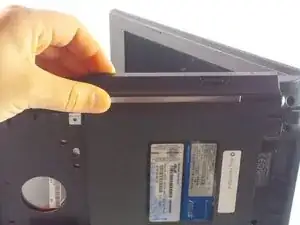
    • Flip the laptop on its side so that the red line indicated in the pictures is facing upwards.

  23. tjqxNHiROi4CBJDk
    tjqxNHiROi4CBJDk
    keybHpKpKYYGny1R
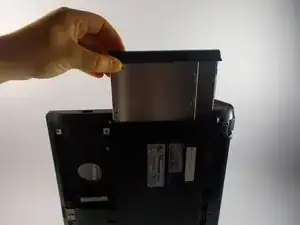
    • Pull up on the disk drive and remove.

  24. pM6kRCXtLJNTGyRP
    pM6kRCXtLJNTGyRP
    YPFIWbkuWfuTx2yy
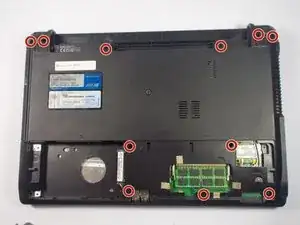
    • Close the laptop and flip it over.

    • Remove the six 12.5 mm screws Phillips head and the five 9 mm screws remaining with the PH0 bit.

  25. edIlgDIDHGY4AoTf
    edIlgDIDHGY4AoTf
    wJkpnWZtCbORrbbE
    QmoH6cMFqyudcDN3
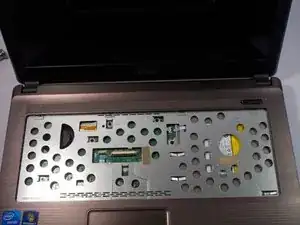
    • Flip the device back over and open the laptop.

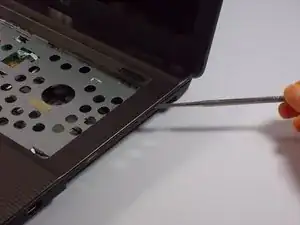
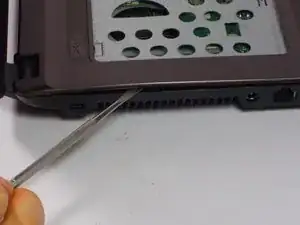
    • Using the nylon or metal spudger, gently pry off the panel by moving the spudger along the seam.

    • You should hear clicking sounds as the front panel is being removed from the base.

  26. dVV5vQv2SLAUkrM4
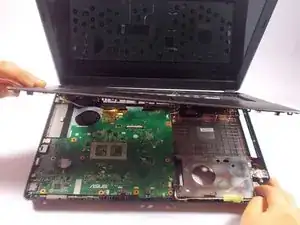
    • Remove the panel.

    • The laptop will now become heavier to the front so it will tend to fall on the back side of the screen.

Abschluss

To reassemble your device, follow these instructions in reverse order.

Devaj Ramsamooj

Mitglied seit: 21/10/15

824 Reputation

Ein Kommentar

Great job! Always stayed away from tablets because of all the hassle. Your guide made it a breeze. Thank You, Thank You

anthois -