Einleitung

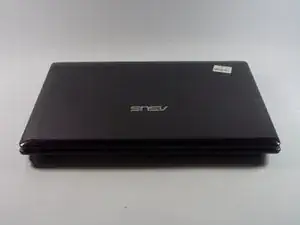
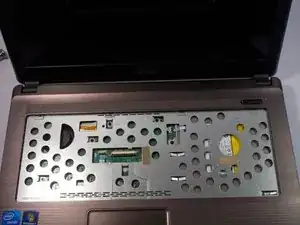
Use this guide to help you remove and replace your keyboard safely.

  1. lPoWMETcLTFjkHiZ
    lPoWMETcLTFjkHiZ
    PXj3y6XxRNEDP2Wg
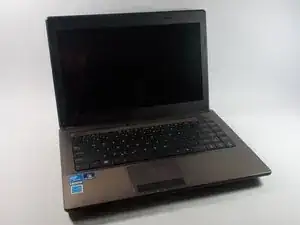
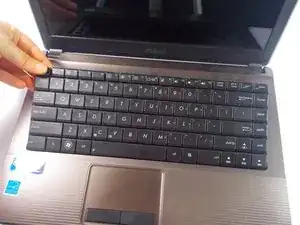
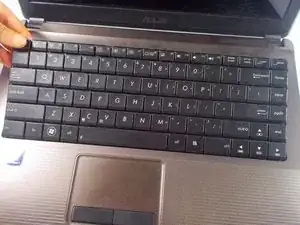
    • Open the laptop to show the keyboard.

  2. mGxbgwRqUqkBbVrW
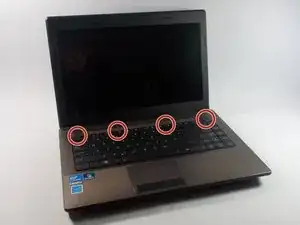
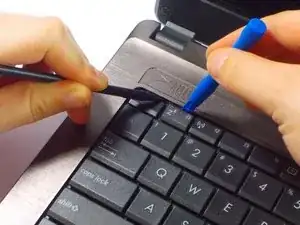
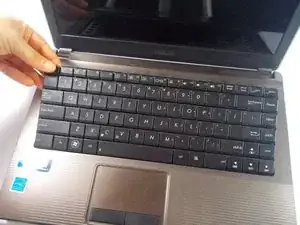
    • Look at the top row of the keyboard, you will see a space that has four latches holding the keyboard down.

    • The latches are located above the Esc key, the F5 key, between the F10 and F11 key and the Delete key.

  3. FJohgSBh3SNGgoFu
    FJohgSBh3SNGgoFu
    RpGTFDZbxZHUURjH
    VXiEbESVYdntphmS
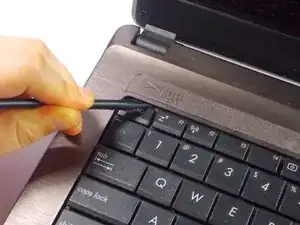
    • Don't pull too hard on the keys otherwise they may fall off.

    • Push the latch away from the keyboard using the spudger point.

    • While pushing the latches use a plastic opening tool and pull up on a key near it.

    • Continue along the rest of the keyboard until it is released at all four latches.

  4. fBtPJ1quqPHcBVtM
    fBtPJ1quqPHcBVtM
    FKWShKohZLHjg3jq
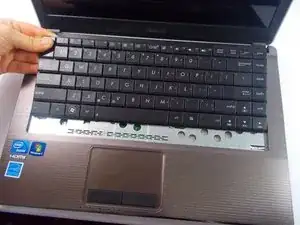
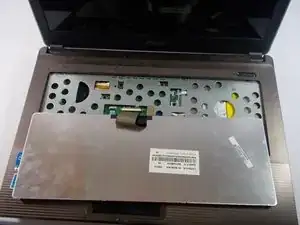
    • Push the keyboard away from the mouse track pad to unlock the bottom from the base.

    • Do not pull too hard because there is a ribbon connecting to keyboard to the motherboard.

  5. C4UWgqyaQLJV2TLE
    C4UWgqyaQLJV2TLE
    irgPEHFTfEAsdJPa
    • Flip the keyboard over to reveal the back of it and what is underneath.

  6. ufGEIuXVO4MLYvEL
    ufGEIuXVO4MLYvEL
    JWmF1Xrb4bYEMOlP
    NckqdhcCKxI4vBWV
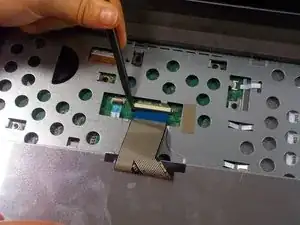
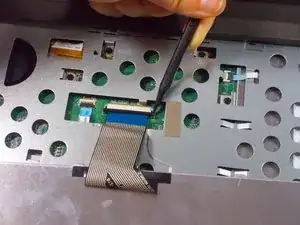
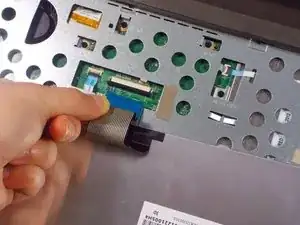
    • Pull each end of the black ribbon cable piece towards the mouse track pad to unlock the ribbon connector piece.

    • Gently pull out the ribbon cable from the connector piece.

  7. WehlkUyVOMPymujY
    • Remove the keyboard completely.

Abschluss

To reassemble your device, follow these instructions in reverse order.
Kelly Merlo

Mitglied seit: 14/10/15

500 Reputation

0 Kommentare