Einleitung
If you have had your laptop for awhile and you are noticing things are becoming slower and less responsive it could certainly be the hard drive failing. The hard drive is usually the hardware that is most notorious for causing problems with your PC when you have it for a lengthy amount of time. Carefully following this guide step by step you will easily replace your hard drive (and hopefully) have a laptop that is much more responsive. Be sure to hold onto your old hard drive to retrieve any important files you may need in the future.
Werkzeuge
Ersatzteile
-
-
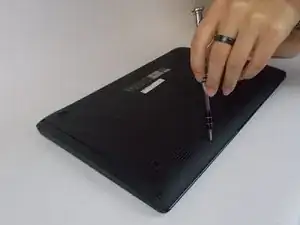
Turn over the laptop on the back panel.
-
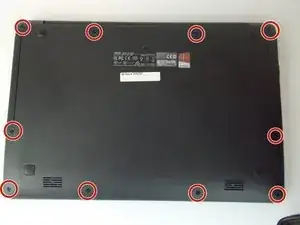
Use the Phillips #0 screwdriver to unscrew all ten screws visible on the back panel. There should be a total of ten screws: (4) four 5.5mm screws and (6) six 10.5mm screws.
-
-
-
Turn over the laptop with the keyboard facing upwards.
-
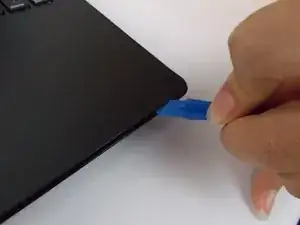
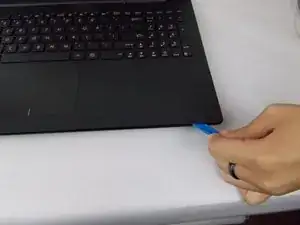
Using a small prying or opening tool, stick the prying tool under the edge of the laptop.
-
-
-
After the laptop is completely pried open carefully remove the keyboard from the laptop.
-
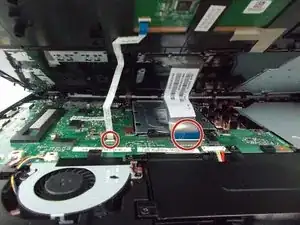
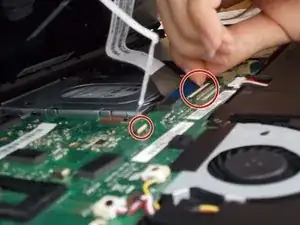
There are two small keyboard cables connecting the keyboard to the laptop. Carefully remove these by popping up the white clips holding them in place and slide the connector out.
-
-
-
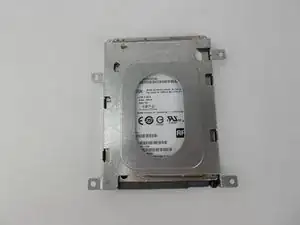
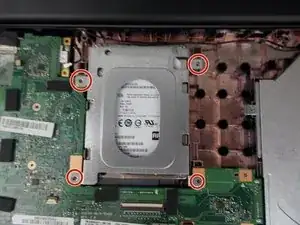
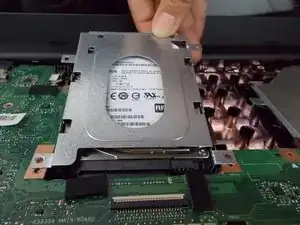
The hard drive is closest to the screen, enclosed in a metal plate.
-
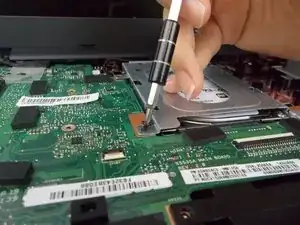
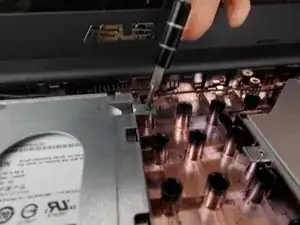
Remove all screws holding the hard drive in place.
-
-
-
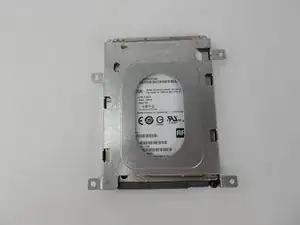
Remove screws from the metal plate enclosing hard drive and enclose replacement hard drive in metal plate.
-
To reassemble your device, follow these instructions in reverse order.
