Einleitung
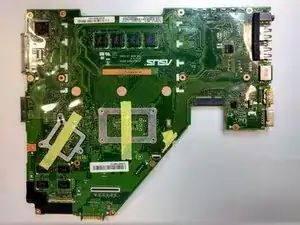
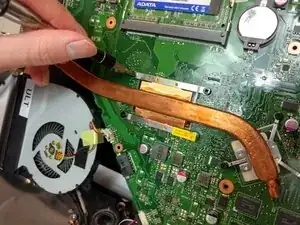
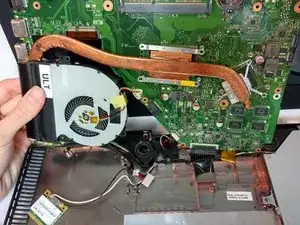
The motherboard is a large, crucial component of the laptop that communicates with the rest of the components and controls most of the major functions. As such, it is also known as the heart of the laptop.
Werkzeuge
-
-
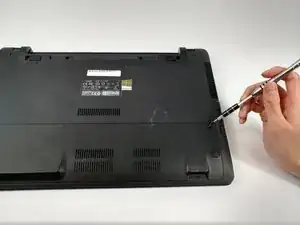
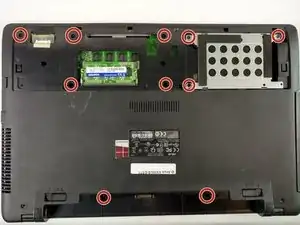
Place the laptop on a flat surface with the bottom side facing upwards.
-
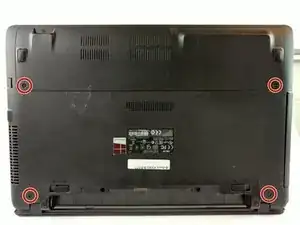
Using the Phillips #1 Screwdriver, remove the four 4mm screws in the back panel.
-
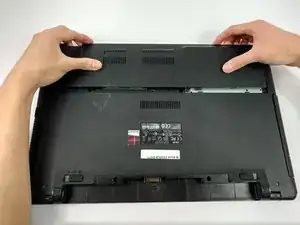
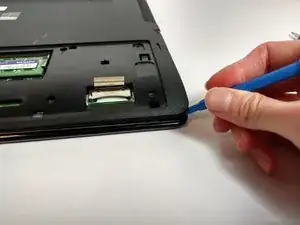
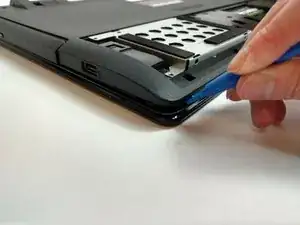
Using both hands, slide the back panel away from the laptop horizontally.
-
-
-
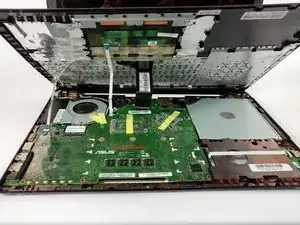
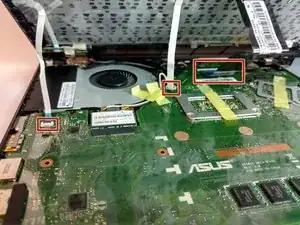
Locate the three ribbon connectors.
-
Using the plastic opening tool, flip up all three gray tabs and remove the ribbon connectors from the motherboard.
-
-
-
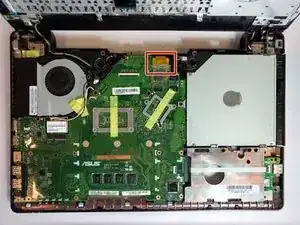
Locate the gold ribbon connecting the motherboard to the display.
-
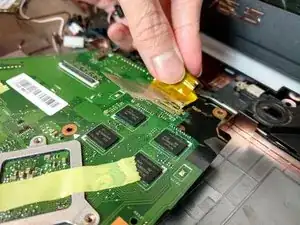
Lift up the tape and disconnect the ribbon.
-
-
-
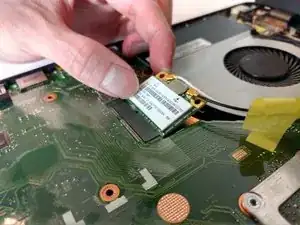
Disconnect the WLAN Card from the motherboard by pulling the connector upwards.
-
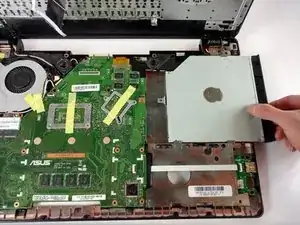
Disconnect the optical drive from the motherboard by sliding it to the right.
-
-
-
Flip the motherboard to show the underside.
-
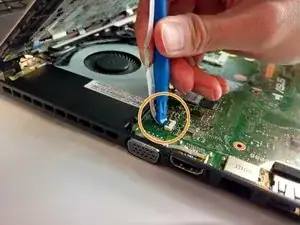
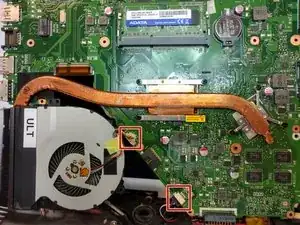
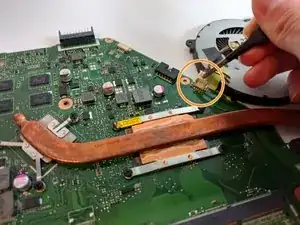
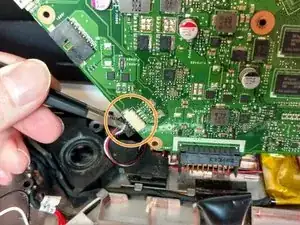
Locate the two square connections attached to the motherboard.
-
Disconnect them using blunt tweezers.
-
-
-
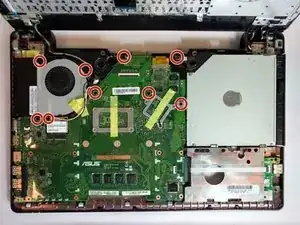
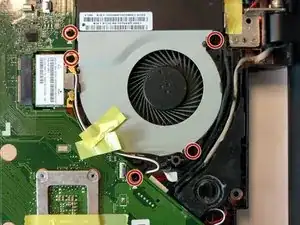
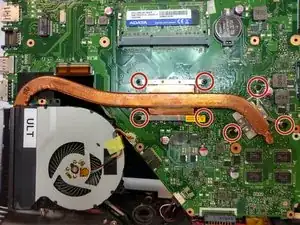
Using the Phillips #0 Screwdriver, remove the seven 2mm screws at the marked locations.
-
Remove the heat sink from the motherboard.
-
To reassemble your device, follow these instructions in reverse order.
