Einleitung

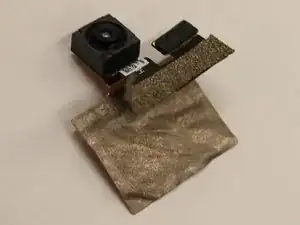
This guide will demonstrate how to replace the front camera of a Zenfone 3. This may be necessary if the camera no longer displays a picture or displays a distorted picture. For this guide, you will need the tweezers, Torx T2 screwdriver, a prying tool, and the Phillips #00 screwdriver.

  1. JZGp2LF3MJOFmHZW
    JZGp2LF3MJOFmHZW
    cajYwAnDwpxJSQNE
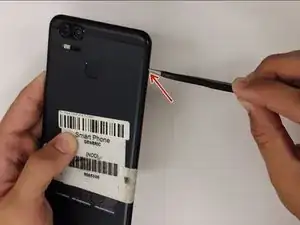
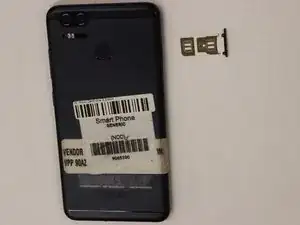
    • Using a pair of tweezers, pull put the SIM card tray and set it to the side.

  2. aLIkkInwPTm4VN5l
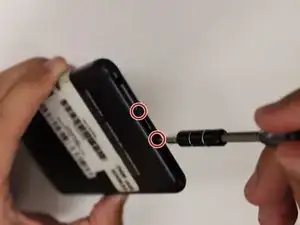
    • Remove the two 2 mm screws using a Torx T2 screwdriver.

  3. 1hbEsyZMElhefCoH
    1hbEsyZMElhefCoH
    5IGNU3ea2qHCSLNt
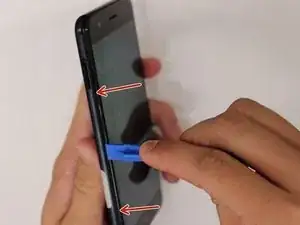
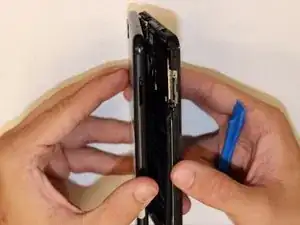
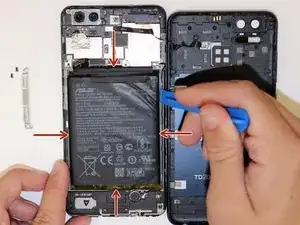
    • Insert a prying tool between the screen and the metal backing of the phone at the bottom to remove backing from phone.

    • There will be a thin film connecting the two pieces. You do not need to remove this. Just fold the two pieces apart with the inside facing up.

  4. tpRByfkLtWLEUp3f
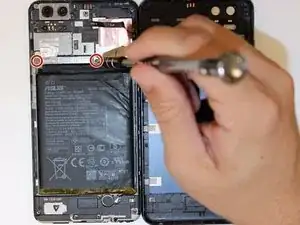
    • Remove the two 3 mm screws, using the Phillips #00 screwdriver, on the silver band at the top of the battery and remove the band.

  5. NgXGsnXQfknFrlKQ
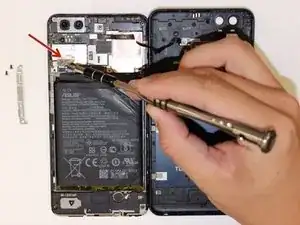
    • Peel back the silver tape.

  6. SlHEBqKTHCaDLrjk
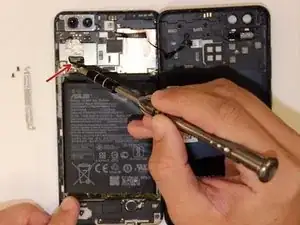
    • Disconnect the battery connections.

  7. COq1VktyWdGLYiMO
    • Pry and remove the battery.

    • The underside of the battery is adhesive so make sure to pry the battery off gently.

  8. la1aWUmkY5TgrsVy
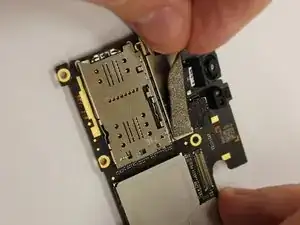
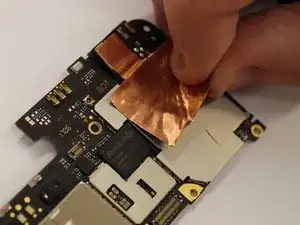
    • Peel the copper adhesive off.

  9. ZqACr6EuhHJtrDcL
    ZqACr6EuhHJtrDcL
    hPaAMd6uEnhVFbZQ
    svZZvkZ1b6yYK3UU
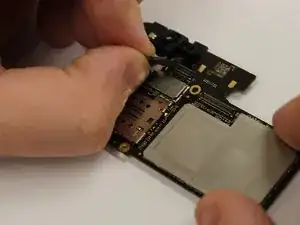
    • Unplug the front camera.

Abschluss

To reassemble your device, follow these instructions in reverse order.
Henry Barrett

Mitglied seit: 10/09/18

537 Reputation

0 Kommentare