Einleitung
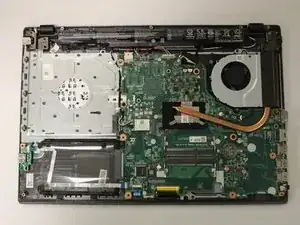
This is a guide on how to remove the back panel of the Acer Aspire E5-574-53QS laptop. In order to make any meaningful changes to one’s laptop, being able to safely remove the back panel is an absolute must, as all of the inner workings and sensitive hardware is underneath it.
Werkzeuge
-
-
Turn the laptop so that the back panel faces up.
-
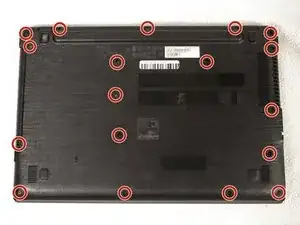
Remove eighteen screws from the back cover using a Phillips #0 screwdriver.
-
-
-
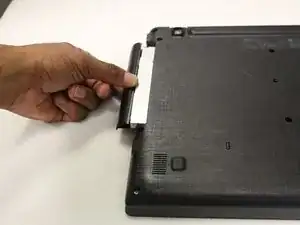
Use a plastic opening tool to ease out the optical drive from the side of the laptop, then pull it the rest of the way out.
-
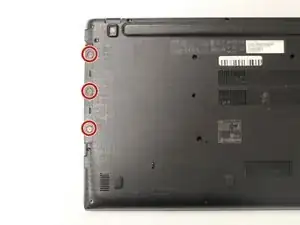
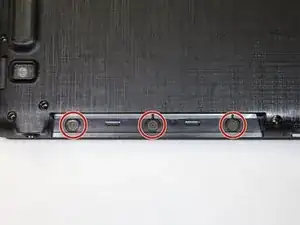
Remove the three screws along the edge of the optical drive port with a Phillips #0 screwdriver.
-
-
-
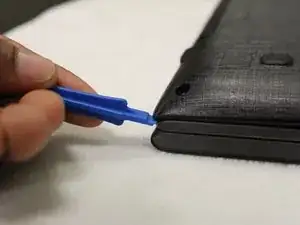
Stick an opening tool into the seam of the laptop case and begin prying the back panel from the device to loosen it. Slowly move all the way around the laptop, prying periodically to release each of the clips.
-
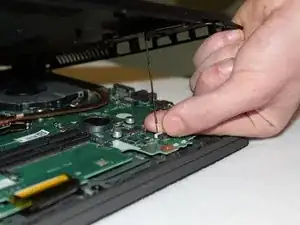
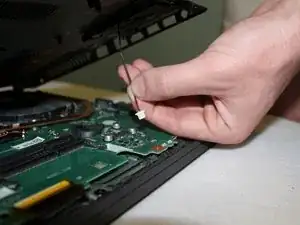
Lift the back panel up to reveal the cable connecting the back case to the motherboard.
-
To reassemble your device, follow these instructions in reverse order.
Ein Kommentar
I need to know what kind of screews go on that laptop because i bought one like this without screews. Model in question is E5 722G-302Y but i think they are similar enough .
