Einleitung

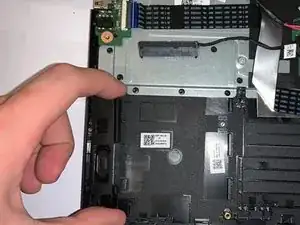
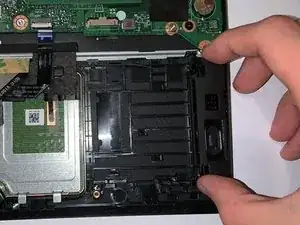
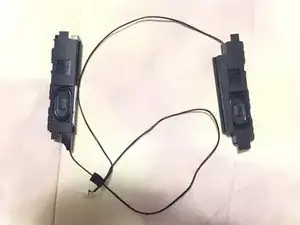
This replacement guide will show you how to replace the speakers of your Acer Aspire 3 A315-21-92FX with new ones. Over time, your computer’s speakers will get older and won’t produce the same quality of sound you want. In this case, you will need to replace your computer speakers with new speakers. For additional information, refer to the troubleshooting guide for Acer Aspire 3 A315-21-92FX.

  1. LZMn4OdboyKK6K6o
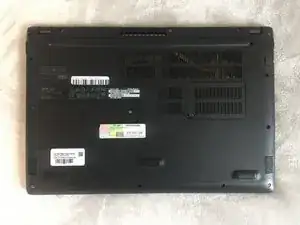
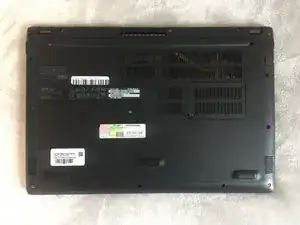
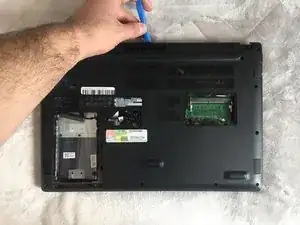
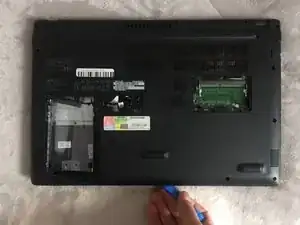
    • Flip the Acer Aspire 3 A315-21-92FX over so the back-side is oriented to the upward position.

  2. I1JFtQYPY1wTHPA2
    I1JFtQYPY1wTHPA2
    fiqRAVgVoWi6Q62X
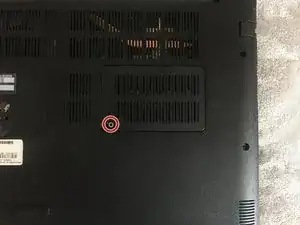
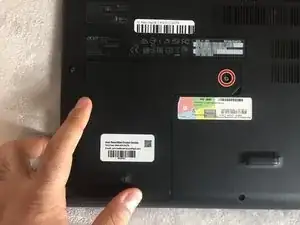
    • Remove the single 2.5mm Phillips #0 screw.

  3. GskSkbaal12yLAxe
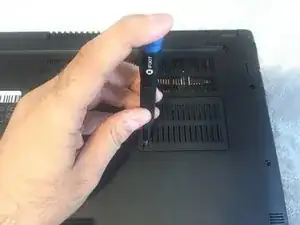
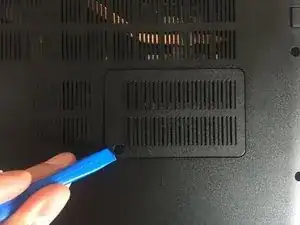
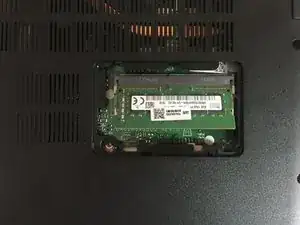
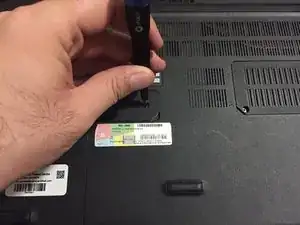
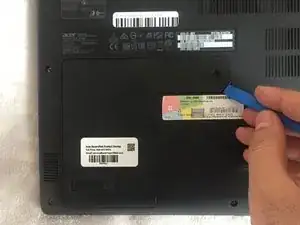
    • Use the iFixit opening tool to remove the small cover.

  4. ycwJXcJbCprsSXxJ
    ycwJXcJbCprsSXxJ
    FDDIS1NHsZ2PXVHM
    1VUo5VEEag1VrBoj
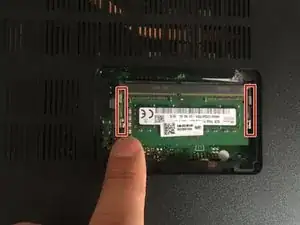
    • Press the tabs on each side of the RAM outwards, and the memory module will pop up at an angle.

  5. carVLft44k1YyvWN
    carVLft44k1YyvWN
    mGSxekKxMADxgm5h
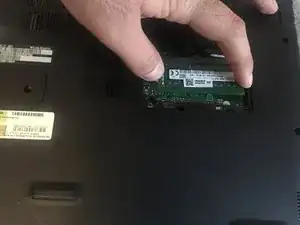
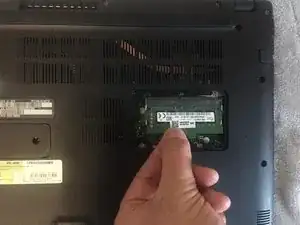
    • Pull the RAM slowly out of the Acer Aspire 3 A315-21-92FX.

  6. AIaDxJkHSuFcHmfP
    • Please make sure that there is no external access to the battery, and the battery is out of power.

    • Flip the Acer Aspire 3 A315-21-92FX over, so the back-side is oriented to the upward position.

  7. xiQS1OVEtHP4MIMJ
    xiQS1OVEtHP4MIMJ
    XRsCDXDWQNB5l6CJ
    • Remove the single 2.5mm Phillips #0 screw.

  8. JL5rTroZ2yAPLTaS
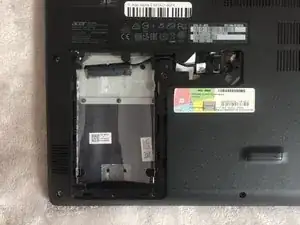
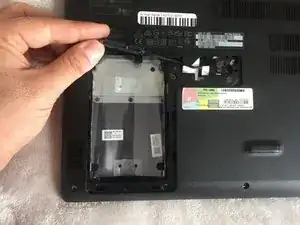
    • Use the iFixit opening tool to remove the cover of the hard disk.

  9. JZ1cywP4ogHFFUUD
    JZ1cywP4ogHFFUUD
    xdahojYZ5Kd4hBUw
    • Pull the hard disk out of the Acer Aspire 3 A315-21-92FX slightly and slowly.

    • This laptop is missing the hard drive.

  10. ZTUwRRGiBhf2sKCf
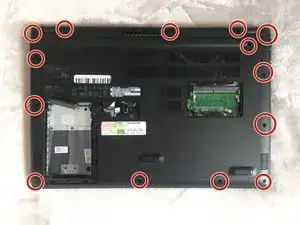
    • Remove fourteen 2.5mm Phillips #0 screws from the back of the laptop.

    • There may be two additional screws under the hard drive cover that must be removed before attempting to remove the back cover.

  11. 2UvMRs1InvV3ZtCv
    2UvMRs1InvV3ZtCv
    5qacNQgbNbSPFy6F
    cU4owT5iKpyKrouY
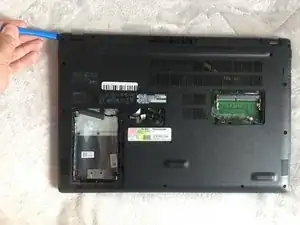
    • Use the iFixit opening tool to remove the back cover.

  12. fKoe6cSD4Nr3PS1r
    fKoe6cSD4Nr3PS1r
    RtTD5VNcZWqafwn6
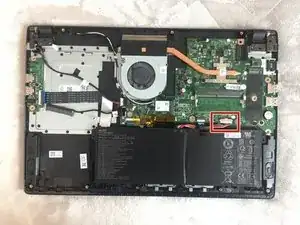
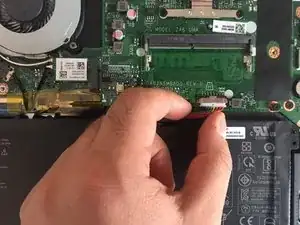
    • Pull out the plug connecting the battery to the motherboard.

  13. nbhqG5WSwKMJNqRF
    nbhqG5WSwKMJNqRF
    bUCkvQN5BDtLFSAB
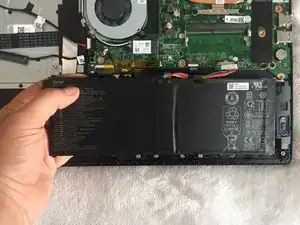
    • Pull the battery out of the groove.

  14. mjLLsJPCgID1RWSQ
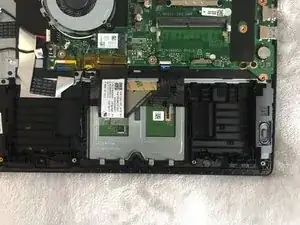
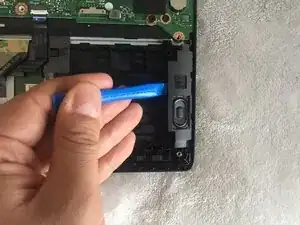
    • Remove the speaker located in the right hand of the device first using the iFixit Opening Tool.

    • Place the edge of the iFixit Opening Tool under the speaker and pull it upward.

  15. BQfKHRlq2fR6CGNL
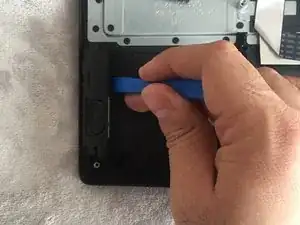
    • Remove the speaker from the left side of the computer using the iFixit Opening Tool.

    • Place the edge of the iFixit Opening Tool under the speaker and pull it upward.

  16. AvvfxgF6U4VbDOJB
    AvvfxgF6U4VbDOJB
    pGHZDtMEeITitFuK
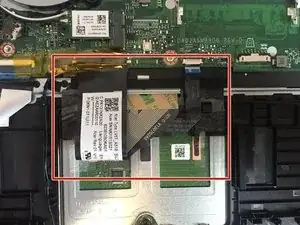
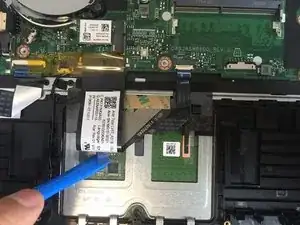
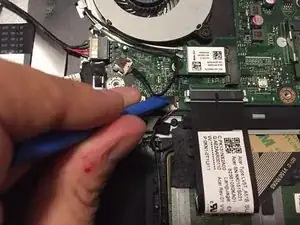
    • The cable that is connecting the speakers to the motherboard is placed under these plastic cables that are glued to the computer.

    • Remove these glued cables using the iFixit Opening Tool.

  17. gIrkAHeVKYwGxWLr
    gIrkAHeVKYwGxWLr
    Pv5wFneNg4QObtgo
    FLMSQIgLkB2rMov4
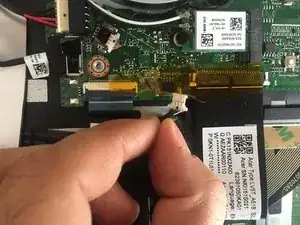
    • Detach the speaker connector from the motherboard with your fingers or the iFixit Opening Tool.

  18. 1SZkWFk5UWjCFTra
    1SZkWFk5UWjCFTra
    mMN4WOxsRd3uTYQw
    • Remove the speakers with your hands.

Abschluss

To reassemble your device, follow these instructions in reverse order.
gghhh

Mitglied seit: 15/01/20

296 Reputation

0 Kommentare