Einleitung
This step-by- step process demonstrates how to replace an old keyboard on your Acer Aspire 3000. It is important to follow the steps carefully in order to prevent damage to the connectors or laptop itself upon removal of the keyboard. Damage to the connectors may cause a bad connection with the new replacement keyboard. Use caution to always remove the battery whenever you are repairing parts of your device.
Werkzeuge
-
-
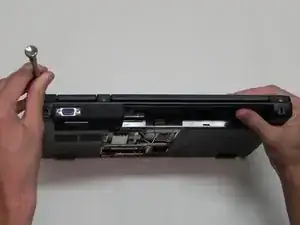
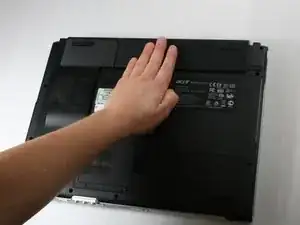
Begin with the device face down.
-
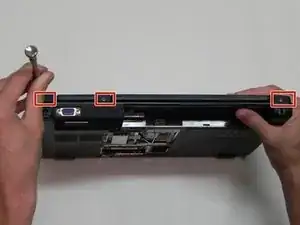
Orient the laptop so that the battery is on the side opposite of you and the headphone ports are facing towards you.
-
-
-
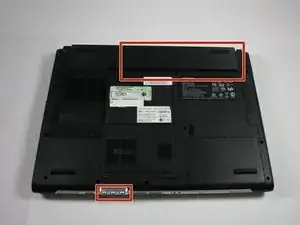
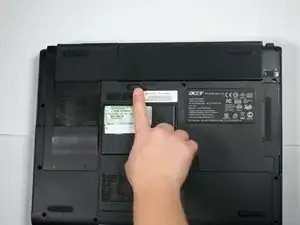
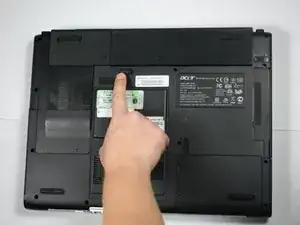
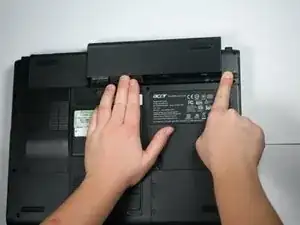
Locate the battery and the tab to the right of it.
-
Pull the tab to the right while simultaneously pushing the battery away from you.
-
-
-
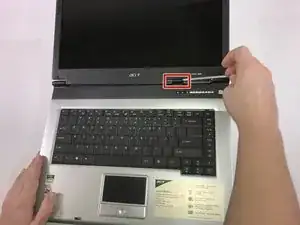
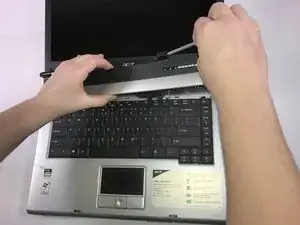
Wedge a spudger into the latch on the right side.
-
Pull the handle of the spudger towards you to pop the first of the tabs that hold this piece in place.
-
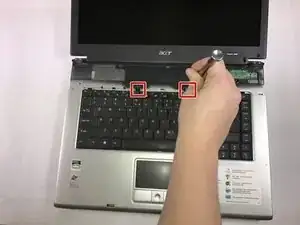
Starting from right to left, pop the remaining tabs by lifting up on the panel and rotating the panel to the left.
-
-
-
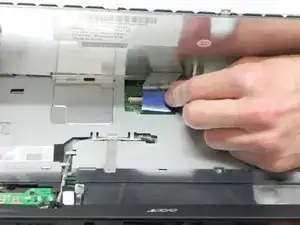
Lift the ZIF connector's black retaining flap. Then gently slide the ribbon cable out.
-
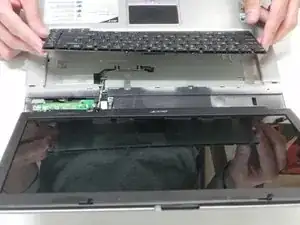
Remove the keyboard.
-
To reassemble your device, follow these instructions in reverse order.
